How to Get a Straight Cut with Circular Saw Every Time
I remember staring at a ruined eighty-dollar sheet of plywood. No matter how hard I tried to follow the pencil line, my saw always drifted. If you are wondering how to get a straight cut with circular saw without spending a fortune on heavy tools, you are in the exact same spot I was.
I used to think I just had bad hands or a cheap tool. The truth is, relying on your eyes alone is the worst way to cut wood. Over the years, I learned a few simple tricks that turned my messy, jagged boards into perfectly straight pieces. Here is exactly what actually works in the real world.
Why Freehand Cutting Almost Always Fails
Trying to cut perfectly straight without a guide is a lost cause. You might start off well, but the blade will eventually wander.
The Problem with Following the Pencil Line
Your hands naturally shake, and the saw vibrates heavily. When you try to steer a spinning blade back onto a pencil line, the blade binds in the wood. This causes burning, kickback, and a wavy edge that looks terrible.
| Cutting Method | Expected Result |
| Following a line by eye | Wavy, uneven edges with frequent binding |
| Using a built-in laser | Slightly better, but lasers easily fall out of alignment |
| Using a physical straight edge | Perfect, factory-quality straight cuts |
How to Get a Straight Cut with Circular Saw on Small Boards
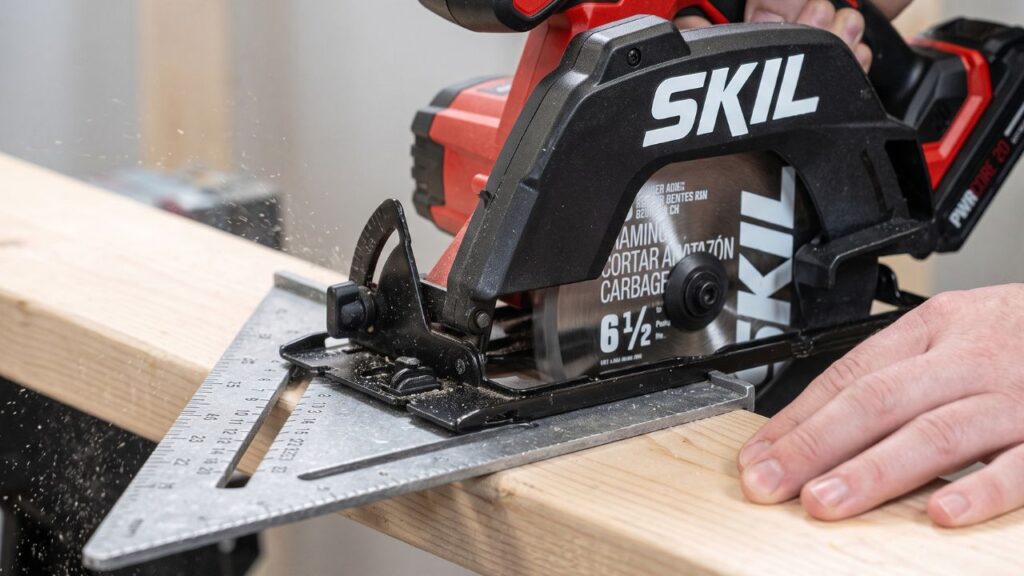
For cutting small framing lumber like 2x4s, you do not need a massive setup. A simple speed square is your best friend here.
Using a Speed Square as a Fence
A speed square is a cheap triangle-shaped tool. You simply hold the lip of the square tight against the edge of your board. Then, you run the base of your saw flat against the side of the square.
My Early Mistakes with Speed Squares
At first, my cuts still came out crooked. I realized I was letting the saw push the square away. You have to grip the square firmly against the wood. Let the saw glide against it without pushing sideways into the plastic or metal.
| Speed Square Mistake | How to Fix It |
| Square slips during cut | Press the lip harder against the board edge |
| Saw blade catches the square | Do not tilt the saw; keep the base plate completely flat |
| Cut is slightly angled | Ensure the board has a straight factory edge to rest on |
Tackling Long Plywood Cuts with a Straight Edge
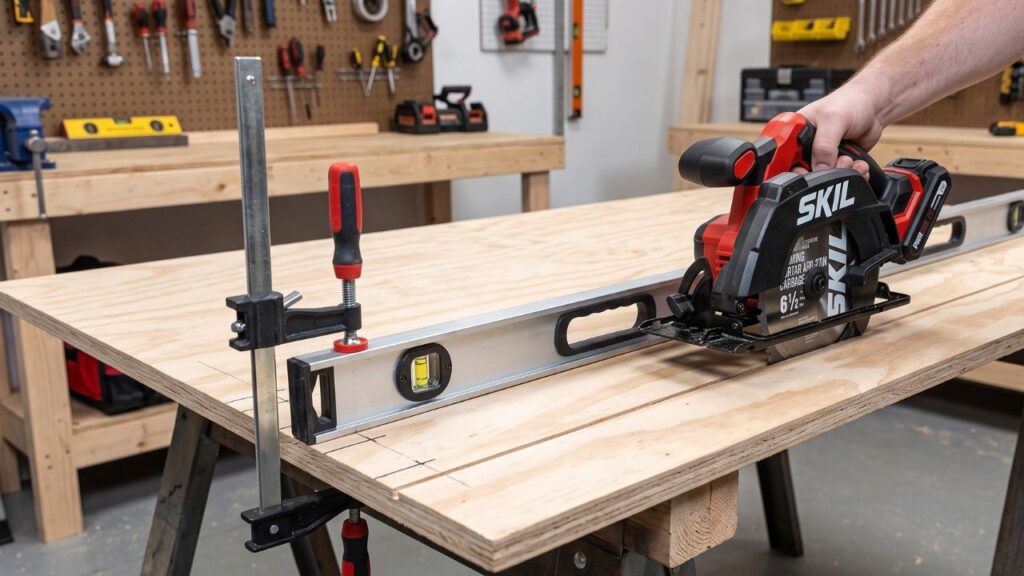
When you move from small boards to long sheets of plywood, a speed square is useless. You need a much longer guide to know how to get a straight cut with circular saw over an eight-foot span.
The Clamped Board Method
The easiest way to cut plywood is to clamp a long, perfectly straight board to your work surface. You then run your saw base against this board. You can use a metal level, a strip of MDF, or an aluminum straight edge from the hardware store.
Figuring Out the Saw Base Offset
This is where I used to mess up constantly. The blade is not flush with the edge of the saw base. There is a gap between the edge of the metal plate and the actual blade. You must measure this distance.
If your saw plate is exactly one and a half inches wide from the edge to the blade, you must clamp your straight edge exactly one and a half inches away from your cut line.
| Measurement Step | Why It Matters |
| Measure from blade to base edge | Determines exactly where to clamp your guide |
| Measure the blade kerf (thickness) | Ensures you do not cut your piece too short |
| Double-check clamp placement | Prevents cutting the board at a slight diagonal angle |
Building a DIY Circular Saw Track Guide
If you plan on cutting a lot of sheet goods, clamping a loose board gets annoying fast. Building a custom jig changed everything for my woodworking projects.
Why a Jig is Better Than a Loose Board
A custom track jig has a base piece that you cut to the exact width of your saw. You never have to measure the offset distance again. You just line up the edge of the jig right on your pencil mark and clamp it down.
Materials Needed for the Guide
You just need a wide piece of thin plywood or hardboard for the base. Then, grab a straight strip of half-inch plywood for the fence. You glue and screw the fence on top of the base. Finally, run your saw along the fence to trim off the excess base material. Now it is perfectly matched to your exact tool.
Upgrading the Stock Blade Changes Everything
Most saws come with a cheap, low-quality blade meant for rough framing work. They tear up wood and make straight cuts much harder.
Why Tooth Count Matters
A blade with 24 teeth will cut fast but leave rough, splintered edges. It can also catch easily if you force it. If you want a smooth, perfectly straight cut on nice plywood, buy a blade with 40 or 60 teeth.
My Experience with Blade Upgrades
I spent months fighting my saw, thinking it was defective. Once I spent twenty dollars on a decent finishing blade, the saw glided through wood like butter. It stopped wandering, and the edges looked like they were cut in a professional shop.
| Blade Type | Best Use Case |
| 24-Tooth Ripping Blade | Rough framing, fast cuts on thick lumber |
| 40-Tooth General Purpose | Everyday woodworking, decent finish |
| 60-Tooth Finishing Blade | Plywood, clean crosscuts, zero tear-out |
Check out the top 5 circular saws Best Circular Saw for Woodworking
Supporting the Wood Properly Before Cutting
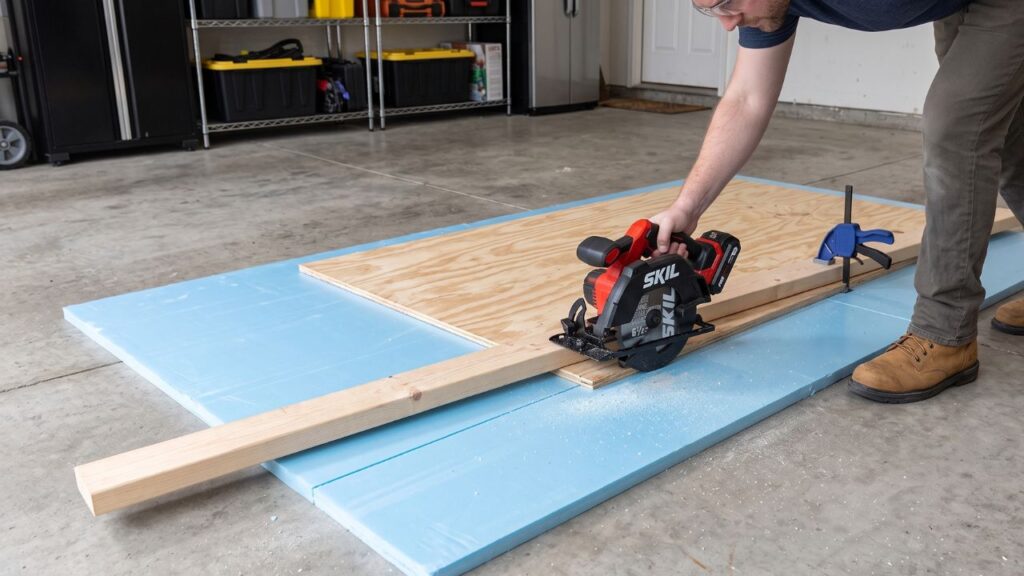
You can have the best guide in the world, but if the wood sags in the middle, your cut will fail.
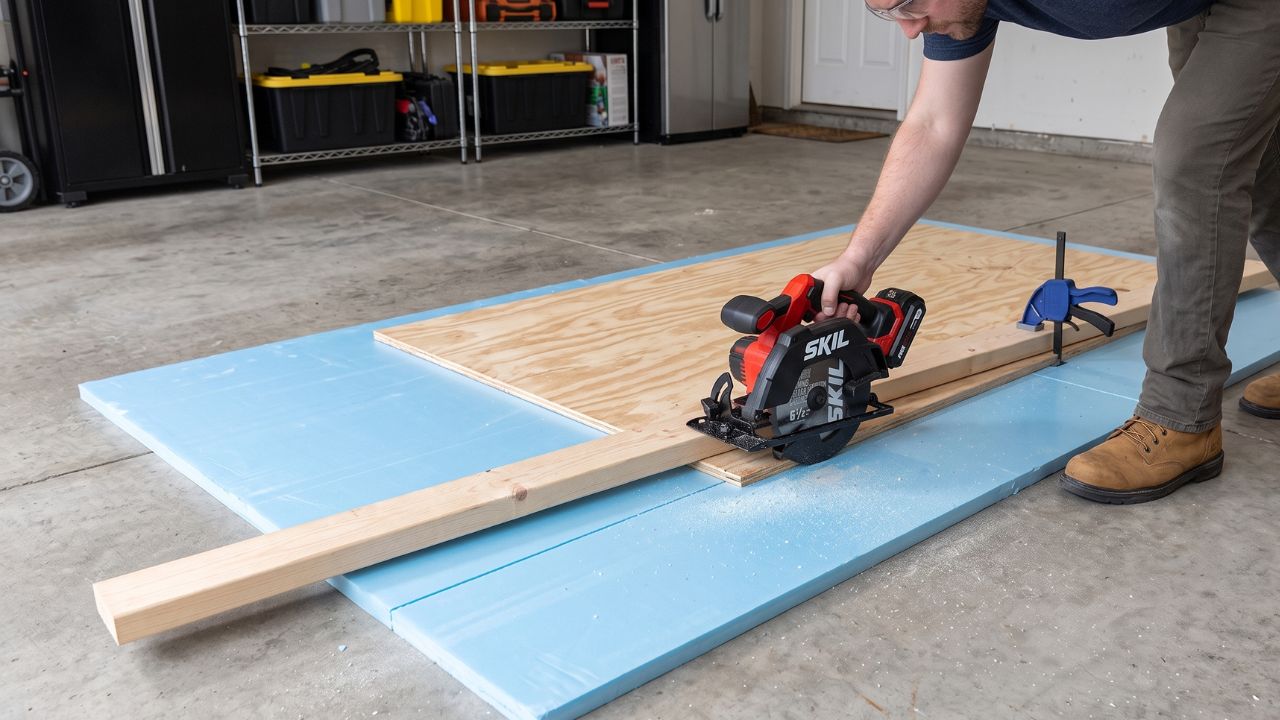
The Rigid Foam Board Trick
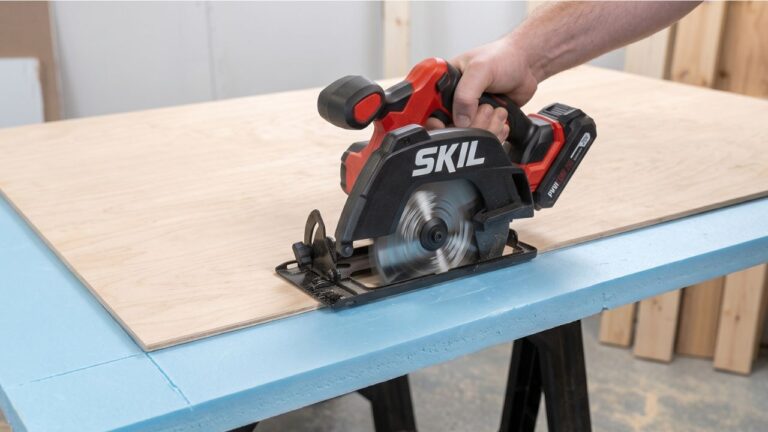
I used to balance plywood across two sawhorses. The wood would sag, pinching the blade and stopping the saw dead in its tracks. Now, I place a cheap sheet of rigid foam insulation on the floor. I put the plywood flat on top of the foam.
Cutting Right Through the Foam
When you use foam, you set your saw blade just deep enough to cut through the wood and barely score the foam underneath. The wood is fully supported the entire time. Nothing snaps at the end, and the saw never binds.
| Support Method | Common Result |
| Hanging wood off a table edge | Wood snaps at the end, causing a jagged tear |
| Balancing across two sawhorses | Wood sags in the middle, binding the blade heavily |
| Laying flat on rigid foam | Perfect support, smooth cuts, no binding at all |
Perfecting Your Feed Rate and Body Position
How you stand and push the tool plays a huge role in how to get a straight cut with circular saw safely.
Letting the Saw Do the Work
My biggest bad habit was pushing the saw too fast. I wanted to get the cut over with quickly. When you push hard, the blade deflects and bends slightly, causing a curved cut even if you are using a straight edge.
Walking With the Cut
For long cuts, you have to move your feet. Do not stretch your arms out until you are off balance. Walk smoothly alongside the wood. Keep a steady, even pressure forward. Listen to the motor. If it sounds like it is struggling, slow down immediately.
| Saw Sound | What It Means and What to Do |
| High pitched, even hum | Perfect feed rate. Keep moving at this speed. |
| Deep, struggling growl | You are pushing too fast. Slow down your arms. |
| Screeching or burning smell | The blade is binding or dull. Stop and check the cut. |
Final Troubleshooting for Wandering Cuts
Sometimes you do everything right, and the cut still feels off. This usually points to a mechanical issue with the tool itself.
Checking the Base Plate for Damage
I once dropped my saw onto a concrete floor. I did not realize I bent the metal shoe at the bottom. Because the plate was bent, the blade was no longer parallel to the edge. Every cut pulled sharply to the left.
Always check your base plate with a metal square to ensure it is perfectly straight. If it is bent, you will never get a straight line, no matter what guides you use.
Final Thoughts
Learning how to get a straight cut with circular saw just takes a little patience and the right setup. You do not need expensive commercial tracks or fancy lasers. A simple piece of straight wood, a firm clamp, and a good blade are really all you need to get flawless results.
Stop trusting your eyes to follow a pencil mark. Once you start relying on physical straight edges and proper wood support, woodworking becomes so much easier. You will ruin less wood, save money, and finally feel proud of the projects you build.