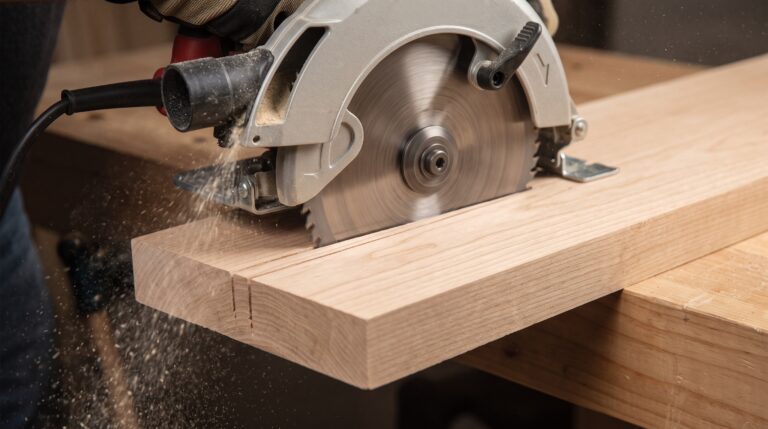
Cutting Guide for Circular Saw: My Tips for Perfect Cuts
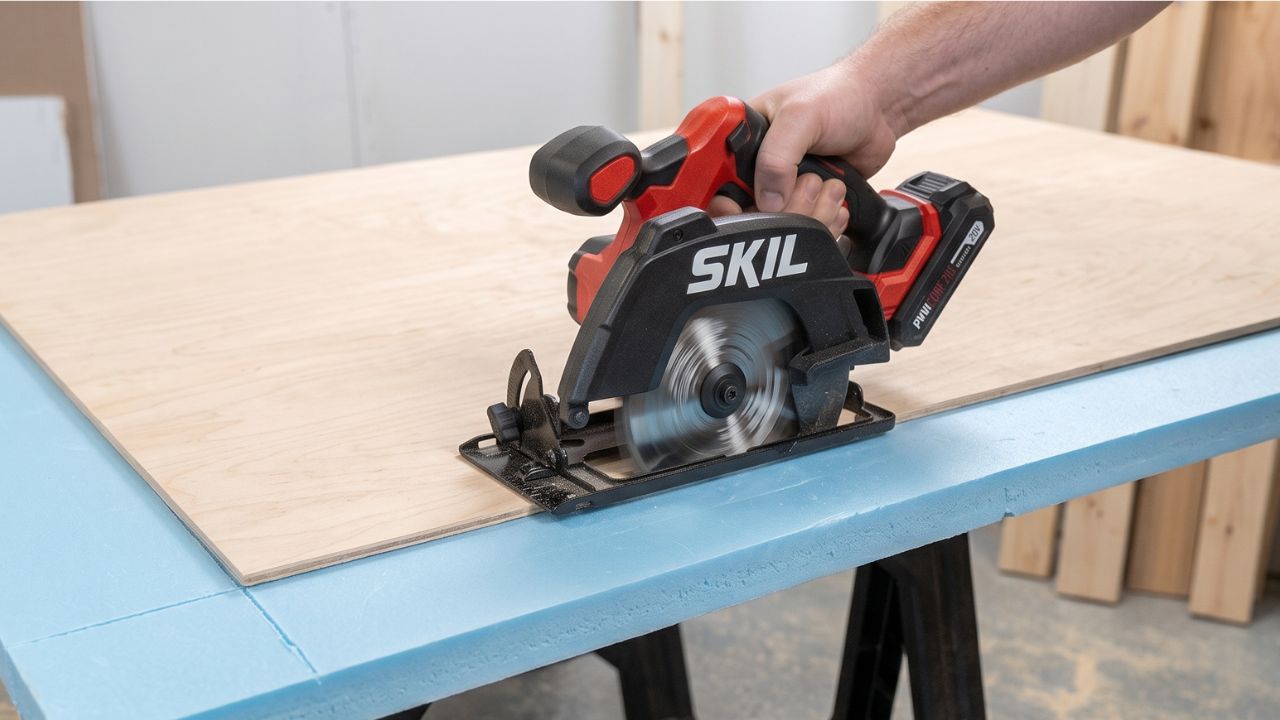
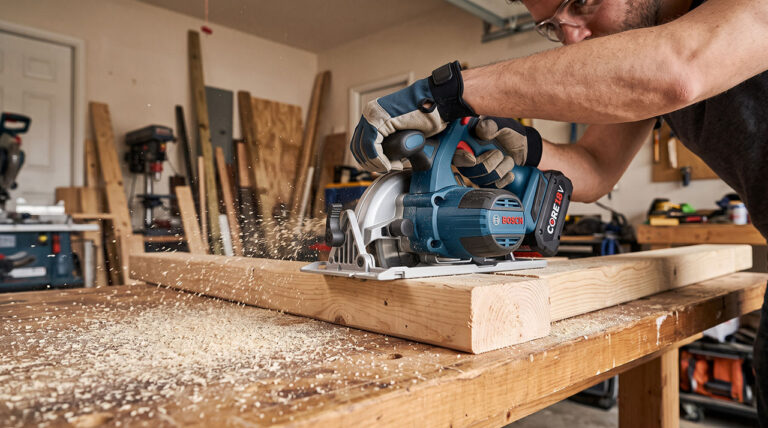
I ruined a lot of expensive plywood when I first started woodworking. I used to draw a straight pencil line, fire up my saw, and just try my best to follow it freehand. But the blade always drifted. A slight wobble here, a tiny bump there, and suddenly my board was completely ruined. That is exactly why you need a reliable cutting guide for circular saw projects.
Finding the right cutting guide changed everything for me. It took my cuts from wavy and embarrassing to factory-straight. You do not need to buy a massive, expensive table saw to get perfect results. With the right setup, some basic clamps, and a little patience, your handheld saw can cut just as accurately. I want to share exactly how I do this, the mistakes I made along the way, and how you can get flawless cuts every single time.
Why Freehanding Plywood Never Works
Trying to push a spinning blade through an eight-foot sheet of wood is tough. Your hands shake. The wood vibrates. The cord catches on the edge of the table.
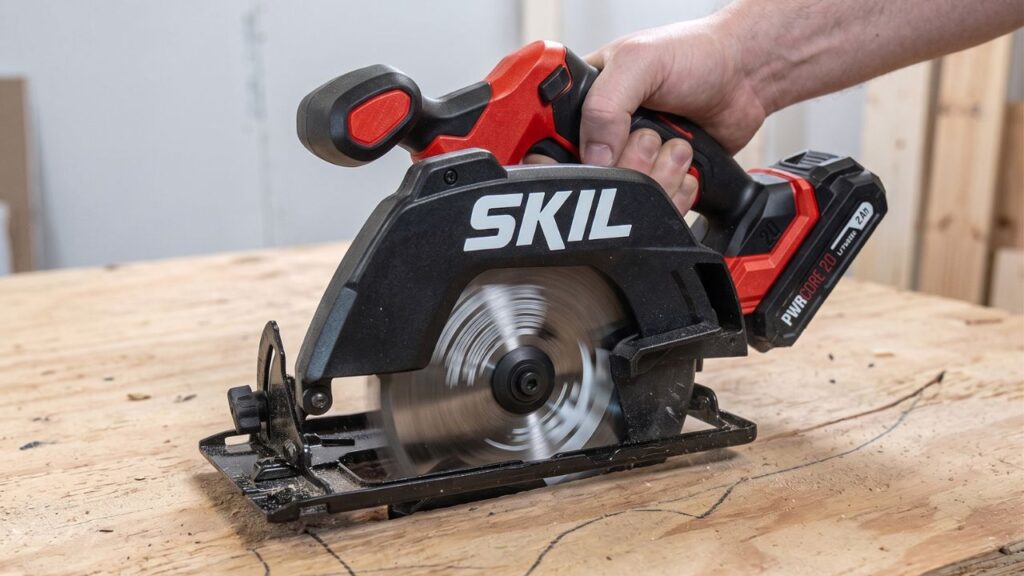
Even if you have hands like a surgeon, the blade naturally wants to wander. The wood grain can actually pull the blade off your pencil line. I spent months thinking I just needed more practice. In reality, I just needed a physical barrier to keep the saw moving in a straight line.
The Problem with Using a Standard Level
My first attempt at a guide was clamping a long metal carpenter’s level to my wood. It seemed like a smart, cheap idea at the time.
But a standard level is not designed for this. First, it is too narrow. Second, it is too tall. When I ran my saw against it, the heavy motor housing bumped right into my clamps. The saw stopped dead in its tracks. I had to unclamp, move everything, and try to restart the cut. It left an ugly, jagged mark on the edge of my wood.
| The Problem | The Reality |
| Hand tremors | Even pros cannot cut eight feet perfectly freehand. |
| Wandering blade | Wood grain physically pulls the blade off your line. |
| Tall clamps | The saw motor hits them, ruining the cut mid-way. |
Finding the Right Cutting Guide for Circular Saw Success
There are a few different ways to guide your saw. I have tried almost all of them. Some are cheap. Some are expensive. Some work perfectly, and others are just frustrating.
You have to pick the right style based on what you are actually building. Here is a breakdown of the most common options I have used in my own shop.
Store-Bought Track Systems
You can buy metal tracks that clamp directly to your wood. Your saw rides along the edge of the aluminum rail.
These are great if you want something ready to use right out of the box. Brands like Kreg make popular track systems. They are lightweight and easy to hang on the wall. But they can also be a bit flexible. If you push too hard against the middle of a cheap plastic track, it will bow. That leaves you with a curved cut.
Check out the top 5 circular saws Best Circular Saw for Woodworking
Edge Guides for Quick Rips
Most saws come with a cheap metal edge guide in the box. It slides into the base of the saw and locks with a little screw.
It acts like a fence, hooking onto the edge of your board. I only use these for quick, rough cuts. They only work if the edge of your wood is already perfectly straight. If the edge of the wood is wavy, your cut will be wavy too.
| Guide Type | Best Use Case |
| Store-bought track | Breaking down large sheets of plywood quickly. |
| Edge guide | Fast, rough rip cuts along a straight factory edge. |
| DIY wood track | High accuracy on a tight budget. |
Building a DIY Straight Edge Jig
This is my absolute favorite method. It is cheap, highly accurate, and you can build it in ten minutes.
You take a wide piece of thin wood, like half-inch MDF. You glue and screw a perfectly straight “factory edge” strip of wood right on top of it. Then, you run your saw against that top strip, cutting off the excess wood on the bottom layer.
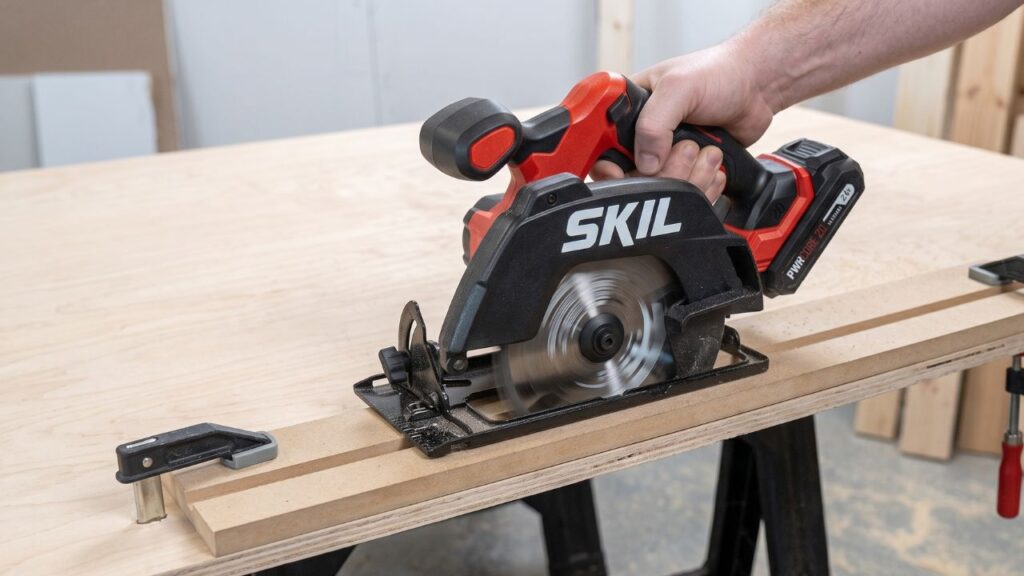
Now, the edge of that bottom layer shows you exactly where the blade will cut. You just line the edge of the jig up with your pencil marks. No measuring math required.
| DIY Jig Feature | Why It Is So Helpful |
| Zero-clearance edge | Shows exactly where the blade will drop. |
| Cheap materials | Costs almost nothing to build from scrap wood. |
| Custom lengths | You can make a short one and a long one. |
My Step-by-Step Process for Dead-Straight Cuts
Having a good guide is only half the battle. You also have to set up the cut correctly. If you rush this part, you will still end up with mistakes.
I have a specific routine I follow every single time I make a cut. This routine stops me from making dumb mistakes when I am tired or in a hurry.
Setting the Blade Depth Correctly
This is a step most beginners skip. I skipped it too. I used to leave my blade plunged all the way down, no matter how thin the wood was.
That is dangerous, and it causes massive tear-out on the wood. You only want the blade sticking out about a quarter of an inch below the bottom of your wood. This gives the teeth the best angle to slice cleanly through the fibers.
| Material Thickness | Suggested Blade Exposure |
| 1/4 inch plywood | Just below the bottom edge. |
| 3/4 inch wood | About 1/4 inch past the bottom. |
| 2×4 framing lumber | Almost maximum depth needed. |
Measuring and Factoring in the Blade Kerf
The “kerf” is the thickness of the saw blade itself. Most blades are about 1/8 of an inch thick.
When I first started, I would measure my wood, draw a line, and cut right down the middle of the line. My boards always came out 1/8 inch too short. The blade was eating my measurement. You have to place your guide so the blade cuts on the waste side of your pencil line.
Clamping the Guide Down Tight
If your guide shifts even one millimeter during a cut, the piece is ruined. You have to lock it down tight.
I prefer using low-profile track clamps. Standard C-clamps sit too high. The motor of the saw will crash into them as you push forward. Always check your clearance before you pull the trigger. Run the unplugged saw down the track just to make sure nothing is in the way.
Common Mistakes That Ruin a Perfect Line
Even with a perfect setup, human error can still mess things up. I have made all of these mistakes more times than I care to admit.
Learning how to handle the saw physically is just as important as the guide you use. The saw wants to do the work. You just have to let it.
Pushing the Saw Too Hard
When you are in a rush, it is tempting to shove the saw through the wood. Do not do this.
Pushing too hard causes the blade to flex. When the thin metal blade flexes, it wanders away from your guide rail. The saw motor will start screaming, and the wood might even start burning. Let the blade cut at its own pace. Just guide it gently forward.
Drifting Away from the Fence
You have to keep the base plate of the saw pushed tight against your guide edge the entire time.
Sometimes, as I reach across a wide piece of plywood, my arm extends, and I accidentally pull the saw away from the guide. This leaves a nasty curve in the wood. Focus all your pressure sideways against the track, not just forward.
| Mistake | The Easy Solution |
| Shoving the saw | Listen to the motor. Let it do the work slowly. |
| Drifting off the track | Apply firm sideways pressure against the guide. |
| Cord getting stuck | Drape the power cord over your shoulder first. |
Tackling Tear-Out: Keeping the Edges Clean
Circular saws cut on the upstroke. The teeth come up from the bottom and smash through the top layer of the wood.
If you are cutting expensive birch or oak plywood, this will splinter the top veneer. It looks awful. A cutting guide helps hold the wood fibers down, but you often need extra tricks to get a perfectly clean edge.
The Blue Tape Trick
This is an old carpenter trick, and it works wonderfully. You just put down a strip of painter’s tape exactly where you plan to cut.
You draw your line directly on the tape. The tape acts like a skin. It holds the delicate wood fibers together as the blade rips upward. When you peel the tape off later, the cut line is razor-sharp.
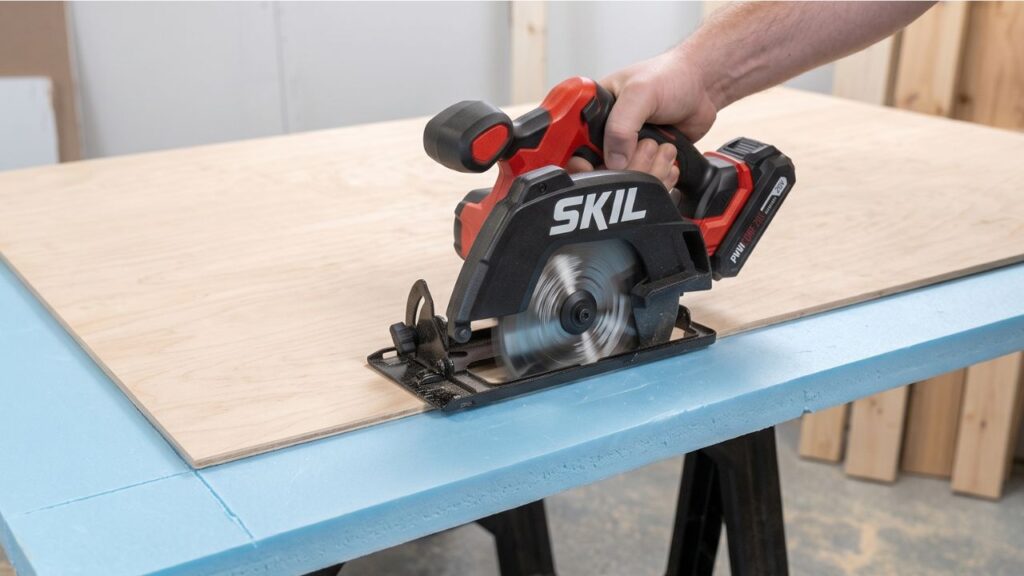
Using a Foam Insulation Board
I used to balance my plywood on two sawhorses. The wood would always sag in the middle and snap at the end of the cut.
Now, I put a thick sheet of rigid foam insulation on the floor or on my table. I lay my plywood flat on top of the foam. I set my saw blade to cut just deep enough to score the foam. The wood is fully supported, nothing snaps, and the cut is perfectly clean.
| Tear-Out Fix | Why It Works So Well |
| Painter’s tape | Binds the top veneer fibers together tightly. |
| Rigid foam board | Stops the wood from sagging and snapping. |
| Higher tooth count | More teeth mean a smoother, cleaner slicing action. |
When to Upgrade to a True Track Saw
You might be wondering if you should just buy a dedicated track saw instead of rigging up a cutting guide for circular saw use.
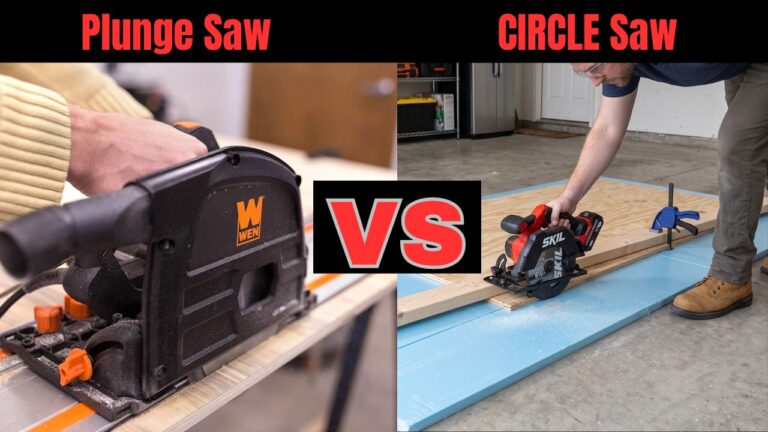
Track saws are amazing tools. They plunge into the wood perfectly, collect dust beautifully, and ride on a precision track. But they are also very expensive. I used a DIY guide for five years before I finally bought a real track saw.
If you are only building a few shelves or a weekend project, a basic saw with a good guide is all you need. Save your money. But if you are building custom kitchen cabinets every single week, the upgrade is absolutely worth it. The time you save on setup will pay for the tool very quickly.
Until then, grab some straight scrap wood. Build yourself a simple jig. Take your time setting up your clamps. Check your blade depth. Make sure your cord is out of the way.
Woodworking gets so much more fun when you stop fighting your tools. Once you trust your guide, you can relax and just enjoy the process of building. A straight line is not a mystery. It just takes a little preparation.
Final Thoughts
Learning how to control my cuts completely changed my confidence in the shop. I stopped fearing expensive sheets of plywood. I realized that a good cutting guide for circular saw projects is the great equalizer. It turns a cheap, basic tool into a precision instrument. You do not need thousands of dollars in gear to build beautiful things.
My best advice is to start by building a simple DIY zero-clearance jig. It will cost you almost nothing, and it will teach you exactly how the saw behaves. Take your time, double-check your clamp clearance, and let the blade do the heavy lifting. Your cuts will be straight, your projects will square up perfectly, and you will enjoy the building process a whole lot more.