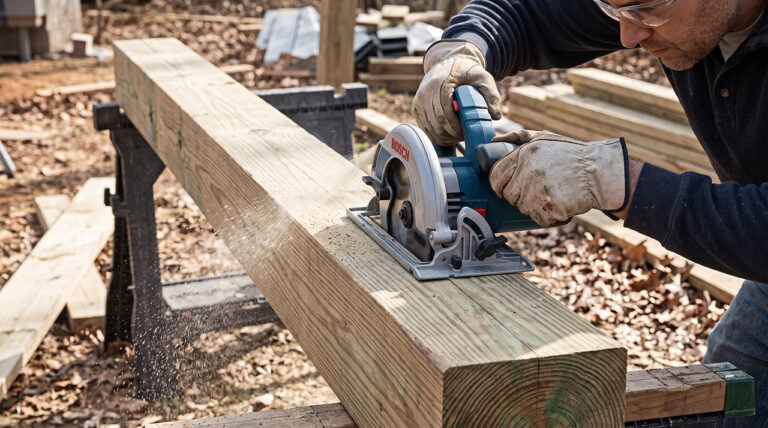
Circular Saw Blades for Wood: My Real Guide to Cleaner Cuts
I still remember the day I ruined an eighty-dollar sheet of oak veneer plywood. I was building a custom bookshelf. I carefully measured my lines, clamped down my straight edge, and made the cut. When I flipped the board over, the edges were completely shredded. It looked like a dog had chewed through the wood.
That was the day I realized that all circular saw blades for wood are not created equal. I was using the cheap 24-tooth blade that came inside the box with my saw. It was a rough framing blade, designed to chop through pine studs as fast as possible. It had no business touching fine plywood. Since that expensive mistake, I have spent a lot of time testing different blades, tooth counts, and cutting techniques. If you want smooth, clean cuts without burning or splintering your wood, you have to understand what is spinning on your saw.
Why the Blade That Came With Your Saw Is Failing You
When you buy a brand new circular saw, the manufacturer usually includes a free blade. Do not let this freebie fool you. Most of the time, this stock blade is only good for tearing through 2x4s on a construction site.
Stock blades are usually built for speed, not precision. They have very few teeth, and the carbide tips on those teeth are often small and low quality. When I first started woodworking, I thought I was just bad at using a circular saw. My cuts were wavy, the edges were jagged, and the wood always had horrible splinters.
Once I spent thirty dollars on a high-quality, aftermarket blade, everything changed. My saw pushed through the wood easier. The cuts were smooth enough to sand lightly and paint. The noise level of the saw even went down. Upgrading your blade is the single fastest way to improve your woodworking projects.
| Stock Included Blades | Upgraded Aftermarket Blades |
| Usually 18 to 24 teeth | Options for 40 to 60+ teeth |
| Built for fast, rough framing | Built for clean, precise cuts |
| Causes heavy splintering | Leaves smooth, paint-ready edges |
| Dull quickly on hard woods | Thick carbide tips last much longer |
Decoding Tooth Count (And Why It Changes Everything)
If you only remember one thing from my experience, let it be this: the number of teeth on your blade determines how the cut will look. Tooth count is the golden rule of cutting wood.
More teeth will give you a smoother cut, but the saw will move slower through the wood. Fewer teeth will give you a faster, rougher cut. You have to match the tooth count to the specific job you are doing.
Ripping Blades (18 to 24 Teeth)
A rip cut is when you cut wood parallel to the grain. Think about cutting a long 2×4 straight down the middle to make it narrower. You are cutting with the natural fibers of the wood.
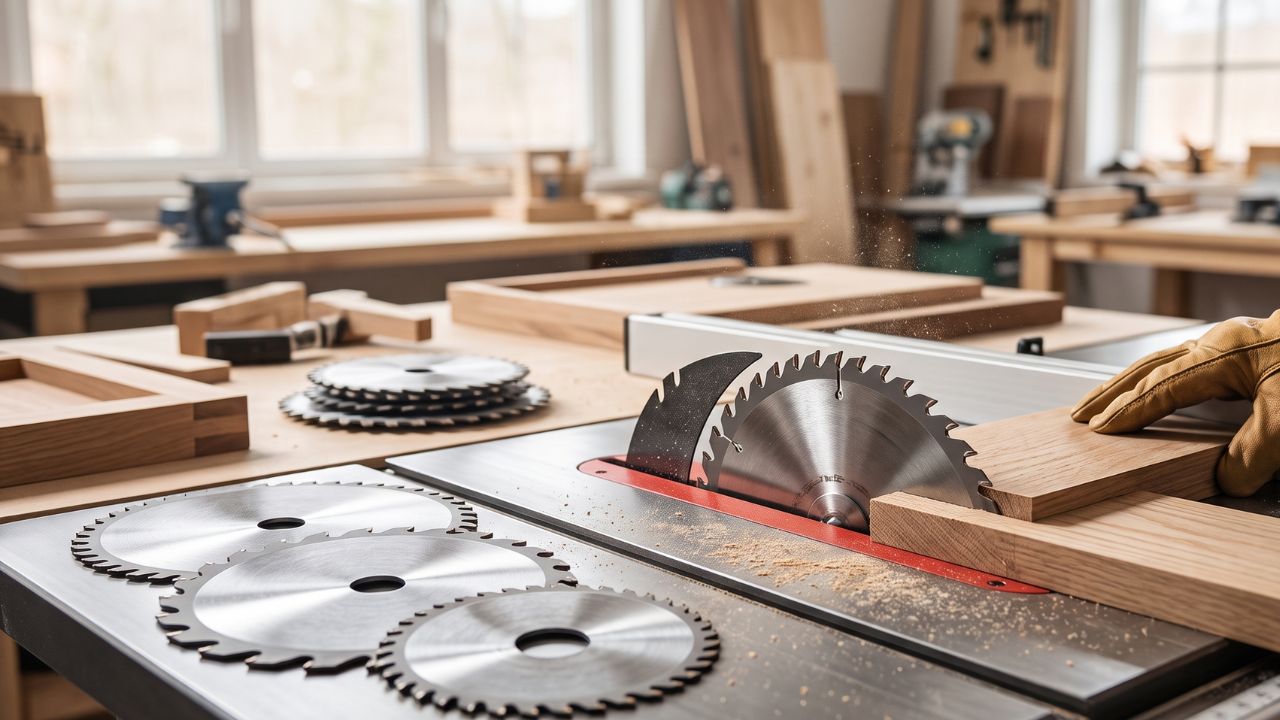
For rip cuts, you want a blade with fewer teeth, usually between 18 and 24. These blades have deep valleys between the teeth. These valleys are called gullets. When you cut with the grain, the wood comes off in long, stringy shavings. The deep gullets scoop out these big shavings and throw them away from the saw. If you try to rip wood with a high-tooth blade, the sawdust gets trapped. The blade gets hot, the wood burns, and your saw motor works too hard.
Crosscutting Blades (40 to 60 Teeth)
A crosscut is when you cut across the grain. Think about chopping a long board into shorter pieces. You are slicing directly through the natural fibers of the wood.
To get a clean crosscut, you need more teeth. A blade with 40 to 60 teeth acts like a series of tiny, sharp knives. It severs the wood fibers cleanly instead of tearing them. I keep a good 40-tooth blade on my saw for about eighty percent of my daily projects. It is a great middle ground for general woodworking.
Check out the top 5 circular saws Best Circular Saw for Woodworking
Plywood and Ultra-Finish Blades (60 to 80+ Teeth)
Plywood is tricky. It is made of thin layers of wood glued together. The top layer is a very thin veneer. If you look at that veneer with a rough blade, it will chip and splinter instantly.
When I cut cabinet-grade plywood or melamine, I use a blade with at least 60 teeth. These blades have tiny teeth and very shallow gullets. They take tiny bites out of the wood. It takes a little longer to push the saw through the material, but the cut comes out looking like glass.
| Your Wood Project | Best Blade Tooth Count |
| Framing a wall with 2x4s | 24 teeth |
| General woodworking and decking | 40 teeth |
| Cutting thick hardwood boards | 40 to 50 teeth |
| Cutting expensive plywood | 60 teeth or more |
| Cutting melamine shelving | 60 teeth or more |
Thin Kerf vs. Full Kerf: What I Learned the Hard Way
When you shop for circular saw blades for wood, you will see the word “kerf” on the package. The kerf is simply the thickness of the cut the blade makes. It is the amount of wood that turns into sawdust.
Understanding kerf saved me a lot of frustration, especially when I switched from a heavy corded saw to a lighter cordless saw.
Why Thin Kerf is Great for Cordless Saws
A thin kerf blade is narrower. Because it is cutting a thinner path through the wood, it encounters less resistance.
If you use a battery-powered circular saw, you absolutely need to use thin kerf blades. My cordless saw used to stall out all the time. The battery would drain after just a few heavy cuts. I realized I had put a thick, full kerf blade on it. The little battery-powered motor just could not push that thick piece of steel through the wood. Once I swapped to a thin kerf blade, the saw felt twice as powerful. The batteries also lasted much longer.
The Downside of Thin Kerf Blades
Thin kerf blades have one major flaw. Because the steel is thinner, it flexes easier.
If you are cutting very thick, hard wood like thick oak or maple, a thin kerf blade might bend slightly when it gets hot. This leaves a cut that is not perfectly straight. If I am using my heavy, 15-amp corded saw to cut thick hardwood, I use a full kerf blade. The thicker steel stays rigid and tracks perfectly straight, no matter how hard the wood is.
| Blade Type | Best Use Case | Downside |
| Thin Kerf | Cordless saws, underpowered saws | Can bend or wobble on hard, thick wood |
| Full Kerf | Powerful corded saws, thick hardwoods | Drains batteries fast, slows down weak motors |
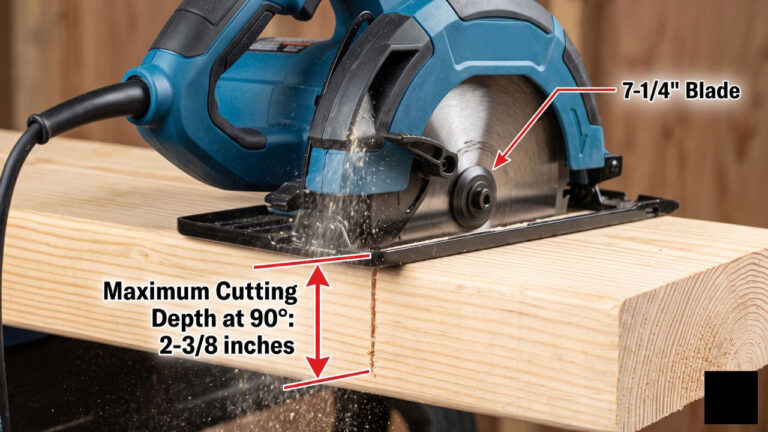
Getting the Blade Depth Right
Buying a great blade is only half the battle. You also have to set the blade depth correctly. This was a safety lesson I had to learn the hard way.
When I first started, I used to drop the blade as deep as it would go and leave it there. I figured a spinning blade was a spinning blade. I was wrong. Leaving the blade fully extended is dangerous and causes terrible cuts.
When the blade is too deep, the teeth enter the wood at a steep vertical angle. This causes the saw to pull upwards, increasing the risk of a dangerous kickback. It also causes massive tear-out on the top of the wood.
The rule I follow now is simple. The teeth of the blade should only stick out about a quarter-inch below the bottom of the wood you are cutting. You should only see one full tooth visible beneath the board. The teeth will enter the wood at a shallow angle. The saw will run smoother, the cut will be cleaner, and you will stay much safer.
My Top Hacks for Zero Tear-Out on Plywood
Cutting plywood smoothly with a circular saw feels like a magic trick when you finally get it right. Besides using a high-tooth blade, I use three specific tricks to keep my plywood edges looking perfect.
Cutting With the Good Side Down
A circular saw cuts exactly the opposite way you might think. The blade spins upwards into the front of the saw. The teeth enter the wood from the bottom and exit through the top.
Because the teeth burst through the top layer of the wood, that is where the splintering happens. The bottom of the cut is almost always perfectly clean. So, if your plywood has a “good” side that will face outward on your project, always put that good side facing down toward the floor when you cut.
The Masking Tape Trick
If I am cutting wood where both sides need to look perfect, I use masking tape.
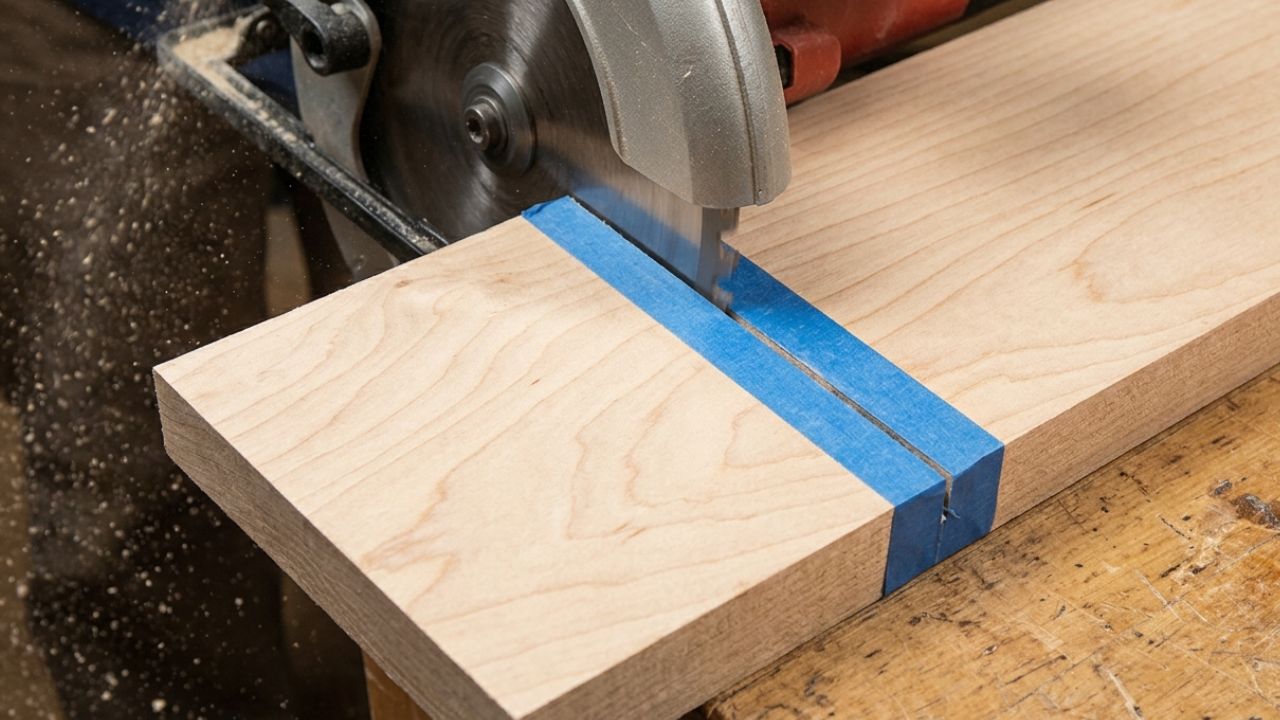
I measure my cut line, and then I put a strip of wide, sticky painter’s tape directly over the line. I draw my pencil mark right on top of the tape. I cut right through the tape and the wood at the same time. The tape holds the delicate wood fibers tightly in place while the blade teeth slice through them. When you peel the tape away, you are left with a razor-sharp edge.
| Tear-Out Cause | My Simple Fix |
| Teeth bursting through the top layer | Cut with the “good” side facing down |
| Fragile top veneer splintering | Apply painter’s tape tightly over the cut line |
| Blade chattering against the wood | Clamp a straight edge to guide the saw smoothly |
Why Your Blade Is Burning the Wood
Have you ever been pushing your saw through a board, only to smell terrible smoke? Then you look at your cut, and the edge of the wood is scorched black.
Wood burning happens because of friction. The blade is rubbing against the wood instead of cutting it. I used to think this meant I needed to throw the blade away. Most of the time, I was wrong.
Sometimes, you burn the wood because you are pushing the saw too slowly. If you stop moving forward, the spinning teeth just sit there rubbing against the wood. Keep the saw moving at a steady, consistent pace.
Other times, the blade is on backwards. Yes, I have done this. Make sure the arrows printed on the blade match the rotation arrow stamped on the metal guard of your saw. The teeth should always point up toward the front of the saw.
Cleaning Your Blade Instead of Throwing It Away
I am embarrassed to admit how many good circular saw blades for wood I have thrown in the trash. I would look at them, see dark brown crud all over the teeth, and assume they were burnt out and dull.
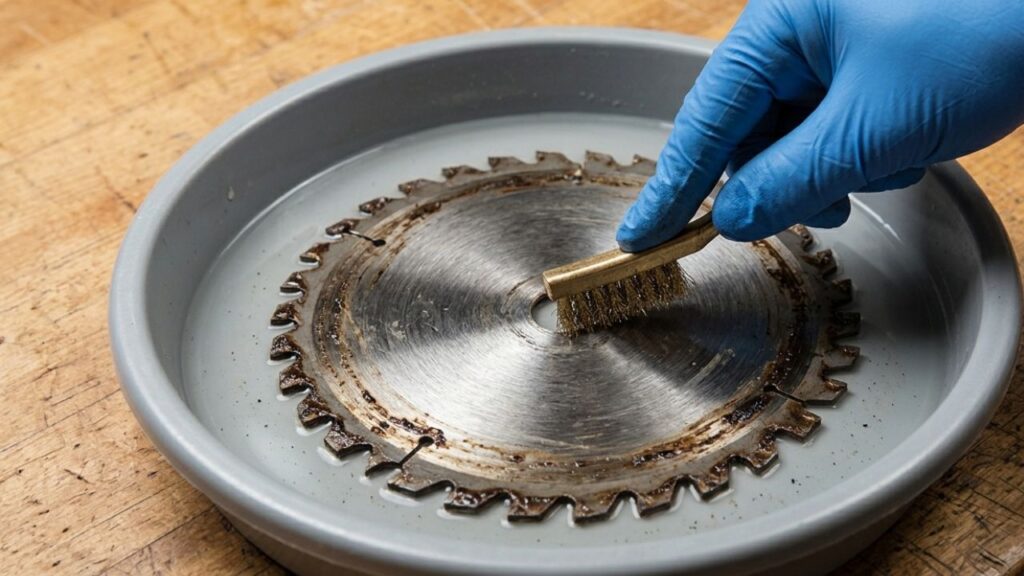
That brown crud is usually just pitch. Pitch is the sticky sap and resin found inside pine boards and other softwoods. When the spinning blade heats up, the sap melts and sticks to the side of the blade and the carbide teeth. As this pitch builds up, it acts like glue. It causes friction, makes the saw cut slowly, and burns your wood.
Your blade might still be perfectly sharp underneath all that gunk.
Now, before I buy a new blade, I clean my old one. I take the blade off the saw and lay it in a plastic pan. I spray it down with a heavy-duty household cleaner or a dedicated blade pitch remover. I let it soak for ten minutes. Then, I take a soft brass wire brush and scrub the teeth. The brown sludge melts right off. When I put the blade back on the saw, it cuts like it is brand new.
| The Symptom | Is it Dirty or Dull? |
| Dark brown, sticky residue on teeth | It is dirty. Soak and scrub with a brass brush. |
| Blade is clean but pushing is very hard | It is dull. Time to replace or sharpen it. |
| The carbide teeth look chipped or missing | It is ruined. Throw it away immediately. |
Knowing When It Is Time for a New Blade
Even if you clean them regularly, circular saw blades for wood will eventually get dull. The carbide tips on the teeth do a lot of hard work.
I know it is time to throw a blade away when I have to force the saw through the wood. A sharp blade wants to cut. You should only have to guide the saw gently forward. If your arm is getting tired from pushing, the blade is dead.
I also inspect the teeth closely. Sometimes, you hit a hidden nail or a hard knot in the wood. This can chip or break the carbide tips right off the steel blade. If you see missing teeth, stop using the blade immediately. It is unsafe, unbalanced, and will ruin your wood.
Final Thoughts
Learning how to choose and use the right circular saw blades for wood changed the way I build things. I stopped getting frustrated by jagged cuts and ruined materials. Taking the time to match the tooth count to the job makes the work easier, safer, and much better looking.
If you are still using the stock blade that came with your saw, do yourself a favor and upgrade it today. Grab a good quality 40-tooth blade for your everyday projects, keep it clean from sticky pine sap, and remember to set your cut depth properly. You will be amazed at how much better your saw performs.