7-1/4 Circular Saw Cutting Depth: My Honest Guide
I remember buying my first power saw years ago. I stared at the box, trying to figure out if it was the right tool for building a deck. I quickly realized that knowing your 7-1/4 circular saw cutting depth is the most important detail of all.
You do not want to find out your saw cannot cut through a board when you are already halfway through the cut. I made that mistake early on. I ruined a few good pieces of wood because I did not understand the true limits of my tool. Let me share exactly what I have learned about how deep these saws can actually cut, and how to use them the right way.
The Basic Numbers You Need to Know
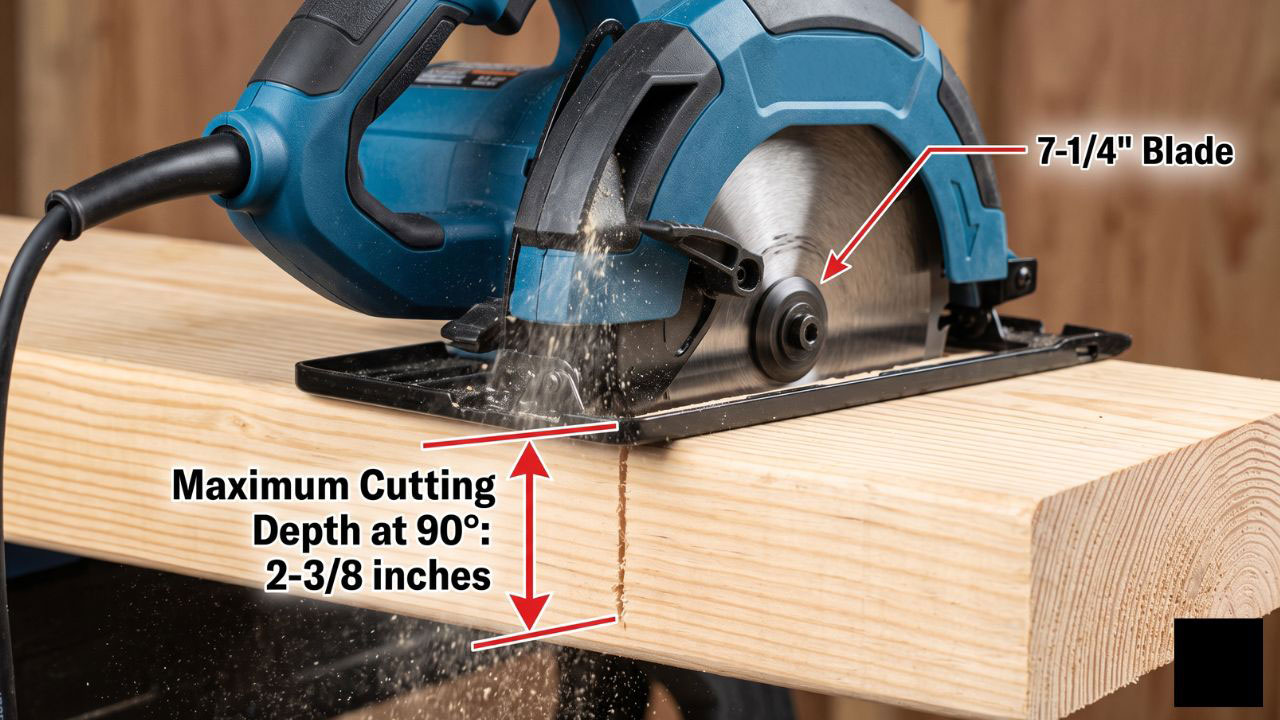
Knowing the math behind your tool will save you a lot of frustration. A 7-1/4 inch blade is the standard size for most DIY and professional saws.
But the blade size does not mean you get seven inches of cutting depth. The motor arbor sits right in the middle of the blade. The metal shoe, or base plate, also takes up some space. This leaves you with a very specific working depth.
Cutting at a Standard 90 Degrees
When you hold the saw perfectly straight, you get your maximum reach. For almost every 7-1/4 inch saw on the market, the maximum cutting depth at 90 degrees is 2-3/8 inches.
Some premium models might push this to 2-1/2 inches. This depth is perfect for most framing jobs. It is more than enough to slice clean through standard framing lumber in a single pass.
Cutting at a 45-Degree Bevel
Things change quickly when you tilt the blade. Bevel cuts are common when building frames, roofs, or making decorative joints.
When you tilt your saw to a 45-degree angle, your 7-1/4 circular saw cutting depth drops. It usually maxes out around 1-13/16 inches or 1-7/8 inches. The sharp angle eats up a lot of the blade’s reach. You have to plan ahead if you are beveling thicker boards.
| Cut Angle | Average Max Depth | Can It Cut a 2×4 in One Pass? |
| 90 Degrees (Straight) | 2-3/8 inches | Yes |
| 45 Degrees (Bevel) | 1-13/16 inches | Yes |
| 50 Degrees (Extreme Bevel) | 1-5/8 inches | Barely |
Tackling Common Lumber Sizes
I used to get confused by lumber sizing. A 2×4 is not actually two inches by four inches. It is 1.5 inches by 3.5 inches.
Because of this, your saw will handle different types of wood in very different ways. Knowing how your tool acts with specific lumber is a game changer. It saves time and keeps your cuts looking professional.
Cutting 2x4s and 2x6s
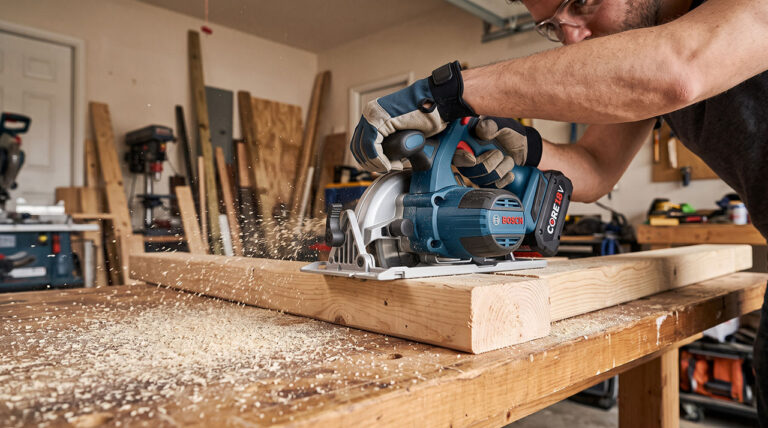
Your 7-1/4 inch saw is built specifically to conquer these boards. Since a standard 2×4 or 2×6 is only 1.5 inches thick, your saw cuts them easily.
Even if you tilt the blade to a 45-degree bevel, you still have about 1-13/16 inches of depth. That is just enough to make it through the 1.5-inch thickness of the wood. This is why the 7-1/4 inch size is the undisputed king of framing.
The Famous 4×4 Problem
Here is where I hit my first major roadblock. I was building a mailbox post out of a 4×4. A standard 4×4 is 3.5 inches thick.
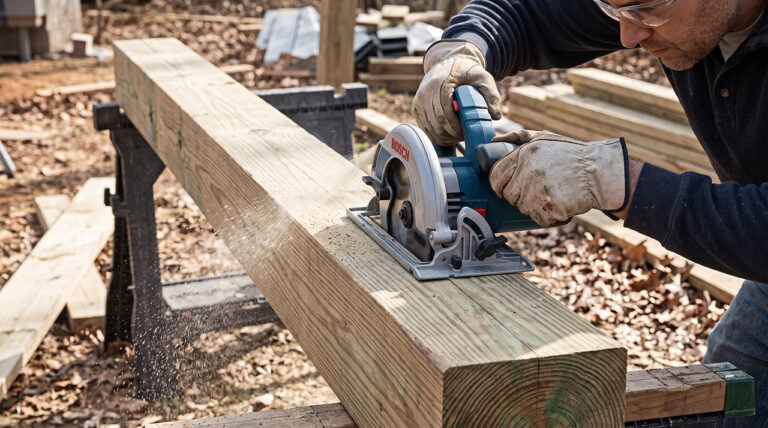
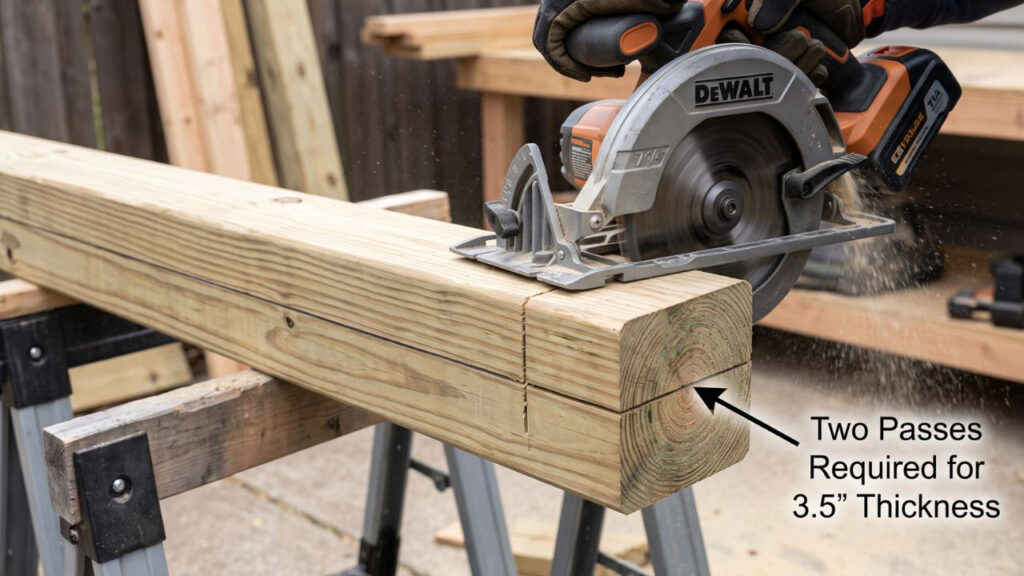
Since a 7-1/4 circular saw cutting depth is only 2-3/8 inches, it cannot cut through a 4×4 in one pass. The blade just will not reach the bottom. You will be left with about an inch of solid wood in the middle.
My Method for Cutting 4x4s
You have to cut a 4×4 in two passes. First, use a speed square to draw a straight pencil line all the way around the post.
Make your first cut. Then, flip the post over. Follow the line on the other side and make the second cut. If you kept your lines straight, the two cuts will meet perfectly in the middle. I usually keep some sandpaper nearby just to smooth out the tiny ridge left behind.
| Lumber Type | Actual Thickness | Requires Two Passes? |
| Standard 2×4 | 1.5 inches | No |
| Standard 4×4 | 3.5 inches | Yes |
| Standard 6×6 | 5.5 inches | Yes (and a handsaw) |
Setting Your Blade Depth Correctly
A big mistake I used to make was leaving my saw at maximum depth all the time. I figured deeper was better. I was very wrong.
Leaving the blade fully extended for every cut is dangerous. It also makes your cuts look terrible. You have to adjust the saw base for the specific wood you are cutting.
The One Tooth Rule I Swear By
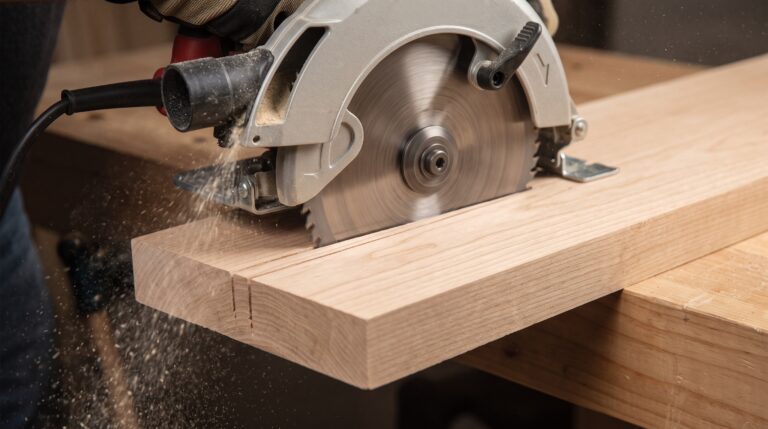
Here is the best habit you can learn. When you set your blade depth, only one full saw tooth should stick out below the wood.
If you are cutting a piece of half-inch plywood, you do not need two inches of blade hanging underneath. Just lower the base plate until the blade barely peeks through the bottom of the wood.
Why Maximum Depth Ruins Thin Wood
When you use too much blade on thin wood, the angle of the teeth changes. The teeth enter the wood almost straight up and down.
This causes massive tear-out. The wood will splinter, and your clean line will look like it was chewed by a dog. Plus, exposing too much blade increases the chance of kickback if the saw hits a knot.
| Depth Setting Mistake | Why It Causes Problems | My Simple Fix |
| Blade set way too deep | Causes severe splintering | Use the “One Tooth” rule |
| Blade set too shallow | Saw rides up out of the cut | Check depth before starting |
| Never adjusting the shoe | Strains the motor on thin wood | Adjust shoe for every project |
Best Circular Saw for Woodworking
How Saw Design Changes Cutting Depth
Not all saws are created equal. Even if two saws use the exact same blade size, their actual reach might be slightly different.
I noticed this when I upgraded from a cheap corded saw to a nice cordless model. The body of the saw dictates how much of the blade can actually do the work.
The Difference in Base Plates
The metal shoe at the bottom of the saw varies by brand. Some brands use a thick, heavy-duty magnesium shoe.
While magnesium is incredibly tough and lightweight, a thicker plate eats up a tiny bit of your cutting depth. It might only be a fraction of an inch, but it matters when you are trying to bevel cut a thick board.
Corded vs Cordless Limitations
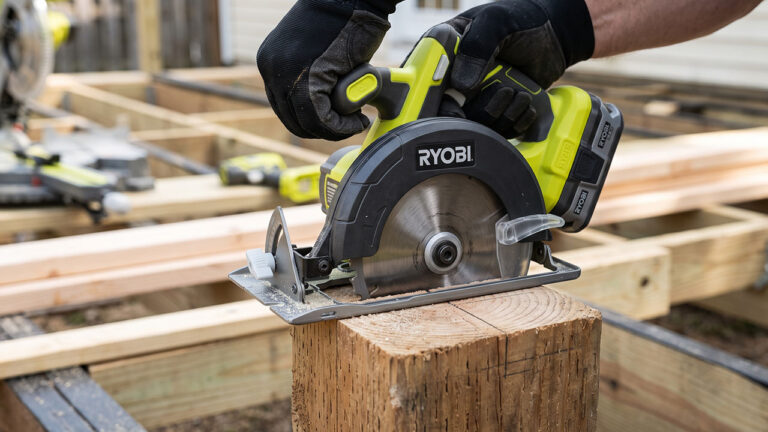
Cordless saws are amazing. I use mine all the time. But batteries are bulky.
On some older cordless models, the battery sits low on the tool. If you tilt the saw to a steep angle, the battery might hit the wood before the blade gets through. Always test your maximum bevel clearance before you start a serious project.
| Saw Feature | How It Impacts Depth | What To Watch Out For |
| Thick Magnesium Shoe | Steals a tiny fraction of reach | Great for durability, less for depth |
| Low Battery Placement | Blocks extreme bevel cuts | Test clearance on 45-degree angles |
| Worm Drive Motor | Usually offers better clearance | Saws are much heavier to hold |
Safety Realities When Maxing Out Your Saw
Pushing your tool to its absolute limit requires caution. When you bury the blade fully into a thick piece of wood, the tool works much harder.
Friction increases. The motor heats up. The risk of the tool jumping back at you goes way up. You have to respect the tool when you are using its full cutting depth.
Dealing With Wet or Treated Lumber
Cutting a dry pine 2×4 is easy. Cutting a soaking wet, pressure-treated 2×12 is a completely different story.
When you use your maximum 7-1/4 circular saw cutting depth on wet wood, the wood fibers swell. They pinch the blade. I have had my saw stop dead in its tracks because the wet wood grabbed the metal. Go slow. Do not force the saw forward.
Avoiding Dangerous Kickback
Kickback happens when the blade gets pinched and the saw violently throws itself backward. It is terrifying.
When making very deep cuts, make sure your wood is supported properly. Do not let the cut ends sag inward. If they sag, they will pinch the top of the blade. Always let the cut piece fall away freely.
| Safety Hazard | The Warning Sign | How I Prevent It |
| Blade Pinching | Motor bogs down and whines | Support both sides of the wood |
| Burning Wood | Smoke comes out of the cut | Push slower, or change a dull blade |
| Kickback | Saw violently jumps back | Never stand directly behind the saw |
When to Consider a Different Saw
Sometimes, the 7-1/4 inch blade is just not enough. I love my standard saw, but it has its limits.
If you are constantly fighting to cut thick materials, you might be using the wrong tool. It is better to use the right tool than to force a small tool to do a massive job.
Cutting Large Posts Frequently
If you build a lot of fences or decks, you will cut hundreds of 4×4 or 6×6 posts. Flipping every single post gets annoying fast.
Some companies make larger circular saws, like 8-1/4 inch or even 10-1/4 inch models. These big saws will slice straight through a 4×4 in one easy pass. They are heavy and expensive, but they save hours of labor.
Plunge Tracks and Cabinetry
If you are cutting expensive hardwood plywood for cabinets, a standard circular saw can feel a bit clumsy.
A track saw is usually a better choice here. While a standard 7-1/4 saw can make the cut, a track saw plunges down perfectly and leaves a glass-smooth edge. Use your standard saw for rough framing, and specialty tools for fine woodworking.
| Project Type | Standard 7-1/4 Saw Good Enough? | Better Alternative |
| Basic Wall Framing | Absolutely perfect | None needed |
| Cutting lots of 4×4 posts | Annoying (requires flipping) | 10-1/4 inch Circular Saw |
| High-end Cabinetry | Too rough on edges | Dedicated Track Saw |
Final Thoughts
Learning the exact limits of your tools makes DIY projects so much more enjoyable. I used to guess if my saw could make a cut. Now I know for a fact. Understanding your 7-1/4 circular saw cutting depth saves you time, prevents ruined lumber, and keeps you safe in the workshop.
Just remember to adjust your base plate, respect the thickness of your wood, and never force the blade. If you let the saw do the work and plan your cuts properly, this single tool can build almost anything. Grab your square, mark your lines, and cut with confidence.