How to Cut Branches With a Chainsaw (Without Getting Stuck)
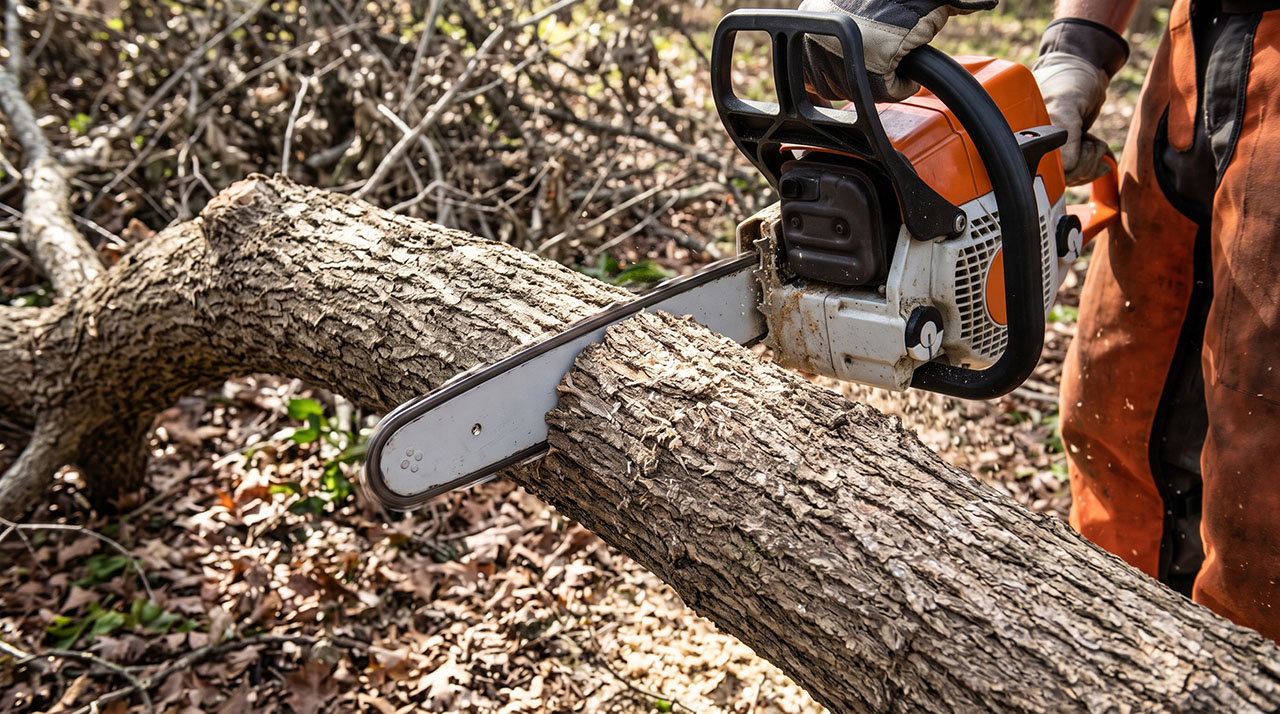
The first time I tried to clean up my overgrown backyard, I had no idea how to cut branches with a chainsaw. I just grabbed my new saw, aimed the blade at a thick oak limb hanging over my lawn, and squeezed the trigger. I started cutting straight from the top down, assuming the tool would do all the hard work for me.
Five seconds later, gravity took over. The weight of the heavy branch dropped slightly, clamping the wood shut right over my metal guide bar. My chainsaw was completely stuck, and the engine choked out. I had to wedge the saw out with a pry bar. That frustrating afternoon taught me a huge lesson. Cutting branches is not just about raw engine power. It is about reading gravity, managing wood tension, and using the right technique. Here is exactly what I learned to make the job safe, easy, and stress-free.
Why I Had to Learn This the Hard Way
I bought a property surrounded by mature, messy trees. After every big storm, I found myself dragging heavy limbs across the yard. Paying a tree service every single time quickly became too expensive. I realized I needed to handle basic maintenance myself.
The Mistake That Ruined My Weekend
My biggest early mistake was ignoring the physical weight of the tree. I treated tree branches like two-by-fours sitting on a workbench. But a living tree branch is heavy, wet, and under immense pressure.
When you cut into it, the wood shifts. If you do not plan for that shift, the wood will trap your saw. Worse, the falling branch can peel a massive strip of bark right down the side of the main tree trunk, leaving the tree exposed to bugs and disease.
| Mistake | Better Approach |
| Cutting straight through from the top | Using the three-step cutting method |
| Standing directly under the branch | Standing off to the side at an angle |
| Cutting close to the trunk first | Cutting the heavy weight off first |
Essential Gear Before You Pull the Cord
Before we talk about exactly how to cut branches with a chainsaw, we have to talk about safety gear. I used to think safety glasses and a pair of jeans were enough. I was wrong.
A chainsaw does not cut like a knife. It rips wood away at high speeds. If a chain derails or kicks back, regular clothing will not stop it. I finally invested in proper personal protective equipment (PPE), and it completely changed my confidence level while working.
| Gear Item | Why You Need It |
| Chainsaw Chaps | Built with fibers that instantly jam the chainsaw sprocket if struck. |
| Safety Helmet with Visor | Protects your head from falling deadwood and your eyes from sawdust. |
| Anti-Vibration Gloves | Gives you a solid grip and stops your hands from going numb. |
| Steel-Toe Boots | Protects your feet from heavy, dropping branches. |
Understanding Branch Tension (The Real Secret)
The biggest secret to cutting branches without getting your saw trapped is understanding tension and compression. This was a massive lightbulb moment for me.
Every branch has a side that is stretching (tension) and a side that is squeezing together (compression). If you cut into the squeezing side first, the wood will clamp down on your saw. If you cut into the stretching side first, the cut will open up and release the pressure.
Top Bind vs. Bottom Bind
You have to look at how the branch is sitting before you rev the engine.
Think about a heavy branch hanging out from a tree trunk. Gravity is pulling the tip downward. This means the top of the branch is stretching out. The bottom of the branch is squeezing together. If you cut from the bottom up, the wood clamps your saw.
| Bind Type | What It Means | Where to Cut First |
| Top Bind | Wood is supported on both ends and sagging in the middle. | Cut the bottom first, then finish from the top. |
| Bottom Bind | Wood is hanging down, supported only at one end. | Cut the top first, then finish from the bottom. |
The Three-Step Method: How to Cut Branches With a Chainsaw Properly
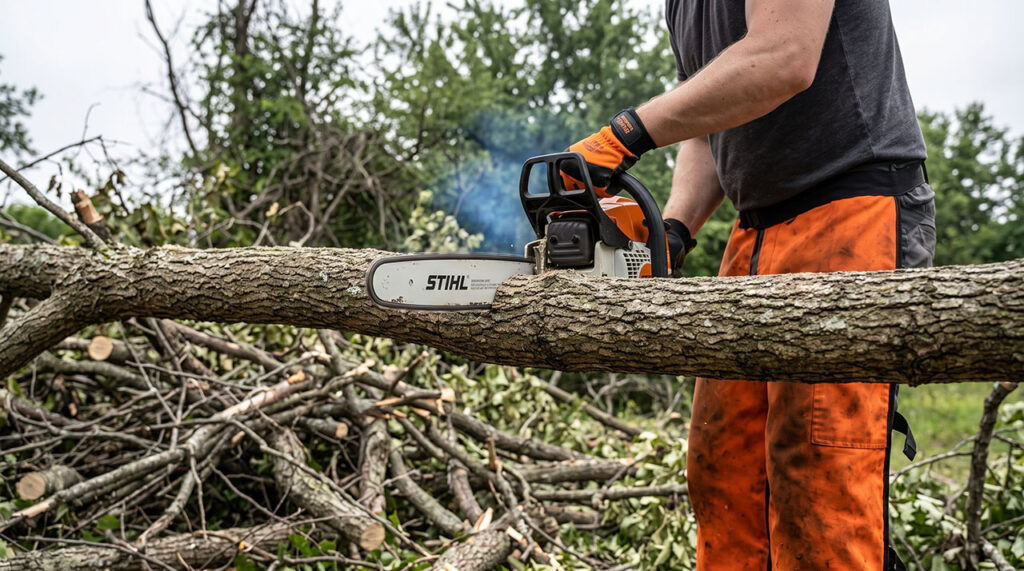
If you take nothing else away from my experience, memorize this technique. The three-step cut is the only way you should ever remove a heavy branch from a tree.
It completely prevents your chainsaw from getting pinched. It also stops the heavy branch from peeling bark down the trunk of your tree when it finally snaps off.
Step 1: The Under-Cut
Do not start cutting flush against the tree trunk. Move out about one to two feet away from the trunk.
Start your chainsaw and make a cut underneath the branch, cutting upward. You only want to cut about one-third of the way through the branch. Stop cutting as soon as you feel the saw start to get tight. This simple under-cut creates a breaking point. When the branch eventually falls, the wood will snap right at this line instead of tearing bark down the side of your tree.
Step 2: The Top Cut
Now, move your saw about an inch or two further out on the branch (away from the trunk).
Start cutting down from the top. Let the saw do the work; do not force it down. As your chain goes through the wood, the weight of the branch will cause it to snap perfectly at your first under-cut. The heavy part of the limb will fall to the ground safely, leaving a short, manageable stub attached to the tree.
Step 3: The Final Clean Cut
Now that the heavy, dangerous weight is safely on the ground, you can remove the stub.
Look for the “branch collar.” This is the swollen, wrinkled area where the branch connects to the main trunk. You want to cut just outside this collar. Do not cut completely flush into the main trunk, as this harms the tree. Slice cleanly from top to bottom. Because the weight is gone, your saw will glide right through without getting stuck.
| Step | What You Do | Why It Matters |
| 1. Under-Cut | Cut 1/3 up from the bottom, 12 inches out. | Creates a clean breaking line to save the bark. |
| 2. Top Cut | Cut down from the top, 14 inches out. | Drops the heavy weight safely to the ground. |
| 3. Final Cut | Cut off the remaining stub at the collar. | Leaves a clean wound so the tree can heal. |
Dealing with Small Limbs and Brush
When I first started, I thought huge branches were the scariest part of the job. I quickly learned that small, springy limbs are actually much more annoying and sometimes more dangerous.
Thin branches bend easily. When you touch them with a running chain, they do not always cut right away. Instead, they catch the chain, bend backward, and whip forward.
Why Small Branches Are Tricky
We call this “spring poles” or whip-back. Small branches can hold a surprising amount of energy.
When you cut small brush, the chain often grabs the thin wood and shakes it violently. This can easily throw the chain right off your guide bar. To deal with this, I learned to use the part of the chainsaw bar closest to the engine (the bumper spikes) for small branches. Resting the saw against the wood before hitting the throttle keeps the thin branches from shaking wildly.
| Hazard | How to Avoid It |
| Branch whipping back | Rest the base of the chainsaw bar against the wood. |
| Chain derailing | Keep your chain tension tight; check it often. |
| Tangled brush | Clear small vines with loppers before using a chainsaw. |
Chainsaw Safety Habits I Swear By Now
Learning how to cut branches with a chainsaw is a continuous process. Over the years, I have developed strict habits. I never break these rules, even if I am just making one quick cut.
Familiarity breeds complacency. The moment you stop respecting the chainsaw is the moment you get hurt.
Avoiding the Kickback Zone
Kickback is the scariest thing a chainsaw can do. It happens when the upper half of the tip of the chainsaw bar touches something solid.
The chain catches the wood, but instead of cutting, the force throws the entire chainsaw up and back toward your face in a fraction of a second. I experienced a minor kickback once when my bar tip brushed against a hidden branch. It was terrifying. Now, I constantly watch where the tip of my bar is located. I never cut with the tip.
Keeping Your Workspace Clear
It sounds like obvious advice, but keeping your feet clear is vital.
When you are cutting a bunch of limbs, the ground gets messy fast. Walking around with a running chainsaw while stepping over logs is a recipe for a bad fall. I force myself to stop, turn the saw off, and toss the cut branches out of my way before moving on to the next one. A clear workspace keeps you on your feet.
| Common Myth | The Reality |
| A dull chain is safer because it cuts slower. | A dull chain is dangerous. It forces you to push hard, causing slips. |
| I can reach above my head if the branch is small. | Never cut above shoulder height. You lose all control of the saw. |
| I can hold the saw with one hand to reach further. | A chainsaw requires two hands at all times to control kickback. |
When to Call a Pro Instead
Part of learning how to cut branches with a chainsaw is knowing when to put the tool down.
I love doing my own yard work, but I am not a professional arborist. Some jobs are simply too dangerous for a homeowner standing on a ladder. In fact, using a chainsaw on a ladder is one of the worst ideas possible. The force of a falling branch can easily knock the ladder right out from under you.
| Scenario | My Recommendation |
| Branch is resting on a power line | Do not touch it. Call the utility company immediately. |
| Branch is higher than my shoulders | Use a manual pole saw, or call a professional tree service. |
| Branch is massive and hanging over my roof | Hire an arborist. One mistake will cost thousands in roof repairs. |
Final Thoughts
Learning how to cut branches with a chainsaw completely changed the way I handle my property. Once I understood how branch tension works and started using the three-step method, the job went from frustrating to incredibly satisfying. There is a real sense of accomplishment when you safely drop a massive limb right where you want it.
Take your time, buy the right safety gear, and always read the wood before you start the engine. Do not rush the process. Let the sharp chain do the heavy lifting. What kind of tree project are you planning to tackle first with your chainsaw?