Stihl Chainsaw Chain Adjustment: My Guide to Getting It Right
I still remember the first time I bought a chainsaw. I was eager to cut some firewood and completely ignored the manual. Within twenty minutes, my chain slipped off the guide bar. It smacked the chain catcher hard. That scared me. I quickly learned that a proper Stihl chainsaw chain adjustment is not just a suggestion. It is the most important skill you need before you even start the engine.
Over the years, I have made every mistake possible with my saws. I have tightened chains until they warped my guide bars. I have left them so loose they derailed. Getting the tension right seems tricky at first. But once you learn the feel of it, the process takes less than a minute. Here is everything I have learned about getting your chain tension perfect every single time.
Why Proper Stihl Chainsaw Chain Adjustment Matters
Keeping your chain at the right tension keeps you safe. It also protects your saw from expensive damage.
When your chain is set right, the saw cuts faster and smoother. If the tension is wrong, you will fight the saw all day. You will also wear out your bar and sprocket very fast. I learned this the hard way after ruining a brand new guide bar in one weekend.
| Chain Condition | What Happens to the Saw | Real World Risk |
| Too Loose | Drive links slip out of the bar groove. | High risk of chain derailment. |
| Too Tight | Extreme friction builds up fast. | Snapped chain or ruined engine bearings. |
| Just Right | Chain glides smooth along the bar. | Safe, fast, and easy cutting. |
The Danger of a Loose Chain
A loose chain is a major safety hazard. If it hangs below the bar, it can easily catch on a branch.
When it catches, it can jump right out of the groove. This is called a thrown chain. The chain catcher on your Stihl will usually stop it from hitting your hand. But it will still wreck your drive links. You will have to file them down to make the chain fit the bar again. That is a chore I highly suggest you avoid.
The Problem with a Tight Chain
Most beginners over-tighten their chains. They are so scared of a loose chain that they crank the screw too hard.
A tight chain chokes the engine. It creates so much heat that the bar oil burns off instantly. You will see smoke coming from your guide bar. I once tightened a chain too much and it stretched the metal so badly I had to throw the chain away. Always remember that metal needs room to move.
Tools You Need for the Job
You do not need a massive tool kit for this. You just need the basic tool that came with your saw.
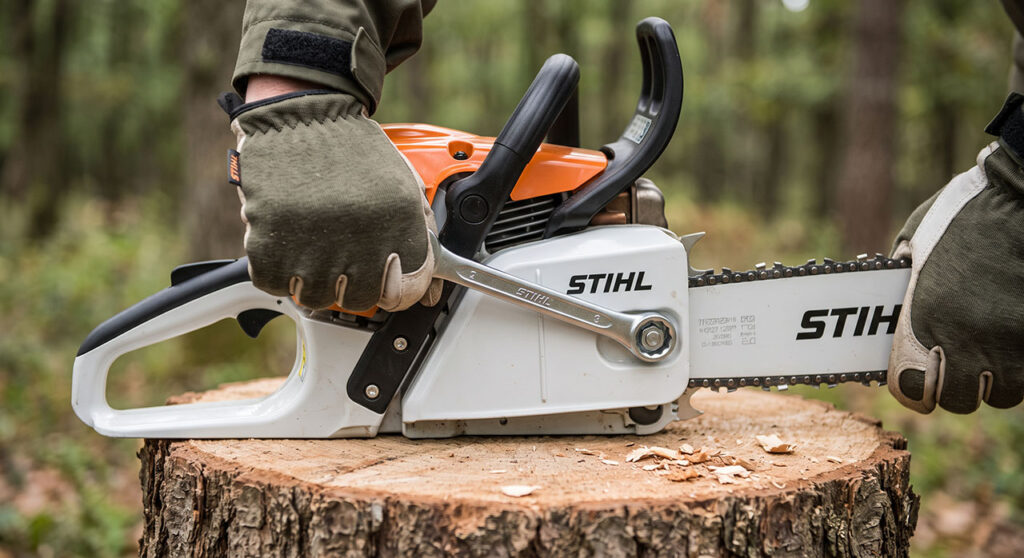
Stihl provides a combination wrench with every chainsaw. Most people call this a scrench. It has a socket on one end and a flathead screwdriver on the other. This single tool does everything you need for tensioning. Keep it in your pocket when you cut wood. You will use it a lot.
| Tool | What It Does | Why You Need It |
| Stihl Scrench | Turns bar nuts and tension screw. | It is the only tool required. |
| Work Gloves | Protects your hands from sharp cutters. | Chains will slice your fingers open easily. |
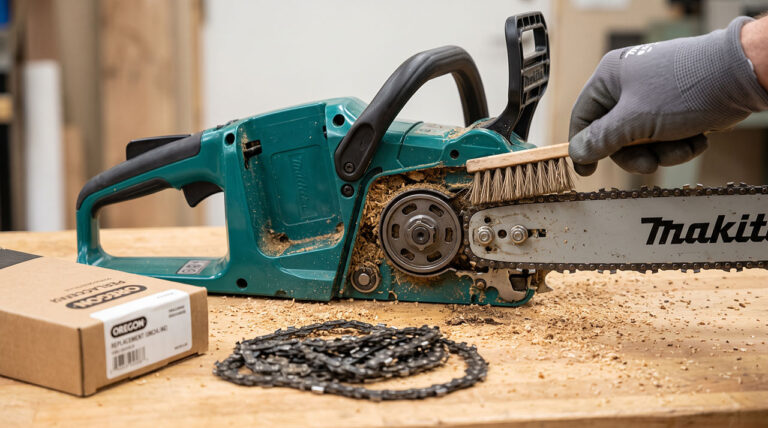
| Cleaning Brush | Clears dirt from the tension gear. | Dirt stops the screw from turning smoothly. |
My Step-by-Step Stihl Chainsaw Chain Adjustment
This is the exact method I use every time I pick up my saw. It is fast, safe, and works on almost every gas-powered model.
Before you start, make sure the saw is turned off. Let it cool down if you just used it. Put on your thick work gloves. The teeth on a Stihl chain are razor sharp even when dull. Do not touch the chain with bare hands.
Step 1: Loosen the Bar Nuts
The first step is to free the guide bar so it can move.
Use your scrench to loosen the nuts on the side cover. Do not take the nuts completely off. Just back them off about one full turn. The guide bar needs to slide back and forth easily. If you leave the nuts too tight, turning the tension screw will strip the internal gears. I ruined a tensioner once by forgetting this exact step.
Step 2: Lift the Bar Nose
This is the secret step that most beginners miss. It changes everything.
Grab the tip of the guide bar and lift it up. Hold it up while you do the entire adjustment. When you cut wood, the pressure pushes the bar tip up anyway. If you adjust the chain with the tip resting down, the chain will instantly go loose the moment you start cutting. Always hold the nose up.
Step 3: Turn the Tension Screw
Now it is time to actually adjust the tension.
Look for the tensioning screw. On most modern Stihl saws, it is on the side cover between the two bar nuts. On older models, it faces the front of the saw near the bar teeth. Take your flathead screwdriver and turn the screw slowly. Watch the bottom of the guide bar as you turn.
| Turning Direction | Mechanical Action | What You Will See |
| Turn Right (Clockwise) | Pushes the guide bar forward. | The chain tightens against the bar. |
| Turn Left (Counter-Clockwise) | Pulls the guide bar back. | The chain sags down away from the bar. |
Step 4: The Snap Test
This is how you know your Stihl chainsaw chain adjustment is perfect.
While still holding the bar nose up, grab the chain in the middle of the bottom bar rail. Pull the chain straight down. You should see three or four drive links come out of the groove. Now, let go. The chain should snap right back into place. It should rest snug against the bottom of the bar with no sag. Finally, tighten your bar nuts down hard.
The Hot Chain Mistake I Made
This is the hardest lesson I ever learned about chainsaw maintenance.
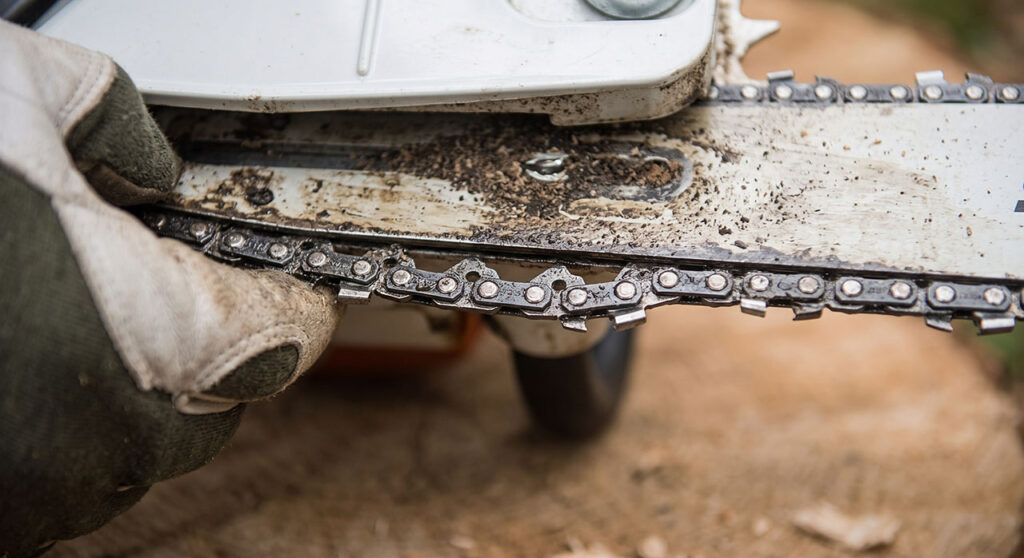
When you cut wood, the chain gets very hot. Heat makes metal expand. A hot chain will stretch and look very loose. When I first started, I would see my hot chain sagging. I would immediately grab my scrench and tighten it up. Then I would put the saw away in my garage. This was a massive mistake.
| Chain Temperature | What The Chain Does | What You Should Do |
| Hot (During Work) | Expands and gets loose. | Adjust if severely loose, but loosen again after work. |
| Cold (After Resting) | Shrinks and gets tight. | Perfect time to set your permanent tension. |
When that hot, tight chain cooled down, the metal shrank. It shrank so tight that it bent my chainsaw crankshaft. It ruined the saw completely. Never leave a hot chain fully tightened when you store your saw. Always loosen the nuts a bit before you put it away for the day. Set your final tension only when the chain is ice cold.
Cleaning the Guide Bar Groove First
A bad Stihl chainsaw chain adjustment is often just a dirty saw in disguise.
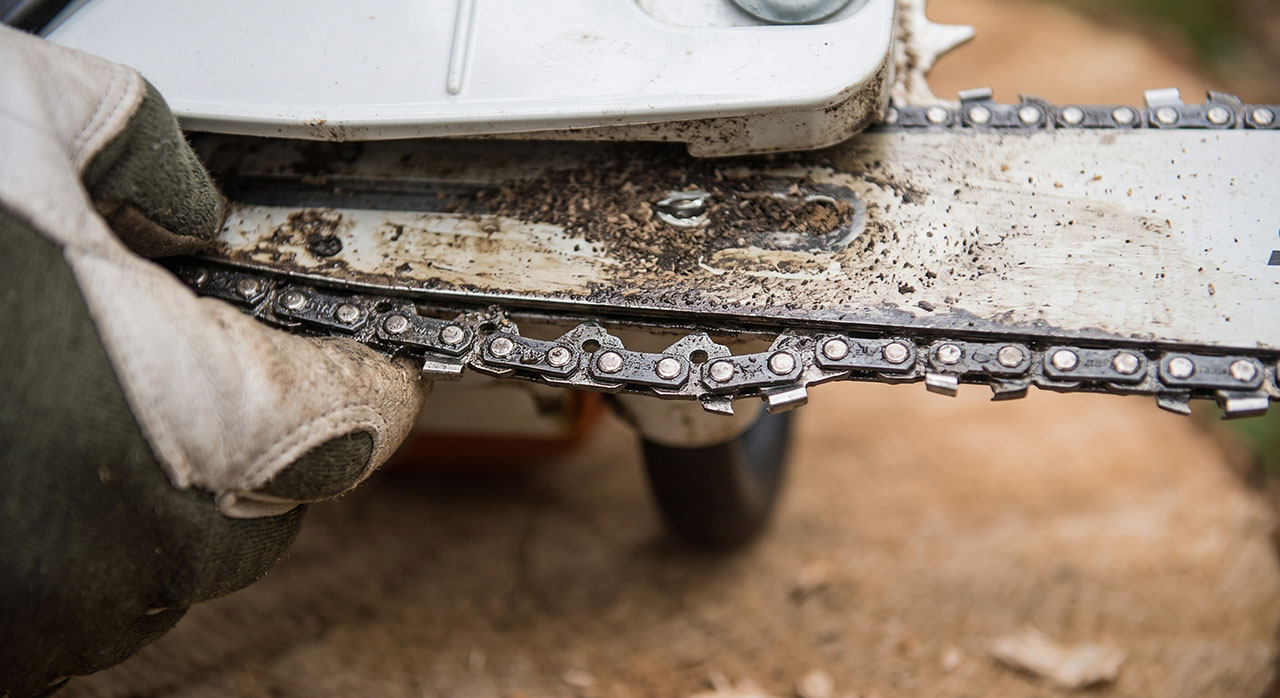
Chain oil mixes with sawdust to create a thick, sticky glue. This sludge packs directly into the groove of your guide bar. When the groove is packed with dirt, the drive links cannot sit deep enough. The chain will feel tight, but it is actually just riding on top of the dirt.
When you start the saw, the dirt gets pushed out. Suddenly, your chain is hanging two inches below the bar. I make it a habit to clean the bar groove every time I add gas. Take a small putty knife or a piece of wire. Scrape all the oily sawdust out of the rails. Your chain will tension much smoother.
Standard vs Quick Chain Tensioning
Stihl makes two different types of tensioning systems. You should know which one you have.
Most professional saws use the standard system with bar nuts and a side screw. Some homeowner models use the Quick Chain Tensioning system. This system has a black wheel and a flip-out lever. You do not need tools for it. You just flip the lever, turn the wheel, and lock it down.
| System Type | Best Feature | Biggest Drawback |
| Standard (Scrench) | Very durable and rarely breaks. | Requires carrying a tool everywhere. |
| Quick Tensioning | Fast and completely toolless. | Plastic gears can strip if forced. |
I personally prefer the standard nuts and scrench. It feels more secure to me. The quick tensioning system is great for yard work, but you have to keep the gears very clean. If sawdust gets in the plastic wheel, it jams up. If you have the quick system, brush it out frequently.
Troubleshooting Stihl Chainsaw Chain Adjustment Problems
Even when you know what you are doing, things go wrong. Wood cutting is a dirty, rough job.
Sometimes the saw simply refuses to cooperate. Over time, parts wear out. Screws get bent. Bars get pinched. Here are the most common issues I have faced and exactly how I fixed them in the woods.
The Chain Keeps Coming Loose
This is the most common frustration. You tighten the chain, make one cut, and it is loose again.
First, check if your chain is brand new. New chains experience a break-in period. The metal stretches a lot during the first tank of gas. You will have to adjust a new chain four or five times on the first day. This is totally normal.
If it is an old chain, check your bar nuts. If the nuts are stripped, they cannot hold the bar in place. The vibration of the engine pushes the bar back, causing the chain to slack. Replace the nuts. Also, check your bar oil. If the saw is not oiling, the chain gets insanely hot and stretches instantly.
| Problem | Most Likely Cause | Easy Fix |
| Rapid Loosening | New chain breaking in. | Keep tightening until stretching stops. |
| Won’t Tighten | Bar nuts are slipping. | Buy new nuts and clean the threads. |
| Overheating | No bar oil reaching chain. | Clean oil port and refill oil tank. |
The Tension Screw is Stuck
There is nothing worse than a tension screw that refuses to turn.
Do not force it. If you strip the head of that screw, you have a big repair job ahead of you. The most common cause of a stuck screw is a bound-up adjustment pin. The pin that sticks into the guide bar hole might be wedged tight.
Loosen the bar nuts completely. Take the side cover off. Remove the bar and chain. Now try to turn the screw. Usually, with the pressure off, it turns easily. Clean out all the sawdust packed around the screw threads. Add one drop of machine oil to the threads. Put the saw back together. It should turn like butter now.
The Drive Links Won’t Seat
Sometimes you pull the chain for the snap test, and it won’t snap back into the bar.
This usually means you have burrs on your drive links. When a chain gets thrown off the bar, the metal links hit the metal chain catcher. This dents the links. They get wide and flat. They simply will not fit back into the narrow bar groove. You can fix this by taking a flat file and smoothing out the damaged links. If too many are damaged, just buy a new chain. It will save you a headache.
Final Thoughts
Learning proper Stihl chainsaw chain adjustment completely changed how I cut wood. I used to dread the moment my chain got loose because it felt like a frustrating chore. Now, it is just a quick ten-second pause in my day. Paying attention to the tension makes your saw cut like a dream and keeps you incredibly safe.
My biggest piece of advice is to check your tension every single time you add fuel. Make it a habit. Lift the bar nose, do the snap test, and clean your bar groove often. If you treat your Stihl well and respect the limits of the metal, that saw will easily last you a lifetime.