Saker Mini Chainsaw Troubleshooting: My Quick Fixes
I bought my first mini chainsaw last spring to clear out some overgrown bushes around my fence. It worked like magic for the first hour, and then it just suddenly stopped. That is exactly how my journey into Saker mini chainsaw troubleshooting began. I was standing in my backyard, covered in sawdust, staring at a tool that simply refused to cut.
I quickly learned that these little battery-powered tools are amazing, but they have their own specific quirks. You do not need to be a small engine mechanic to fix them. In this guide, I will share the exact steps I use to get my saw running again. We will look closely at battery glitches, chain tension secrets, and how to keep the tiny motor happy.
Why Your Saker Mini Chainsaw Stops Working Suddenly
Nothing is more annoying than a saw that quits right in the middle of cutting a branch. I used to think my saw was completely broken, but it was usually just trying to protect itself. These small electric motors have built-in safety features to stop them from burning up.
The Battery Overheating Issue
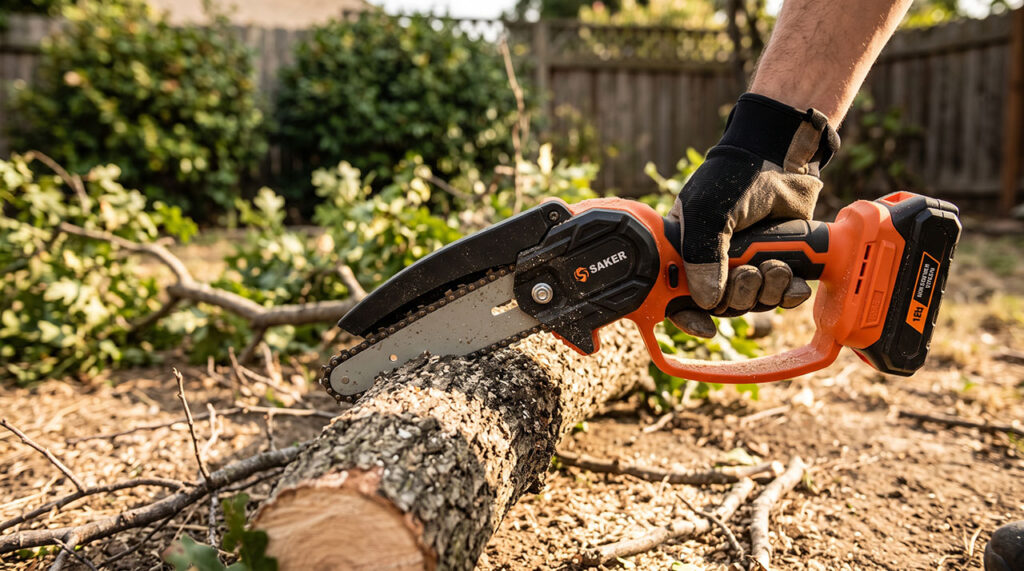
The most common reason for a sudden stop is heat. When I push the saw too hard through thick or wet branches, the battery gets very hot. The smart circuit board inside shuts off the power instantly to prevent a fire.
| Symptom | Cause | Solution |
| Saw stops mid-cut | Thermal overload | Let it cool in the shade for 15 minutes |
| Battery feels hot | Continuous heavy use | Swap to a backup battery |
| Clicks but won’t run | Fully drained battery | Charge until the light turns green |
I used to try forcing it to run by clicking the trigger over and over. That was a huge mistake. Now, I just pop the battery out and let it sit. Having a second battery ready to go changed everything for my yard work routine.
Motor Cut-Offs Under Heavy Load
Sometimes the battery is perfectly cool, but the motor still stalls out. This happens to me a lot when I twist my wrist slightly while cutting. The chain binds up in the wood, and the motor cuts the power because it feels the strain.
To fix this, I pull the saw straight out of the cut. I let go of the trigger completely to reset the switch. Then, I pull the trigger again without touching the wood. Once the chain is spinning fast, I gently lower it back into the cut. Let the speed of the chain do the work. Do not push down hard on the tool.
Fixing Chain Issues: Slipping, Stalling, and Snapping
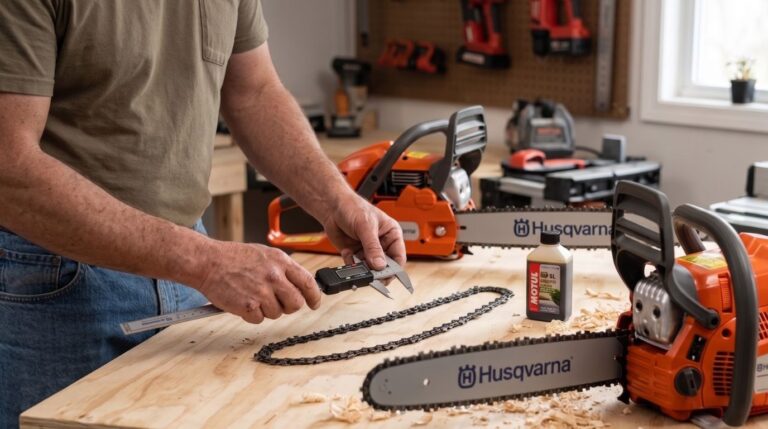
A mini chainsaw is only as good as its metal chain. I learned the hard way that you cannot just ignore the cutting teeth. Proper Saker mini chainsaw troubleshooting almost always comes back to basic chain maintenance.
How to Master Chain Tension
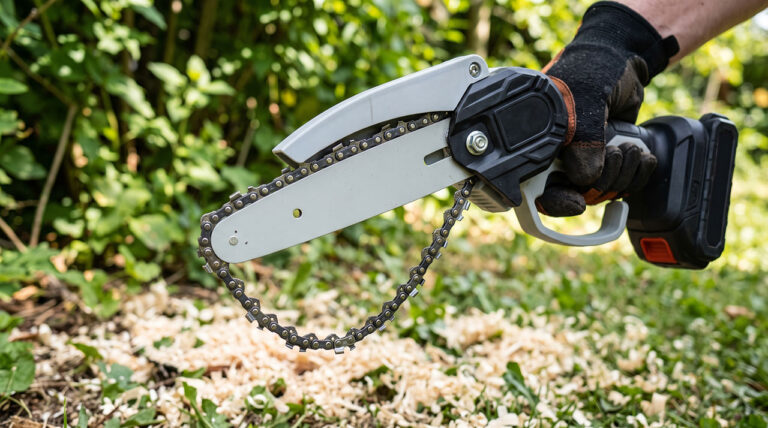
When I first started cutting branches, my chain kept popping right off the guide bar. It was terrifying and frustrating. I did not realize that new chains stretch out a lot as they heat up during use. You have to adjust them constantly while you work.
| Tension Problem | What Happens | How to Fix |
| Too loose | Chain derails from the bar | Tighten screw until chain hugs the bar |
| Too tight | Motor whines and smokes | Loosen screw slightly so chain moves freely |
| Uneven tension | Saw cuts at a crooked angle | Clean out the bar groove and reset tension |
Finding the sweet spot takes a little practice. You want to be able to pull the chain away from the bottom of the bar just a tiny bit. It should snap right back into place when you let go. If you cannot pull it with your bare fingers, it is way too tight.
Dealing with a Dull Chain
I once spent ten whole minutes trying to cut through a simple, dry oak branch. The saw was smoking, and my arms were completely tired. The real problem was just a dull chain. Cutting into the dirt or hitting a hidden nail ruins the sharp teeth instantly.
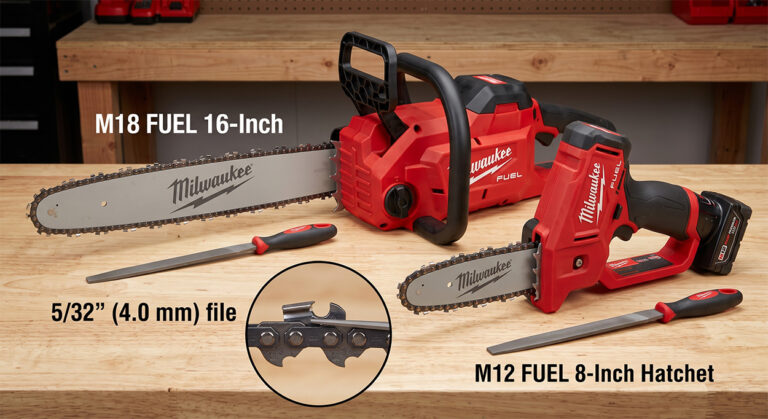
You can try to sharpen the small chain with a tiny round file, but honestly, buying replacement chains is much easier. They are very cheap online. Now, the moment my saw stops spitting out nice large wood chips and starts making fine, dusty powder instead, I swap the chain. It saves the little motor from burning out early.
Lubrication and Oiling Frustrations
Unlike heavy gas chainsaws, most basic mini chainsaws do not have an automatic oiler tank. I completely ignored this fact for my first few yard projects. That was a very fast way to ruin my metal guide bar.
Friction is the absolute worst enemy of this little tool. Metal rubbing directly on metal creates extreme heat. That heat ruins the sharp chain, melts the plastic casing around the motor, and drains your battery incredibly fast.
| Common Lubrication Mistake | Better Approach |
| Using no oil at all | Add bar and chain oil every 10 minutes |
| Using old motor oil | Buy sticky, dedicated chainsaw oil |
| Oiling a dirty chain | Brush off sawdust before adding fresh oil |
I started keeping a small squeeze bottle of bar and chain oil right in my pocket. Every time I pause to drag branches to the trash pile, I put a few drops directly on the top of the chain. Then I run the saw in the air for three seconds to spread the oil around. It makes a massive difference in cutting power.
When Wood Chips Jam the Sprocket
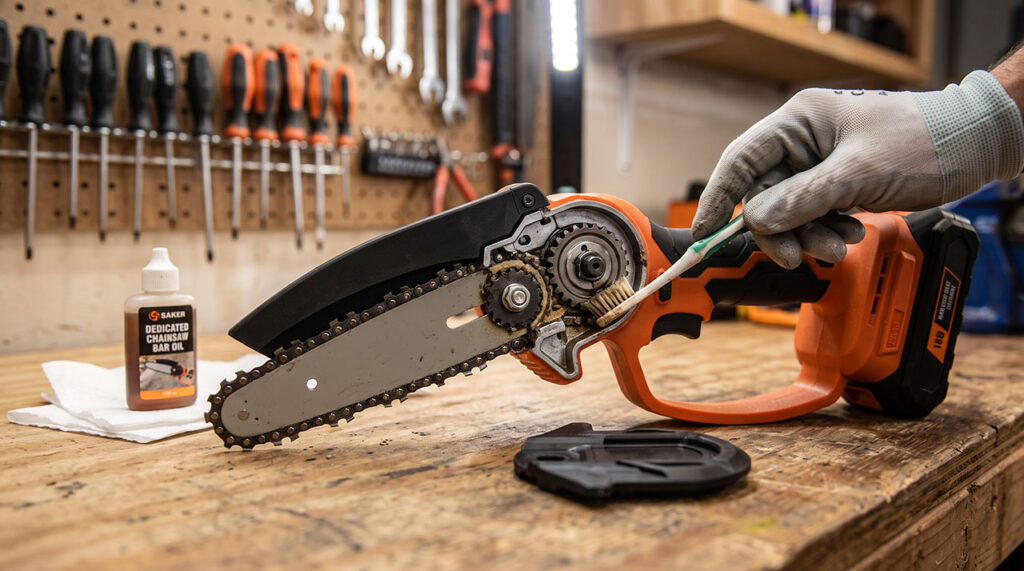
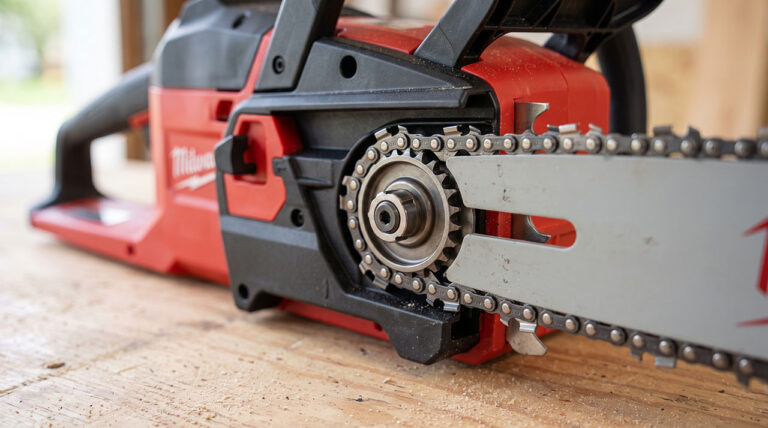
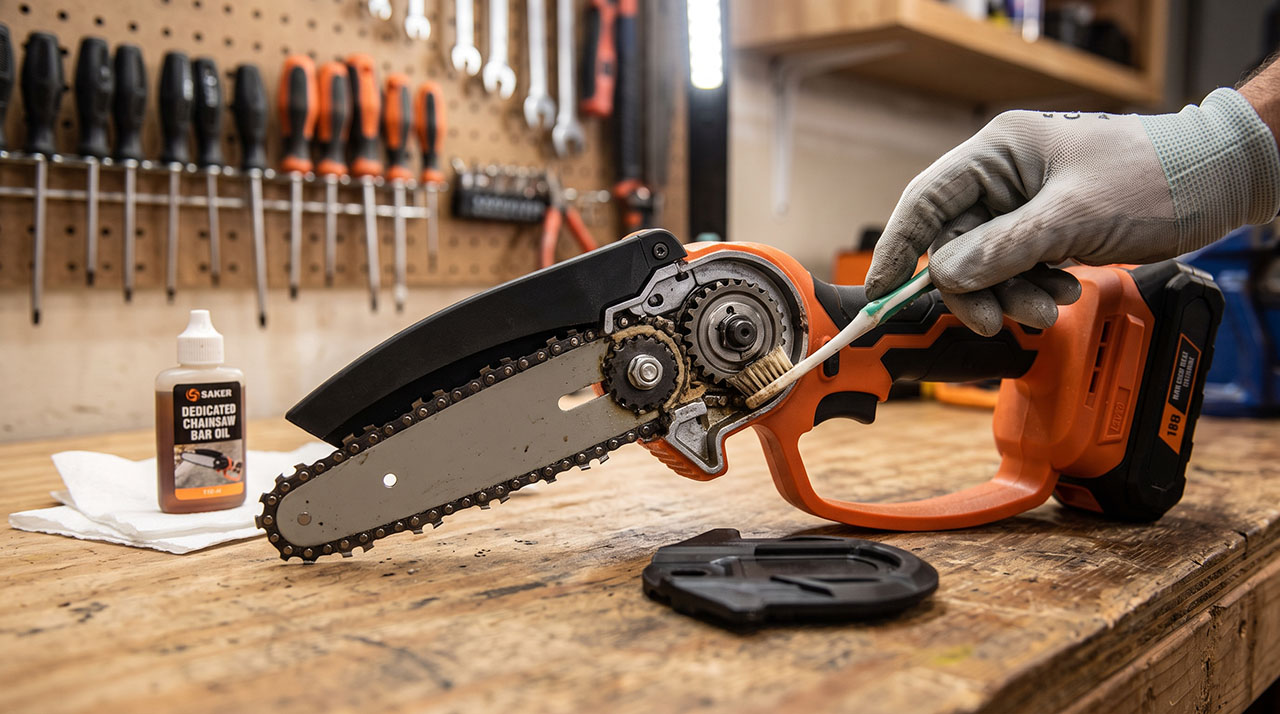
If your chain is fully oiled but still will not turn when you pull the trigger, you need to check the drive sprocket. I have had twigs, wet leaves, and oily sawdust pack tightly under the plastic side cover. It acts exactly like a brake pad on the motor.
Whenever my saw feels weak or sluggish, I take the battery off first for safety. Then I unscrew the side cover completely. I use an old toothbrush to dig out all the packed-in grime and wood paste. Once the area is clean, the chain spins freely again.
Charger and Power Problems
Nothing ruins a sunny weekend project faster than a battery that refuses to charge. I have dealt with blinking red lights and chargers that get dangerously hot to the touch. Understanding how the charger works helps prevent permanent power issues.
Flashing Lights on the Charger
The indicator lights on the charger actually tell you a specific story. I used to ignore them entirely until my main battery refused to hold a charge for more than five minutes.
| Indicator Light | Meaning | Action |
| Solid Red | Charging normally | Leave it alone on the counter |
| Solid Green | Fully charged | Unplug from wall and store |
| Flashing Red/Green | Fault or extreme heat | Remove battery, check for dirt |
If I see flashing lights, I unplug the charger from the wall immediately. Usually, there is a piece of dirt or sawdust inside the battery slot blocking the connection. I blow it out with some canned air. Also, I never charge the battery when it is still hot from cutting outside. I always let it sit on the workbench for twenty minutes first.
Reviving a Stubborn Battery
Sometimes a battery sits in the cold garage all winter and seems completely dead in the spring. If the charger does not recognize it at all, I do not throw it in the trash right away.
I take a close look at the metal contacts on the battery. I make sure they are shiny and clean. A quick wipe with rubbing alcohol on a cotton swab works wonders to remove invisible grease. If it still will not charge after cleaning, the internal cells might have dropped below their safe voltage limit. Sadly, you just have to buy a new battery at that point. I now make sure to store mine indoors during the cold winter months.
Safety Switch and Trigger Glitches
These mini saws have a round lock-off button that you have to press with your thumb before pulling the main trigger. It is a fantastic safety feature, but it can get very sticky over time. I have had moments where I could not press the thumb button in at all.
Dust easily gets trapped in the tight spaces around the plastic switch. When fine sawdust mixes with a little outdoor humidity, it turns into a hard paste. This paste completely blocks the plastic buttons from moving up and down.
| Switch Issue | Troubleshooting Step |
| Safety button won’t push in | Use compressed air around the button edges |
| Trigger feels crunchy | Tap the handle gently to dislodge dry dirt |
| Tool runs without button press | Stop using immediately to avoid injury |
I started keeping a can of compressed air on my garage shelf. A quick blast around the main trigger and the safety switch after every single use keeps them moving smoothly. Do not spray wet lubricants like WD-40 in there. Wet sprays just attract more sawdust and make the problem much worse later on.
What Nobody Tells You About Maintenance
The paper manual gives you the basic warnings, but using the tool in the real world teaches you the hard lessons. Regular maintenance truly prevents almost every major breakdown. Good Saker mini chainsaw troubleshooting is honestly mostly just good cleaning habits.
Cleaning Sap and Debris
Cutting fresh pine branches or sappy green wood is an absolute nightmare for these tiny saws. The tree sap acts exactly like strong glue. It sticks to the metal bar, and then the dry sawdust sticks to the wet sap. Soon, your chain will barely move even with a full battery.
| Cleaning Tool | Purpose |
| Rubbing alcohol | Dissolves sticky, stubborn tree sap |
| Old toothbrush | Scrubs out tight corners near the motor |
| Heavy paper towel | Wipes the metal guide bar clean safely |
I always wipe my guide bar down with rubbing alcohol right after cutting green wood. It dissolves the sticky sap in seconds without damaging the metal. Keeping the bar perfectly clean ensures the lubricating oil actually reaches the chain where it is needed most.
Storing It the Right Way
How you put the saw away matters just as much as how you use it in the yard. I used to toss mine lazily in a plastic bucket with my dirty garden shears. That bad habit led directly to a rusty chain and a damaged, scratched guide bar.
Now, I take the battery off immediately when I am done. I wipe the saw down, add a few drops of fresh oil to the chain, and put it in a dry, hard case. I also loosen the chain tension just a little bit before putting it away. It keeps the metal chain from staying tightly stretched out while sitting uselessly in the garage for months.
Final Thoughts
In the end, fixing this little tool is much easier than it looks. Most problems come down to extreme heat, a loose chain, or a serious lack of oil. If you pay close attention to how the saw sounds and feels while you cut, you will catch most issues before they break the tool.
My biggest takeaway from all my yard work is to keep the saw clean and respect its limits. It is a mini chainsaw, not a lumberjack tool. If you take your time, keep the chain sharp, and swap out hot batteries, this little saw will save you hours of exhausting manual labor.