How to Cut 45-Degree Angles with a Miter Saw

When I first bought my miter saw, I felt like an absolute pro. I assumed that making a perfect picture frame or installing crisp new baseboards would be incredibly easy. I thought learning how to cut 45-degree angles with a miter saw was just about swinging the handle, waiting for the click, and pulling the trigger.
I was very wrong. After ruining about fifty dollars worth of nice oak trim, I learned a harsh lesson. Four 45-degree cuts are supposed to make a perfect square, but my early projects looked like broken kites. The truth is, getting dead-accurate angles takes a little more than just trusting the numbers painted on your saw. I have spent years figuring out exactly why cuts fail and how to fix them. I want to share the exact methods I use now so you can skip the frustration and get perfect joints every single time.
The Reality of Cutting 45-Degree Angles
Most beginners trust their tools a little too much right out of the box. I certainly did.
You set the saw to 45 degrees, you make the cut, and you expect perfection. But when you put two pieces of wood together, you get a nasty, visible gap. This happens because perfectly square cuts rely on several tiny factors working together. If your wood moves a millimeter, or if a tiny wood chip sits behind your board, your angle is ruined.
The Hidden Sawdust Trap
One of my biggest early mistakes was ignoring the saw fence. The fence is the flat metal backstop you press your wood against.
If a single piece of sawdust or a tiny wood splinter sits against that fence, your board is no longer straight. Even a paper-thin gap behind the board will turn a 45-degree cut into a 46-degree cut. Now, I have a strict habit. I brush off the fence and the saw base with my hand before every single cut. It sounds overly simple, but it solves half of all cutting errors.
| Common Assumption | The Actual Reality |
| Factory settings are perfectly accurate. | Saws get bumped in shipping. Always check them. |
| The saw blade does all the work. | Your setup and clamping matter just as much. |
| A 45-degree cut fits any wall corner. | Most house corners are not actually 90 degrees. |
Step-by-Step: How to Cut 45-Degree Angles with a Miter Saw
Getting this right is a step-by-step process. Do not skip the prep work.
If you take the time to set up your cut properly, the saw will do exactly what you want. Here is the exact process I follow for flawless angled cuts.
Step 1: Calibrate Your Blade
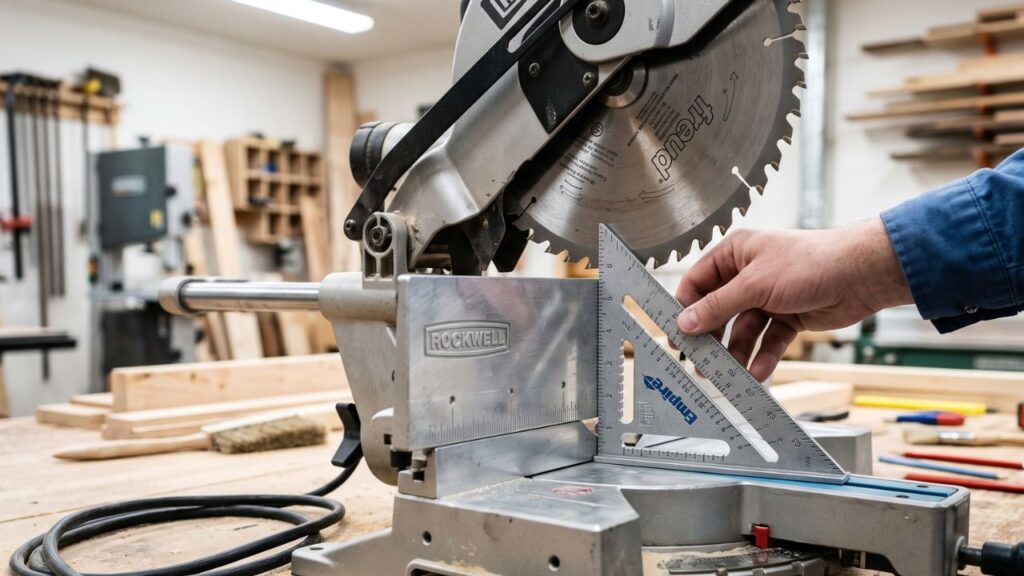
Never blindly trust the angle markers on your saw. You need to check for squareness yourself.
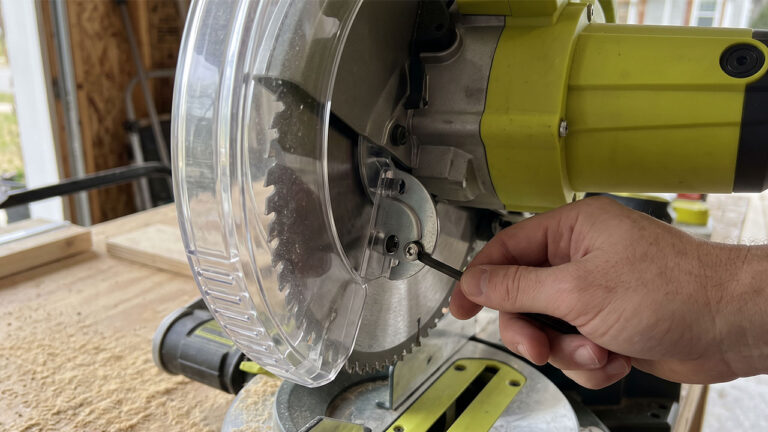
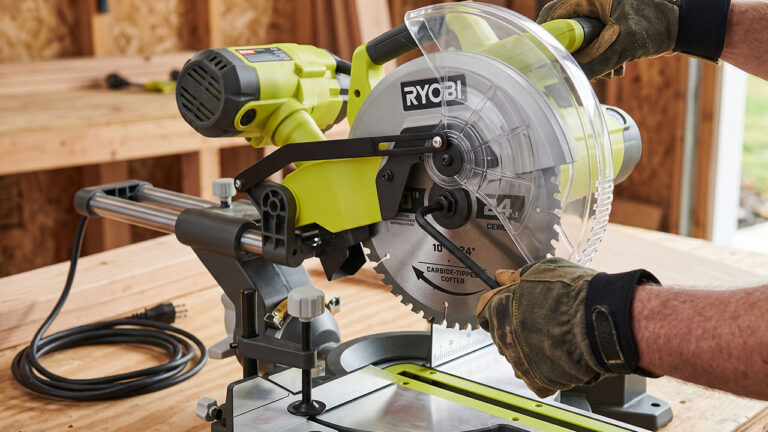
First, unplug your saw. This is non-negotiable for safety. Push the saw blade down and lock it in the lowered position. Grab a simple plastic or metal speed square. Place one flat edge of the square against the metal fence, and slide the other edge against the side of the saw blade.
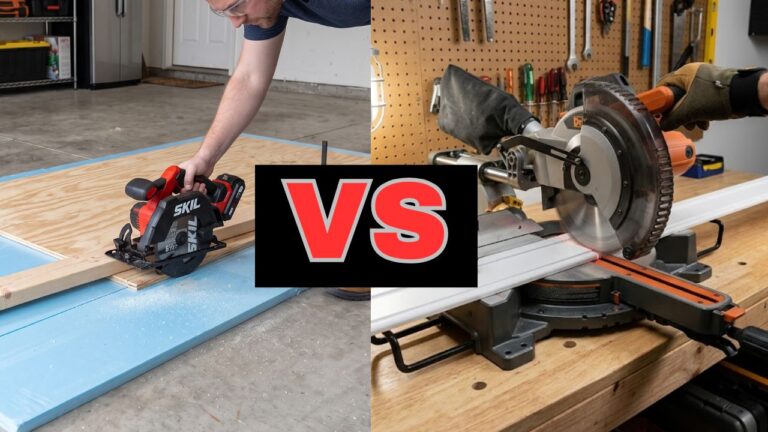
Circular Saw Vs Miter Saw: A Brutally Honest Choice
Step 2: Avoid the Teeth
When you check the blade with your square, there is a catch.
Make sure the square touches the flat metal plate of the blade, not the little carbide teeth. The teeth stick out slightly wider than the blade itself. If your square hits a tooth, it will throw off your reading. If you see light shining between the square and the blade, your saw is out of alignment. You will need to loosen the fence bolts and adjust it until it sits perfectly flush.
| Tool Needed | Why You Need It |
| Speed Square | To verify the blade is perfectly square to the fence. |
| Hex Key / Wrench | To loosen and adjust the fence if the angle is off. |
| Clean Brush | To clear sawdust away from the cutting base. |
Step 3: Mark Your Wood Clearly
Thick carpenter pencils are great for framing houses, but they are terrible for fine angles.
A thick pencil line can be an eighth of an inch wide. When you line up your blade, which side of that fat line do you cut? If you guess wrong, your wood is too short. I completely stopped using thick pencils for miter cuts. I use a mechanical pencil or a sharp marking knife instead. A thin, crisp line leaves no room for guessing.
Step 4: Line Up the Cut
Do not just drop the blade while it is spinning.
Before I pull the trigger, I bring the blade down to the wood while the saw is turned off. I want to see exactly where the teeth will strike the wood. You want the teeth to shave off the very edge of your pencil line, leaving the line on the piece you are keeping. This takes practice, but it ensures you do not cut your board too short.
Step 5: Lock in the 45-Degree Detent
Most miter saws have little notches called detents. These are pre-set stops at common angles like 0, 22.5, and 45 degrees.
When you swing the saw handle to 45, you will feel it click into place. However, dirt can get stuck in these notches over time. Make sure you feel a solid, firm click. Once it clicks, tighten the manual locking knob tightly. Do not just rely on the detent notch. The vibration of the running motor can easily rattle the saw loose mid-cut.
| Cutting Step | The Right Way | The Wrong Way |
| Marking | Use a mechanical pencil. | Use a fat carpenter pencil. |
| Alignment | Test blade drop with saw off. | Guessing while blade spins. |
| Locking | Click into detent AND tighten knob. | Trusting the click alone. |
The “Creeping Wood” Phenomenon
This is the most frustrating part of learning how to cut 45-degree angles with a miter saw.
You set everything up perfectly. You hold the wood tight. But as soon as the spinning blade bites into the wood, the board magically shifts a tiny bit to the side. Woodworkers call this creeping. It happens because the spinning teeth grab the wood grain and try to pull it. When the board creeps, your perfect 45-degree angle gets ruined instantly.
Why Your Hands Are Not Enough
I used to think I was just not holding the wood hard enough.
I would press my fingers down until my knuckles turned white. But human hands slip. The vibration of the saw makes the wood vibrate, which reduces friction against the metal fence. The board slides outward. The cut gets messed up. It is a very common beginner struggle.
The Sandpaper Trick
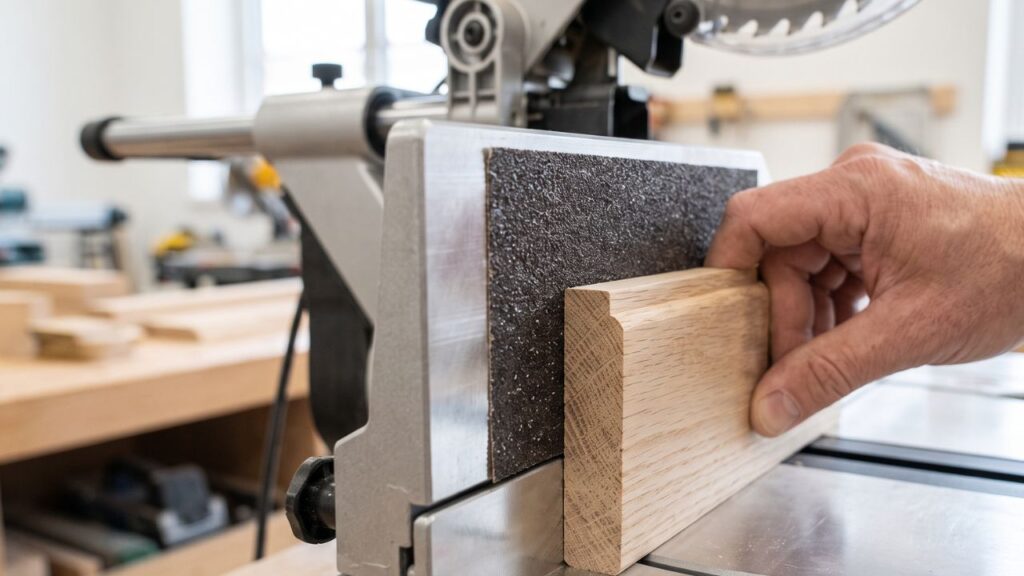
Here is one of the best tricks I ever learned.
Take a piece of rough sandpaper, like 80-grit. Use some spray adhesive or double-sided tape to stick it directly to your miter saw fence. This creates a high-friction surface. When you press your wood against the sandpaper, it grips the board tightly. The spinning blade can no longer drag the wood sideways. This one tiny modification changed my woodworking entirely.
Clamping is Non-Negotiable for Precision
If you are cutting thick baseboards, heavy crown molding, or expensive hardwoods, do not rely on your hands at all.
Use the hold-down clamp that came with your saw. If you lost it, buy a heavy-duty trigger clamp. Clamp the board securely to the fence before you turn the saw on. Yes, it takes an extra ten seconds per cut. But taking ten seconds to clamp the wood saves you from throwing a ten-dollar piece of trim in the trash.
| Problem | Cause | How to Fix It |
| Wood slides sideways | Spinning blade pulls the grain. | Tape rough sandpaper to the fence. |
| Board shifts mid-cut | Hand slipping from vibration. | Use a physical hold-down clamp. |
| Tear-out on back | Dull blade ripping the fibers. | Place a scrap board behind your cut. |
Fixing Gaps in Your 45-Degree Joints
Let’s say you master the saw. Your cuts are completely perfect. You bring your two boards to the wall, put them together, and there is still a gap.
This used to drive me crazy. I blamed my saw for weeks. Then I realized the harsh truth about houses: walls are never actually straight. A perfect 90-degree corner almost never exists in residential construction.
Drywall Mud Ruins Everything
When drywallers tape corners, they use joint compound, also called mud.
This mud builds up thicker right in the very corner of the wall. Because of this buildup, a corner that looks like 90 degrees is often actually 92 or 93 degrees. If you cut two perfect 45-degree angles, they will not sit flat against a 92-degree wall. The tips will touch, but the back will have a massive gap.
The Scrap Wood Test
I never cut my final, expensive trim boards right away anymore.
Instead, I grab two small pieces of scrap wood. I cut a 45-degree angle on both of them. Then, I hold them up to the actual wall corner I am working on. This instantly shows me what the wall is doing. If there is a gap, I know I need to adjust my saw. Instead of cutting at exactly 45 degrees, I might need to cut at 46 degrees or 44 degrees to match the messy wall.
| Joint Appearance | What It Means | Solution |
| Open at the front point | The wall corner is less than 90°. | Cut angles slightly under 45° (e.g. 44°). |
| Open at the back heel | The wall corner is more than 90°. | Cut angles slightly over 45° (e.g. 46°). |
| Gaps at the top only | The wall itself is leaning perfectly straight. | Use shims behind the baseboard. |
Advanced Trick: The “Sneak Up” Method
When you are cutting a piece of wood to fit exactly between two points, a tape measure is often your worst enemy.
Tape measures flex. Pencil marks have thickness. It is incredibly easy to cut a board just a fraction of an inch too short. Once wood is gone, you cannot put it back. To solve this, I learned a technique called “sneaking up on the cut.”
Leave It Long on Purpose
When I measure a board, I intentionally cut it about a quarter-inch too long.
I take that slightly long board and hold it up to my project. Obviously, it will not fit. But doing this lets me visually see exactly how much extra wood I need to remove. It is a safety net.
Shaving the Wood
I take the board back to the miter saw.
Instead of lining up a pencil mark, I bring the blade down while it is off, letting the side of the teeth just barely brush the wood. I turn the saw on and drop the blade. It shaves off an amount of wood as thin as a piece of paper. I keep doing this, shaving off dust, until the board fits the wall with a satisfying, tight friction fit. It takes patience, but it guarantees perfection.
Handling Baseboards and Trim Work
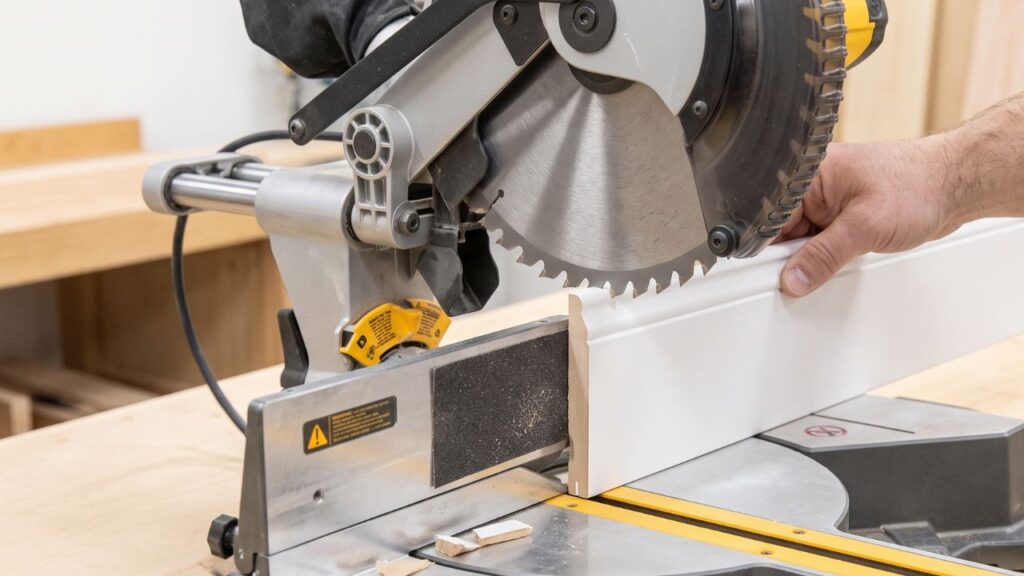
Cutting trim boards flat on the saw base seems like the easiest way to do it.
This is how most people start. You lay the board flat, tilt the saw blade sideways (a bevel cut), and chop. While this works, I actually find it causes more mistakes for beginners. When the blade tilts, it can easily deflect or bend slightly as it hits hard wood knots.
Cutting Tall Against the Fence
I prefer to stand my baseboards up against the fence, exactly how they will sit against the wall.
When the board is standing up, you leave the saw blade perfectly straight up and down. You only turn the handle left or right to hit the 45-degree angle. This is much more stable. The saw blade does not deflect. Just make sure your miter saw fence is tall enough to support the back of your trim board.
| Trim Position | Pros | Cons |
| Lying flat on base | Easy to balance. Good for short saws. | Bevel cuts can cause blade deflection. |
| Standing against fence | Matches wall position exactly. | Requires a taller saw fence for support. |
Dealing with Bowed Wood
Wood is a natural product, which means it is rarely perfectly straight.
If your baseboard has a slight curve or bow to it, do not panic. Place the board on the saw so the curved back rocks against the fence. Then, push the center of the board firmly against the fence until it is perfectly flat. You must clamp it in this flattened position before cutting. If you cut a bowed board without forcing it flat first, the angle will change the second you nail it to a straight wall.
Learning how to cut 45-degree angles with a miter saw is a journey of small adjustments. You will make mistakes, and you will probably cut a few boards too short. That is just part of the learning curve. But once you realize that precision comes from calibration, clean surfaces, and secure clamping, your projects will improve immediately.
My best advice is to slow down. Stop trusting the factory settings blindly. Test your cuts on scrap wood, secure your boards tightly so they cannot drift, and brush away the sawdust after every chop. Woodworking becomes much more enjoyable when you control the tools, rather than letting the tools control you.