How is a Chainsaw Bar Measured? My Simple Guide
Figuring out exactly how is a chainsaw bar measured used to drive me crazy. I remember standing in a hardware store holding my old, worn-out chain, staring at a wall of shiny replacements, and feeling completely lost. I just wanted to cut some firewood, but instead, I was trying to decode numbers and lengths that made no sense to me.
I had to learn the hard way that measuring a chainsaw bar is not as simple as putting a tape measure from one end to the other. If you are trying to buy a replacement chain or a new bar, getting this wrong means wasting time and money. Here is exactly how I learned to measure it right, along with the hidden numbers you actually need to know before you buy anything.
Why Getting the Measurement Wrong is So Easy
It seems like measuring a straight piece of metal should be the easiest thing in the world. You grab a tape measure, hook it on one end, and read the number on the other end. That is exactly what I did the first time, and it led to a very frustrating trip to the return counter.
The Mistake I Made on My First Try
The very first time I needed a new chain, I took the bar off my saw. I laid it flat on my workbench. I measured it from the very back tail to the front nose. The tape measure read 20 inches.
So, I went to the store and proudly bought a “20-inch chain.” I got home, put the bar back on the saw, and tried to loop the new chain around it. It was way too big. It hung down like a loose necklace. I soon realized that a 20-inch total bar length does not use a 20-inch chain. The saw body hides a large part of the bar.
| My Initial Mistake | The Better Approach |
| Measuring the bar while it was off the saw | Measuring the bar while it is still attached to the saw body |
| Using the total end-to-end length | Finding the “effective cutting length” |
| Assuming a 20-inch bar means a 20-inch total size | Realizing a 20-inch bar is actually longer than 20 inches overall |
The Right Way: How is a Chainsaw Bar Measured?
There are actually two different lengths you can measure on a chainsaw bar. You need to know which one the stores and manufacturers care about. They almost always care about the cutting length, not the total length.
Step 1: Measuring the Called Length (Effective Cutting Length)
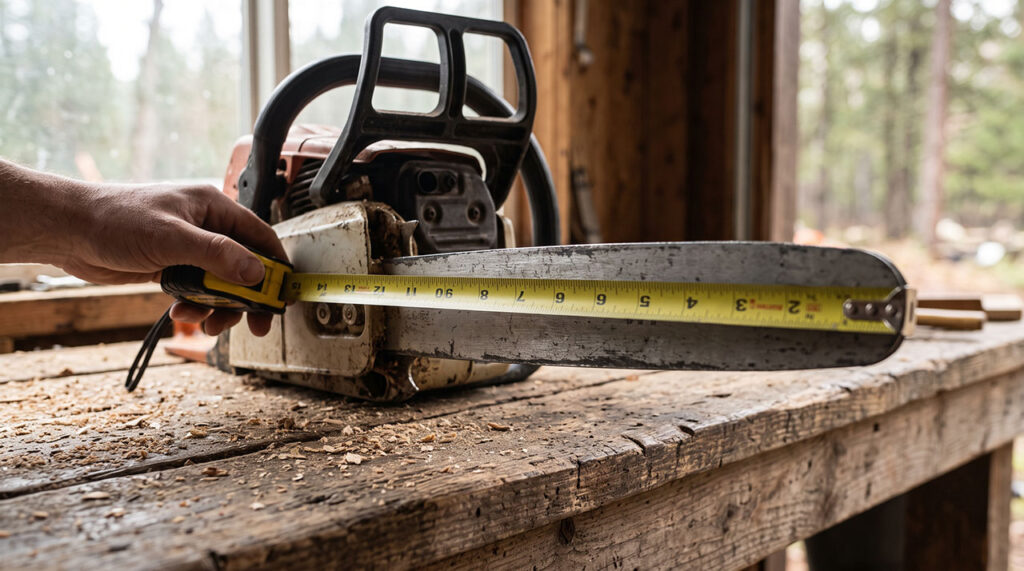
The “called length” is the number you see printed on boxes at the hardware store. It is also known as the effective cutting length. This is the amount of the bar that actually sticks out from the saw and does the cutting.
To measure this, leave the bar fully attached to your chainsaw. Take your tape measure and press the end against the front of the plastic or metal casing of the saw body. Pull the tape measure out to the very furthest tip of the metal bar. Look at the number.
Chainsaw bars are almost always sold in even numbers. If your tape measure reads 15.5 inches, you round up. You have a 16-inch bar. If it reads 19.2 inches, you have a 20-inch bar. This simple trick changed everything for me.
Step 2: Checking the True Overall Length
Sometimes, you might actually need the true overall length. This usually only happens if you are buying a whole new bar and the old one is sitting loose in your garage.
To find the overall length, you must take the bar off the powerhead. Measure from the very back edge, where it mounts to the saw, all the way to the rounded nose. A bar with an 18-inch cutting length will usually have a true overall length of about 22 inches. But again, you almost never use this number to buy chains.
| Measurement Type | What It Actually Means | When You Need It |
| Called Length | The usable part of the bar sticking out | Buying replacement chains or standard bars |
| Overall Length | End-to-end metal length | Rarely used, mostly for custom mill setups |
It’s Not Just About Length: The Three Hidden Numbers
Once I figured out the length issue, I thought I was a chainsaw expert. I went back to the store, grabbed a 16-inch chain, and went home. Guess what? It still did not fit. It would not sit down into the groove of the bar.
That is when I learned that length is only one piece of the puzzle. There are three other crucial measurements you must know. If you do not match these exactly, your saw will not cut safely.
STIHL AP300S Battery Best Price
Pitch: The Distance Between Drive Links
Pitch is a measure of the size of the chain links. It tells you how far apart the teeth are. If the pitch of the chain does not match the pitch of the sprocket on the tip of your bar, it simply will not spin.
You find the pitch by measuring the distance between any three consecutive rivets on the chain, and then dividing that number by two. I will be honest, this is really hard to measure accurately with a standard tape measure. It is much easier to just read the numbers stamped on the side of your bar.
| Common Chain Pitches | Best For Which Saws |
| 1/4″ | Small pole saws and battery chainsaws |
| 3/8″ Low Profile | Consumer homeowner saws under 45cc |
| .325″ | Mid-range farm and ranch saws |
| 3/8″ Standard | Professional logging and large saws |
Gauge: The Thickness of the Bar Groove
The gauge was the reason my second chain did not fit. The gauge is the exact thickness of the drive links—the little metal teeth that ride inside the groove of the bar.
If the gauge of the chain is too thick, it will not fit into the bar. If the gauge is too thin, the chain will flop side to side. It will cut crooked and might even fly off the bar, which is incredibly dangerous.
| Common Gauge Sizes | Typical Use Case |
| .043″ (1.1mm) | Very small battery saws, precision cuts |
| .050″ (1.3mm) | The most common size for standard home saws |
| .058″ (1.5mm) | Common on Husqvarna and older professional saws |
| .063″ (1.6mm) | Heavy-duty Stihl professional saws |
Drive Link Count: The Ultimate Sanity Check
If there is one secret I can share that will save you endless headaches, it is this: count your drive links. Do not trust the bar length alone. Count the little pointy metal teeth on the inside loop of the chain.
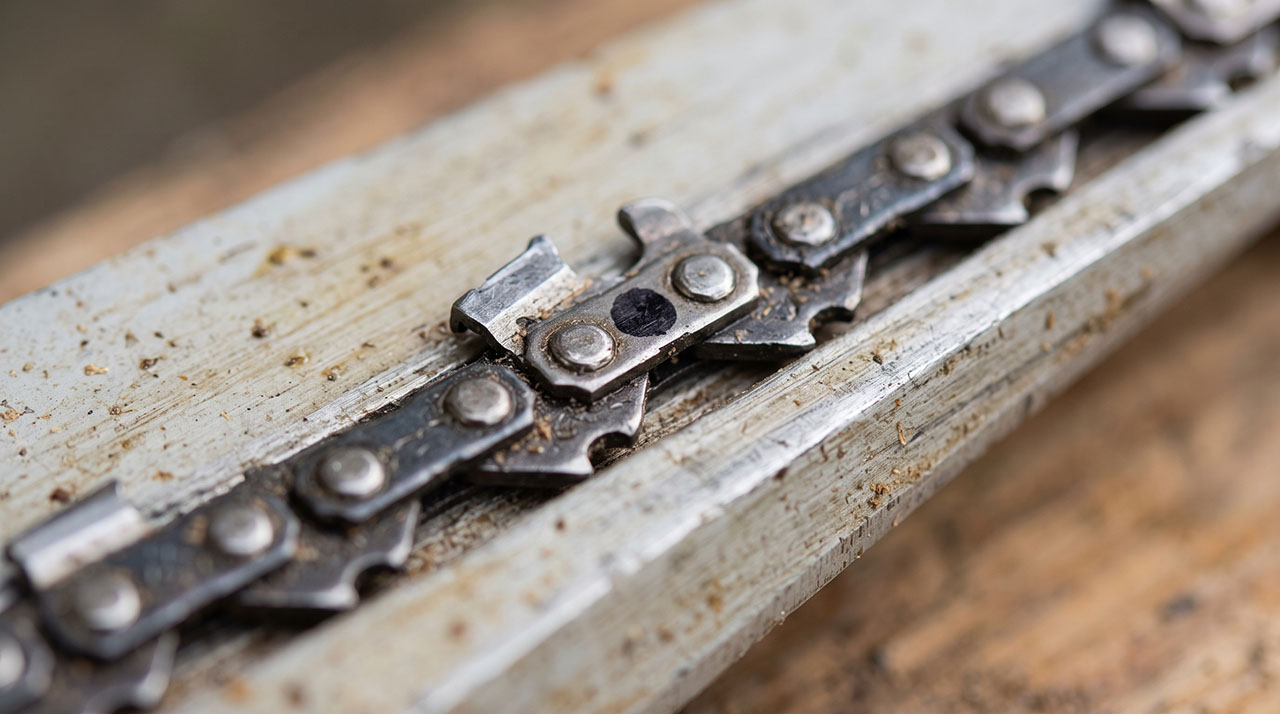
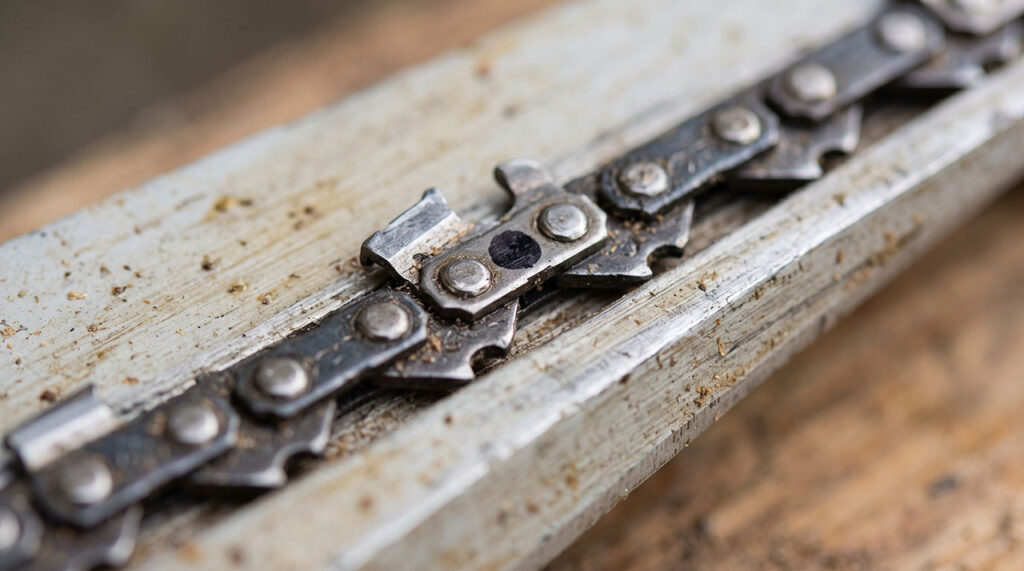
When you know you need exactly 72 drive links, you can buy a chain with total confidence. Here is my favorite trick. Put a dot of black Sharpie marker on the first link. Then count around the loop until you hit the black mark again. It keeps you from losing your place.
Finding the Hidden Specs on Your Current Bar
You do not actually have to break out the calipers and tape measures if you know where to look. The manufacturers usually hide the answers right in plain sight.
I felt pretty silly when a mechanic pointed this out to me. He did not measure my saw at all. He just read the cheat sheet stamped onto the metal.
Where to Look for the Stamped Numbers
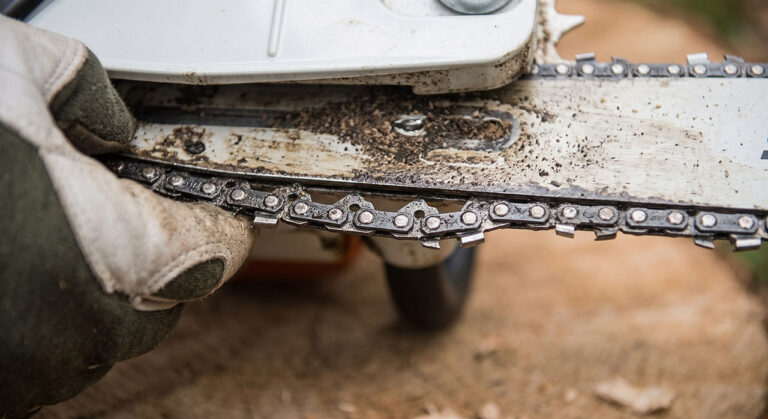
Take a close look at your chainsaw bar. Look at the back end, right near where it bolts onto the plastic motor casing. You might have to wipe away a layer of oily sawdust to see it.
Most major brands stamp the pitch, gauge, drive link count, and called length right into the metal. You will see something that looks like this: 18″ .325 .050 72DL. If you find those numbers, take a picture with your phone. You will never buy the wrong parts again.
Matching the Bar Mount to Your Saw
Let’s say your bar is bent, and you need to replace the whole metal guide bar, not just the chain. You know your length, pitch, and gauge. But there is one more trap waiting for you.
The back end of the bar, where it attaches to the saw, has a specific pattern of holes and slots. This is called the bar mount pattern. A Stihl bar will not fit on a Husqvarna saw, and vice versa.
Why Mount Patterns Matter
The slot in the middle of the bar fits over the mounting studs on the saw. The smaller holes around it are for the chain tensioner pin and the oil port.
If the oil port does not line up perfectly with the oil pump on your saw, your chain will run dry. It will overheat and snap in minutes. I ruined a good chain this way. Always make sure the replacement bar specifically says it fits your exact saw model.
| Problem | Cause |
| Bar won’t slide onto studs | Slot is too narrow for your saw brand |
| Chain gets burning hot quickly | Oil hole on bar mount does not align with saw |
| Can’t tighten the chain | Tensioner pin hole is in the wrong spot |
Common Myths About Chainsaw Bar Sizes
While learning all of this, I ran into a lot of bad advice. Forums and hardware store employees sometimes repeat things that just are not true.
It helps to clear the air on a few things. Believing some of these myths can lead to damaged equipment or unsafe cutting conditions.
| The Common Myth | The Actual Reality |
| A 20-inch chain fits any 20-inch bar | Pitch and gauge must match perfectly, or it won’t fit |
| Longer bars cut faster | Longer bars take more engine power and often cut slower |
| You can use any brand bar on your saw | The mounting hole pattern must match your saw’s brand |
When to Replace the Bar Entirely
Measuring the bar is great when you just need a new chain. But sometimes the bar itself is the problem. Bars do not last forever. They wear down from heat, friction, and dirt.
I used to think you only replaced the bar if it got bent by a falling tree. I did not realize that normal cutting slowly ruins the metal groove over time.
Signs Your Bar is Too Far Gone
If you put a brand new, properly measured chain on your saw and it still cuts poorly, your bar is probably worn out. One obvious sign is a crooked cut. If your saw constantly pulls to the left or right, the metal rails on the bar are worn down unevenly.
Another trick I learned is the wiggle test. Grab the chain while the saw is off and cold. Try to wiggle it side to side. If it leans over heavily, the inside groove of the bar has worn too wide. It is time for a new one.
| Symptom While Cutting | Likely Bar Problem |
| Saw pulls sharply to one side | Uneven wear on the bar rails |
| Chain pops out of the groove | Bar groove is worn too wide |
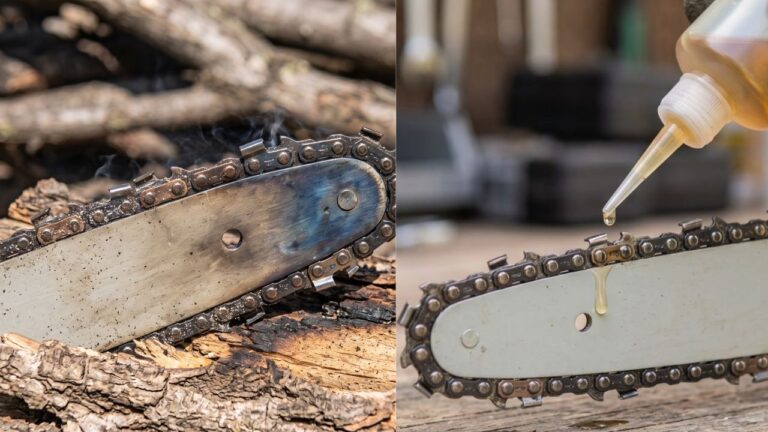
| Blue discoloration on the metal | Extreme heat damage from lack of oil |
Final Thoughts
Learning how is a chainsaw bar measured felt like learning a secret language at first. But once you understand the difference between the called length and the overall length, the whole process gets incredibly simple. Taking two minutes to measure from the casing to the tip solves half the battle, and finding the stamped numbers on the metal solves the rest.
My biggest piece of advice is to ignore the tape measure entirely if you can still read the factory stamp near the engine mount. Snap a photo of those numbers, count your drive links with a marker, and you will never buy the wrong parts again. Keep your saw oiled, double-check your gauge, and stay safe out there.