How to Clean a Ryobi Chainsaw Carburetor: My DIY Guide
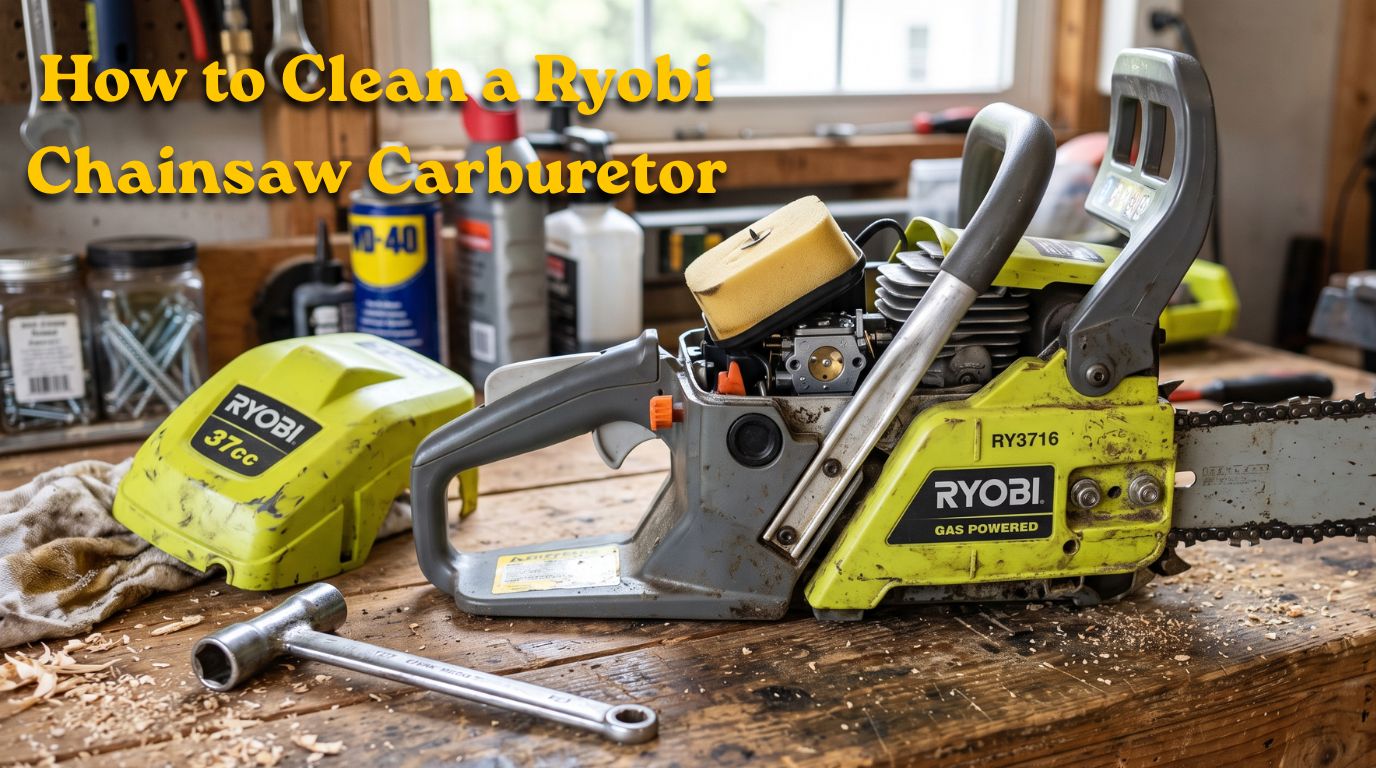
If you are wondering how to clean a Ryobi chainsaw carburetor, you are probably dealing with the exact same headache I had last spring. I pulled my chainsaw out of the shed to cut up a fallen oak branch, yanked the pull cord about twenty times, and got absolutely nothing. When it finally did start, it sputtered out and died the second I squeezed the throttle.
I quickly realized the old gas I left in the tank over winter had turned to sludge. Taking it to a small engine repair shop was going to cost me almost as much as I paid for the saw itself. I decided to figure it out on my own. It took a little patience, some basic tools, and a can of carb cleaner. Now, I can strip down that carburetor, clean it, and get the saw running perfectly in under an hour. Here is exactly how I do it.
Why I Had to Learn Carburetor Cleaning
The first time my chainsaw died on me, I thought the engine was completely ruined. I did not know much about small engines at the time. I learned the hard way that modern gas contains ethanol, which attracts moisture and breaks down quickly.
When gas sits in a tiny carburetor for months, it turns into a sticky varnish. This gunk clogs the microscopic fuel passages inside the carburetor block. Your spark plug might be fine, and your air filter might be clean, but if fuel cannot flow through the carb, the saw will not run.
The Symptoms of a Gummed-Up Carb
Before tearing into the engine, it helps to know if the carburetor is actually the problem. I wasted time changing a perfectly good spark plug before I realized it was a fuel issue.
Usually, the saw will tell you exactly what is wrong if you know what to listen for. A dirty carburetor rarely fails silently. It gives off very specific warning signs.
| Symptom | Most Likely Cause |
| Starts but dies on throttle | Main fuel jet is clogged with old gas |
| Idles very rough or high | Air leak or partially blocked idle port |
| Will not start at all | Diaphragm is stiff or fuel inlet is blocked |
Tools You Need Before Starting
You do not need a professional mechanic’s toolbox for this job. However, having the right tools ready makes the process much less frustrating. I learned quickly that improvising with the wrong tools just strips screws or damages delicate parts.
You will be working with very small screws and springs. A clean workspace is just as important as the tools themselves. I always lay down a white towel on my workbench so I can easily spot any parts I drop.
| Tool Needed | Why I Use It |
| Small Phillips & Flathead screwdrivers | To remove the plastic housing and carb screws |
| Aerosol Carburetor Cleaner | Melts away sticky fuel varnish instantly |
| Needle-nose pliers | To gently pull off old, stuck fuel lines |
| Safety glasses | Carb cleaner splashes back easily and hurts |
Step-by-Step: Removing the Carburetor from the Chainsaw
Getting to the carburetor is half the battle. Ryobi chainsaws pack a lot of parts into a very small plastic housing. Do not let the crowded space intimidate you. Take your time, and take photos with your phone before you unplug anything.
My biggest mistake the first time was trusting my memory. I ended up guessing which fuel line went where when putting it back together. Taking quick pictures saves you from that stress.
Taking Off the Air Filter and Housing
First, pop off the top plastic engine cover. Usually, this is held on by a single knob or a few simple screws. Underneath, you will see the air filter sitting right on top of the carburetor.
Remove the air filter. It usually just pulls off or twists out. Behind the filter, you will find two long bolts or nuts holding the black plastic air filter base to the carburetor. Unscrew these carefully. Once they are out, the whole plastic base should slide off, exposing the carburetor itself.
Disconnecting Fuel Lines and Throttle Cable
Now you will see the bare metal carburetor. It is connected to the saw by a couple of rubber fuel lines and a metal throttle wire. The throttle wire hooks into a small metal bracket on the side of the carb. Gently squeeze the trigger on the handle to create slack, and slide the metal wire out of the groove.
Next come the fuel lines. These can be stubborn if they are old. Do not yank them hard, or they will snap off leaving a piece stuck on the plastic fitting.
| Mistake I Made | The Better Approach |
| Pulling lines off with dirty fingers | Wiping them clean first for a better grip |
| Yanking hard with pliers | Twisting them gently side-to-side to break the seal |
| Forgetting which line goes where | Marking the top line with a Sharpie beforehand |
The Core Process: How to Clean a Ryobi Chainsaw Carburetor
With the carburetor sitting on your workbench, it is time for the actual cleaning. The carburetor looks like a little metal sandwich. You need to open up both the top and bottom sections to clean it properly.
Work slowly here. There are gaskets and a very delicate diaphragm inside. If you rip them, you will have to order a rebuild kit. If you are careful, you can often reuse the original parts.
Opening the Diaphragm and Metering Sides
Take your small screwdriver and remove the four screws holding the bottom cover plate on. Carefully peel the plate off. Underneath is a thin rubber flap called the diaphragm, sitting on top of a paper gasket. Gently peel these off. If they are crispy, stiff, or torn, they must be replaced. A healthy diaphragm feels soft and flexible.
Flip the carb over and remove the single screw holding the top cover. Under here is a small metal screen. This screen traps dirt before it enters the engine. Mine was completely coated in a layer of fine, green sludge from bad gas.
Using Carb Cleaner the Right Way
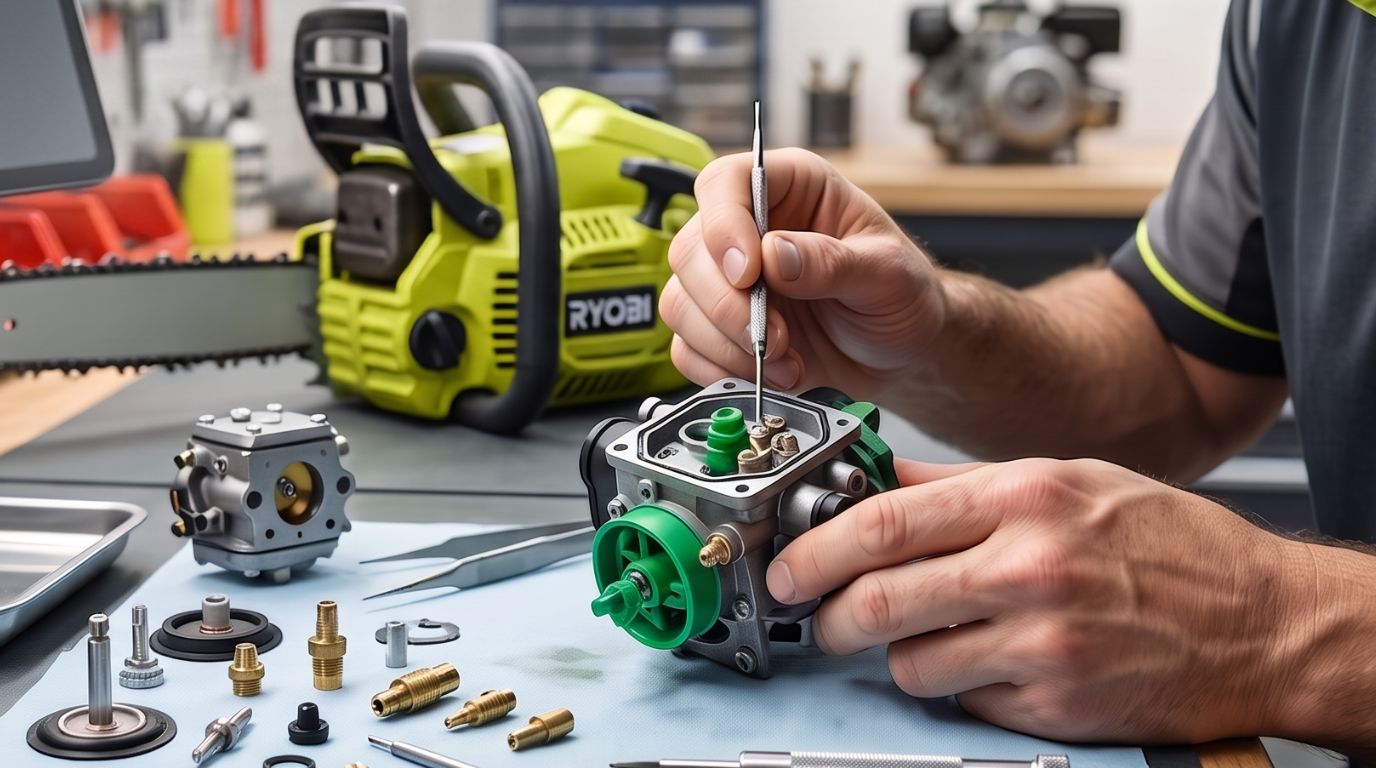
Now grab your aerosol carb cleaner. Put on your safety glasses. I cannot stress this enough. I once sprayed carb cleaner into a tiny hole, and it shot right back into my eye. It was an awful experience.
Use the little red straw that comes with the can. Spray cleaner directly into every tiny hole and brass fitting you see on the metal carburetor body. Do not soak the rubber parts, as the harsh chemicals will ruin them.
| Carburetor Part | Cleaning Method |
| Metal Carb Body | Spray thoroughly with carb cleaner in all ports |
| Fuel Inlet Screen | Pick out debris gently, flush with cleaner |
| Rubber Diaphragm | Wipe gently with a dry, clean rag |
Mistakes I Made My First Time
I want to save you from a major headache I caused myself during my first cleaning attempt. Under the diaphragm, there is a tiny metal arm called the metering lever. It sits above a tiny needle valve, and it is held up by a microscopic spring.
I decided to take this apart to clean under it. When I loosened the screw, the spring launched across my garage, never to be seen again. I had to buy a whole new carburetor just to get that spring. Unless your needle valve is completely glued shut by old gas, you usually do not need to remove that lever. Just spray carb cleaner around it.
Another mistake I made was using a sewing needle to poke through the tiny jet holes. Carburetor jets are precisely machined. Poking them with hard steel can scratch them and ruin the fuel mixture. Let the chemical cleaner do the work.
Reassembly and Tuning the Carburetor
Once everything is sprayed out and completely dry, it is time to put the carburetor sandwich back together. Put the gaskets and diaphragms back exactly how you found them. The order matters. Usually, on the bottom side, the gasket touches the metal carb body, and the rubber diaphragm sits on top of the gasket.
Tighten all the small screws down snugly, but do not overtighten them. The metal is soft aluminum and strips easily. Slide the carburetor back onto the mounting bolts, reconnect your fuel lines, and hook the throttle wire back into place.
Adjusting the Idle and High/Low Screws
After putting everything back together, my saw fired right up. However, it would not idle properly. It kept spinning the chain even when I wasn’t touching the trigger. This meant I needed to adjust the tuning screws on the side of the carburetor.
You will see three screws on the side. They are usually marked L, H, and T (or sometimes LA). If your saw runs fine after cleaning, leave these alone. If it runs poorly, you might need to tweak them slightly.
| Tuning Screw | What It Controls |
| T (or LA) Screw | Adjusts the idle speed when you let go of the trigger |
| L Screw | Adjusts fuel mixture for low speeds and acceleration |
| H Screw | Adjusts fuel mixture for wide-open, maximum throttle |
To fix my spinning chain, I simply turned the T screw slightly counter-clockwise until the engine idled down and the chain stopped moving. Make tiny adjustments, just a quarter-turn at a time.
Keeping Your Chainsaw Running Better, Longer
Cleaning a carburetor is satisfying, but I would rather be cutting wood than smelling like gasoline. I learned that changing a few habits prevents this problem entirely.
The biggest game-changer for me was switching to ethanol-free fuel. Standard pump gas goes bad fast. Ethanol-free gas, often sold in cans at hardware stores, can sit in your saw for months without turning into varnish. It costs a little more up front, but it completely eliminates the need for yearly carburetor cleanings.
| Bad Habit | Better Habit |
| Leaving pump gas in the saw all winter | Emptying the tank and running the saw dry |
| Using 6-month-old fuel | Buying fresh fuel every 30 days |
| Mixing oil and gas by guessing | Using exact measurements or pre-mixed cans |
When winter comes, I now dump the gas tank back into my fuel can. Then, I start the saw and let it idle until it completely runs out of fuel and dies. This leaves the carburetor completely empty and dry for winter storage.
Final Thoughts
Learning how to clean a Ryobi chainsaw carburetor felt intimidating at first, but it turned out to be a very simple process. You are basically just taking apart a small metal puzzle, cleaning out the dirt, and putting it back together. The sense of accomplishment you get when that saw roars back to life on the first pull is fantastic.
Do not let a gummy carburetor convince you that your chainsaw is broken forever. With a can of spray cleaner, a screwdriver, and a little patience, you can save yourself a trip to the repair shop. Just remember to wear your safety glasses, keep track of your tiny parts, and start using better fuel.