How to Put Chain Back on Stihl Chainsaw MS170
You are out in the yard, making good progress on a pile of branches. Suddenly, the saw binds up, makes a strange clacking sound, and you see the chain dangling loosely off the bar. It is a frustrating moment. I have experienced this exact situation more times than I can count with my own saw.
If you are trying to figure out exactly how to put chain back on stihl chainsaw ms170 models without losing your mind, you are in the right place. The first time this happened to me, I wrestled with the cover and got bar oil all over my hands. Over time, I learned a few simple tricks that make this job take less than five minutes. Today, I am going to walk you through my exact process, the mistakes to avoid, and how to keep that chain firmly on the bar next time.
Why Your Chain Came Off in the First Place
Before we fix the problem, it helps to know why it happened. Chains do not just fall off for no reason.
When my chain first popped off, I thought the saw was broken. It turns out, I was just making a few beginner mistakes. The Stihl MS170 is a fantastic, lightweight saw, but because it is often used for limbing and cutting small, springy branches, the chain is highly prone to derailing if your technique or tension is slightly off.
| Common Cause | What Actually Happens |
| Loose Chain Tension | The chain sags at the bottom and slips out of the bar groove during a cut. |
| Catching Small Twigs | Tiny, flexible branches get pulled into the sprocket, pushing the chain off the track. |
| Pinching the Bar | The wood pinches the top of the bar while the engine runs, forcing the chain out of the groove. |
| Worn Out Bar Rails | The metal groove holding the chain gets shallow or wide, offering no support. |
The Tools You Need to Grab
You only need a couple of basic things to get this job done. Do not overcomplicate it.
When you bought your Stihl MS170, it likely came with a small metal tool called a “scrench.” This is a combination of a wrench and a screwdriver. It is the only tool you truly need. I also highly recommend grabbing some thick work gloves. Chain teeth are sharp, and your hands will slip at least once while pulling the chain back onto the bar. Finally, grab an old rag to wipe away the greasy sawdust.
Step-by-Step: How to Put Chain Back on Stihl Chainsaw MS170
This is the exact method I use every single time I need to fix my saw. Take your time with these steps.
Step 1: Unlock the Brake and Remove the Cover
This is the step that trips up almost everyone. Before you do anything, pull the front hand guard (the chain brake) back toward the top handle until it clicks.
If the brake is locked forward, a metal band tightens around the clutch drum. If you try to take the side cover off with the brake locked, you will fight it, and you might even break the plastic housing. Once the brake is unlocked, use your scrench to loosen the two 13mm nuts on the side cover. Take the nuts off, set them somewhere safe, and pull the plastic cover straight off.
Step 2: Clean Out the Oily Sawdust
Every time I open my saw, I am amazed by how much junk gets trapped inside. You must clean this out.
You will see a thick paste of bar oil, dirt, and sawdust packed around the sprocket. Use the flathead side of your scrench or a small stick to scrape all of this gunk out. If you leave it there, it will block the oil port. If the oil port is blocked, your bar will run dry, overheat, and ruin your newly seated chain. Wipe the area down with your rag.
Step 3: Check the Bar and Re-seat the Chain
Now we need to put the chain back into the groove. This requires a little bit of coordination.
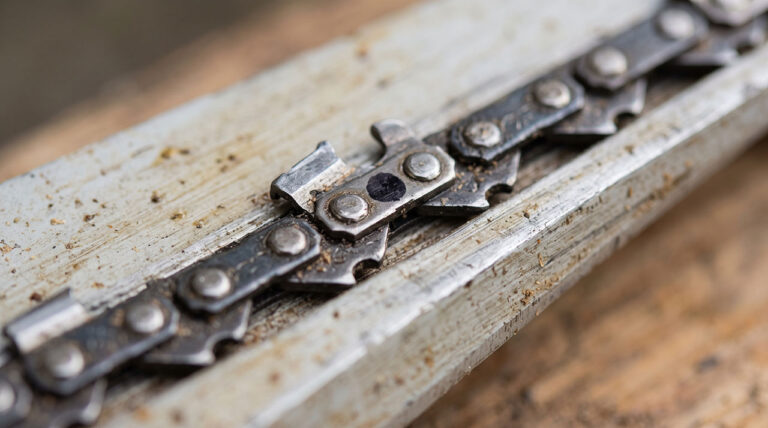
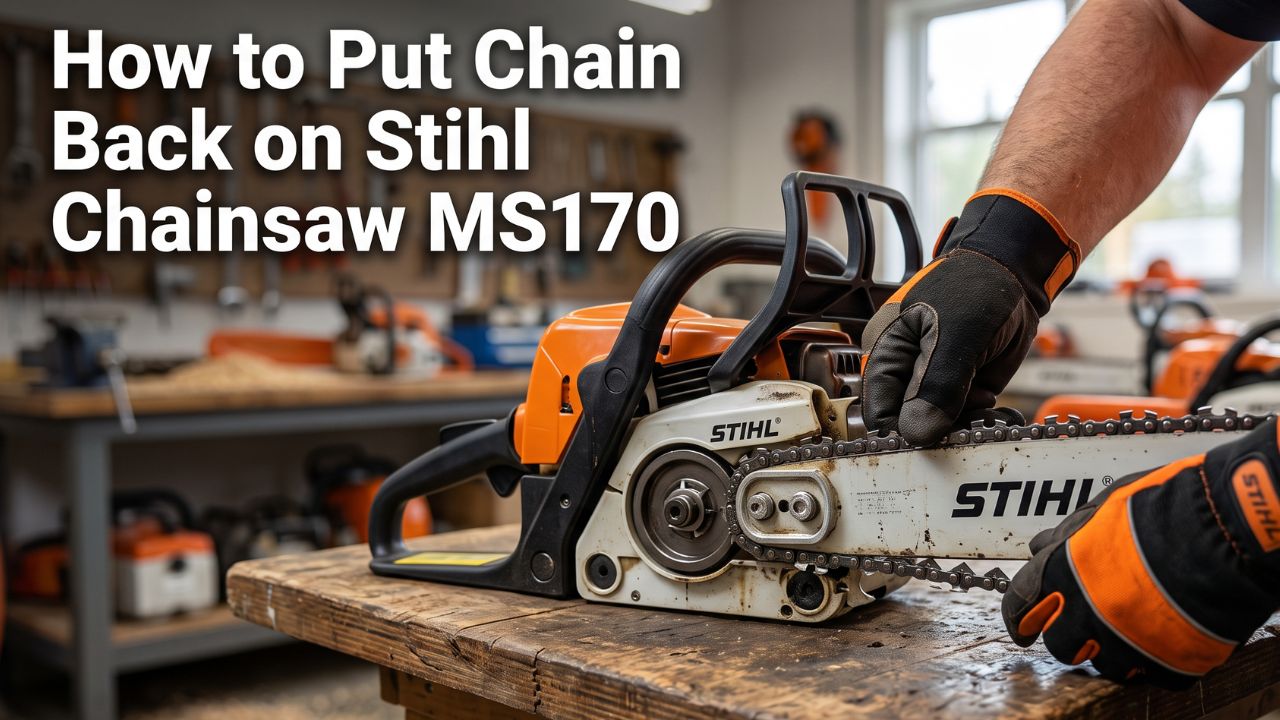
Take the chain and lay it over the top of the guide bar. Start at the nose (the tip) of the bar and work your way back. Ensure the drive links—the little shark-fin shaped pieces on the bottom of the chain—sit perfectly inside the groove of the bar. Then, loop the back end of the chain around the metal sprocket on the saw.
| Chain Direction Check | What Will Happen |
| Sharp edges pointing away from you (on top) | Perfect. The saw will pull wood chips and cut smoothly. |
| Sharp edges pointing toward you (on top) | Backward. The saw will smoke, bounce, and burn the wood without cutting. |
Step 4: Line Up the Tensioner Pin
This is the most critical part of putting the cover back on. Pay close attention to this small detail.
On the inside of the plastic side cover (or on the saw body, depending on your exact tensioner style), there is a tiny metal peg. This peg moves forward and backward when you turn the tension screw. This peg must sit perfectly inside the small hole drilled into the tail end of your guide bar. If it does not line up, the cover will not sit flush. Do not force it. Adjust the screw until the peg drops into the hole.
Step 5: Put the Cover On and Hand-Tighten
We are almost done, but do not crank down on the bolts just yet.
Put the plastic side cover back on. Thread the two nuts onto the bolts by hand. Give them a few twists with the scrench, but leave them slightly loose. You need the guide bar to be able to move up and down slightly so we can adjust the tension in the next step. If you tighten the nuts completely right now, the tension screw will not work.
Finding the Perfect Chain Tension
Getting the tension right is a matter of feel. I used to run my chain way too tight, which stretched it out prematurely.
To tension the chain properly, always hold the nose of the guide bar up with one hand. While holding the nose up, use your scrench to turn the tension screw clockwise. You will watch the bottom of the chain lift up and meet the bottom of the bar.
| Tension Feeling | What It Means | Action to Take |
| Chain hangs below the bar | Too loose. It will derail again. | Turn screw clockwise. |
| Chain is snug but moves easily by hand | Perfect tension. | Tighten the bar nuts fully. |
| Chain takes effort to pull by hand | Too tight. It will damage the engine. | Turn screw counter-clockwise. |
Once the tension looks right, give the chain a “snap test.” Pull the chain down from the middle of the bar and let go. It should snap right back into place against the metal rails. While still holding the tip of the bar up, use your scrench to tighten the two side nuts firmly.
Mistakes I Made When I Was a Beginner
Learning how to maintain a chainsaw is a process. I made plenty of errors when I first got my MS170.
I want to share a few of the frustrating mistakes I made so you can avoid them. It is very easy to overlook the small details when you are sweating out in the yard and just want to finish cutting firewood.
| My Early Mistakes | The Better Approach |
| Tightening without lifting the bar nose | Always lift the nose up while turning the tension screw, or it will immediately go loose on your first cut. |
| Forgetting to check tension after 5 minutes | New and cold chains stretch as they heat up. Check the tension after your first few cuts. |
| Filing the chain while it is loose | Always tension the chain before trying to sharpen it. A loose chain will wobble away from the file. |
How to Stop the Chain from Falling Off Again
Putting the chain back on is easy enough, but you do not want to do it every ten minutes.
To keep your chain securely on the track, you need to pay attention to how you use the saw and how you maintain the guide bar. The MS170 is tough, but it has limits.
Keep the Bar Oiled
Friction is the biggest enemy of your chainsaw. When a chain gets dry, it gets incredibly hot.
When metal heats up, it expands. An expanding chain becomes a loose chain. Always make sure your saw is actually throwing oil. Point the tip of your saw at a clean piece of wood or cardboard, rev the engine, and look for a faint line of oil spraying off the tip. If you do not see oil, your oil port is clogged.
Flip Your Guide Bar
This is a trick older lumberjacks taught me. Your guide bar wears down unevenly over time.
Most of your cutting is done on the bottom of the bar. This causes the bottom rails to wear out faster than the top rails. Every time you take the chain off to clean or sharpen it, flip the guide bar upside down before putting it back on. This ensures the metal wears evenly on both sides, which keeps the chain fitting snugly in the groove. Do not worry if the Stihl logo is upside down; the bar is designed to work both ways.
Check for Burrs on the Rails
If your chain keeps popping off even when the tension is perfect, your bar might be damaged.
Run your bare fingers gently along the outside edges of the metal guide bar. If you feel sharp, jagged edges of metal hanging over the side, those are burrs. Burrs prevent the chain from sitting correctly. You can easily fix this by taking a flat metal file and running it along the edges to smooth them out.
| Warning Sign on the Saw | What It Likely Means |
| The chain cuts in a curved line | The chain teeth are dull on one side, or the bar rails are worn unevenly. |
| Heavy smoke coming from the bar | No bar oil is flowing, or the chain is on backward. |
| The chain wiggles side to side | The bar groove has spread open too wide and needs replacing. |
A Quick Note on Stihl MS170 Chain Sizes
Sometimes a chain falls off because it is simply stretched beyond its usable life.
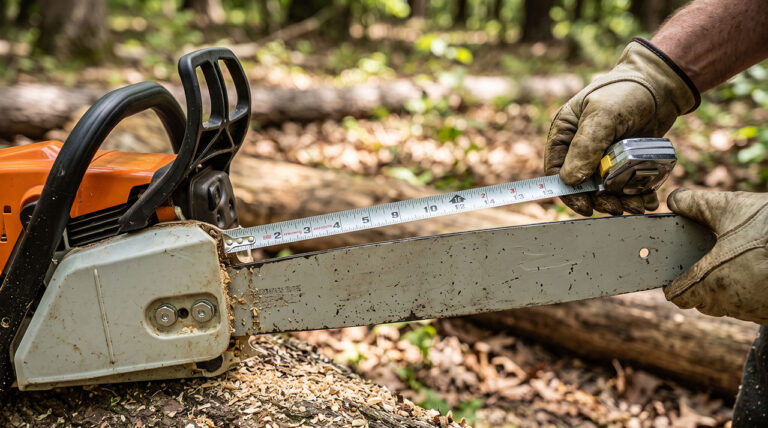
When a chain stretches too far, the tensioner screw will bottom out, and you will not be able to get the chain tight anymore. When this happens, you have to buy a new one. I used to get very confused at the hardware store trying to figure out which box to buy. Here are the standard specs for a stock MS170 with a 16-inch bar.
| Feature to Look For | Standard MS170 Specification |
| Chain Pitch | 3/8″ LP (Low Profile / Picco) |
| Chain Gauge | 0.043″ (1.1mm) |
| Drive Link Count (16″ Bar) | 55 Drive Links |
| Drive Link Count (14″ Bar) | 50 Drive Links |
Always check the side of your guide bar. Stihl prints the exact pitch, gauge, and drive link count right on the metal near where it attaches to the saw. Trust those numbers over anything else.
Final Thoughts
Dealing with a derailed chain is just part of owning a chainsaw. Once you memorize how to put chain back on stihl chainsaw ms170 correctly, it becomes second nature. The biggest takeaways are to always unlock the chain brake first, keep the oil port clean, and make sure the drive teeth are pointing exactly the right way before you tighten anything down.
Do not rush the process. Take your time setting the tension with the “snap test” and remember to lift the nose of the bar while tightening those 13mm nuts. If you treat your MS170 well, keep it oiled, and check your tension frequently, you will spend a lot less time messing with the side cover and a lot more time actually getting your yard work done. Stay safe out there, and happy cutting.