How to Measure a Chainsaw Chain Length : My Honest guide
The first time I tried to replace my chainsaw chain, I thought it would take five minutes. I looked at my saw, saw a “16-inch” sticker on the side, and drove to the hardware store.
I proudly bought a 16-inch chain, drove home, and tried to install it. It didn’t fit. The chain was too tight, the drive links wouldn’t sit in the groove, and I felt completely clueless. That was the day I learned that figuring out how to measure a chainsaw chain length requires a little more than just knowing the size of your bar. If you are staring at a wall of replacement chains right now, feeling overwhelmed, I have been exactly where you are.
The First Time I Bought the Wrong Chain (And Why It Happens)
It is the most common rookie mistake in yard work. We assume chainsaw chains are sold like shoelaces. You just measure the length and buy a new one.
The reality is a lot more frustrating. Chainsaw chains are highly specific mechanical parts. They have to mesh perfectly with the drive sprocket on your engine, and they have to slide flawlessly through the narrow groove on your guide bar. If your measurement is off by a fraction of an inch, the chain will either bind up, slip off, or refuse to cut entirely.
When my first replacement chain failed, I realized that “16 inches” is just the category. It tells you the general size of the tool, but nothing about the chain itself. There are dozens of different 16-inch chains on the market. To get the right one, you need to understand the anatomy of the chain you are holding.
The Big Secret: “Length” Isn’t Just One Number
When hardware store employees talk about chain length, they are actually talking about a specific combination of three different measurements.
You cannot buy a chain without knowing all three. If you only know two, you are just guessing. These three magical numbers are the pitch, the gauge, and the drive link count. Once I understood what these meant, buying a chain went from stressful to incredibly easy.
| Measurement | What It Actually Is | Why You Need It |
| Pitch | Distance between the chain’s rivets | Ensures the chain fits the engine’s drive sprocket |
| Gauge | Thickness of the bottom links | Ensures the chain slides smoothly in the bar groove |
| Drive Links | The total number of links on the loop | Determines the true physical length of the chain |
Here is a great visual breakdown of what these three numbers actually look like on your chain:
Finding the Numbers on Your Chainsaw Bar
Before you pull out any tape measures, look for the cheat code. Most chainsaw manufacturers print the exact measurements you need right on the tool.
You just have to know where to look. Take your chainsaw and look at the metal guide bar (the flat blade the chain wraps around). Look near the base of the bar, right where it attaches to the engine casing. You will often find a series of tiny numbers stamped or laser-etched into the metal.
These numbers will usually give you the pitch, the gauge, and the drive link count instantly. It saves you the hassle of measuring anything manually. However, if your saw is older, those numbers might be scratched off or covered in sap and sawdust. In that case, you will have to measure the chain yourself.
| Common Bar Stamp | What It Tells You |
| 3/8 LP | 3/8-inch Low Profile Pitch |
| .050 | 0.050-inch Gauge |
| 72 DL | 72 Drive Links (The true length) |
Step 1: How to Count the Drive Links (The True “Length”)
If you want to know how long your chain is, you do not use a tape measure. You count the drive links.
The drive links are the little metal points on the bottom inside of the chain. They look like small shark fins. These are the parts that slide into the groove of the chainsaw bar and get pulled by the engine. The total number of these fins is your chain’s actual length.
If a package says “72 DL,” that means the chain has exactly 72 drive links.
STIHL AP300S Battery Best Price
My Trick for Counting Links Without Going Crazy
Counting drive links sounds easy until you try it. The chain shifts, you lose your place, and suddenly you are not sure if you counted a link already or not.
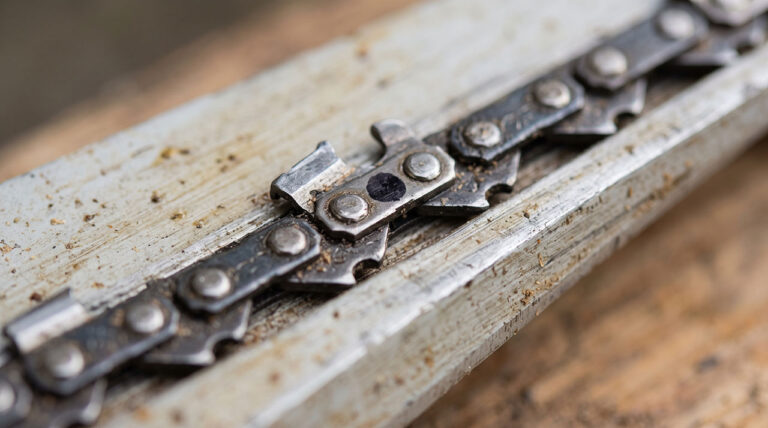
I used to count them three times and get a different number every single time. Now, I use a Sharpie. Take a permanent marker and put a black dot on one of the drive links. That is your starting point. Lay the chain flat on a table and simply count every link until you get back to the black dot.
| Counting Method | Accuracy Level | Annoyance Level |
| The Sharpie Mark | Very High | Low |
| Putting a piece of tape on one link | High | Medium |
| Just counting in your head | Low | Very High (Easy to lose track) |
Step 2: Measuring the Chain Pitch
The pitch tells you how close together the links are on the chain.
If the pitch is wrong, the chain will not seat properly into the drive sprocket. It will jam up instantly. Measuring pitch requires a very specific, slightly strange method. You have to measure the distance between any three consecutive rivets (the little circles holding the chain together), and then divide that number by two.
The Three-Rivet Rule Explained
Pick any three rivets in a row on your chain. Measure the distance from the center of the first rivet to the center of the third rivet.
Let’s say the distance is 3/4 of an inch. Divide that by two, and you get 3/8. Therefore, your chain has a 3/8-inch pitch. If the distance is slightly less, around .65 inches, dividing it by two gives you .325. This means you have a .325-inch pitch. It is a strange math formula, but it works every time.
If you do not want to do math, take the old chain to the store and hold it against a new chain to see if the rivets line up perfectly.
| Pitch Size | Best Suited For | Common Saw Type |
| 1/4″ | Detailed carving and pruning | Small battery saws |
| .325″ | Fast cutting on medium wood | Mid-range gas saws |
| 3/8″ Standard | Heavy-duty felling | Professional large saws |
Step 3: Determining the Chain Gauge
The gauge is the physical thickness of the drive link (the shark fin).
This measurement is critical because it dictates how the chain fits into the groove of the guide bar. If the gauge is too thick, the chain will literally not fit in the bar. You won’t even be able to pull it by hand. If the gauge is too thin, the chain will wobble back and forth while you cut. This creates a sloppy cut and highly increases the chance of the chain derailing right off the bar.
The Famous Coin Trick for Chain Gauge
Measuring gauge is hard because the differences are microscopic. We are talking about the difference between 0.050 inches and 0.058 inches.
Most people do not own digital calipers. Luckily, an old timer showed me a brilliant trick using loose change. First, thoroughly clean the groove of your chainsaw bar with a flathead screwdriver to get all the gunk out. Then, try sliding different coins into the groove. The coin that fits perfectly snug will tell you your gauge.
| Coin Type | Matches Chainsaw Gauge | Fit Description |
| Dime | .050″ Gauge | Slides in with a snug fit |
| Penny | .058″ Gauge | Slides in with a snug fit |
| Quarter | .063″ Gauge | Slides in with a snug fit |
If a dime fits perfectly, you need a .050 gauge chain. If a penny fits, you need .058. It is not perfect, but it works surprisingly well in a pinch when you lose the manual.
Measuring the Chainsaw Guide Bar Length
Sometimes you actually do need to know the length of your guide bar, especially if you are buying a whole new bar and chain combo.
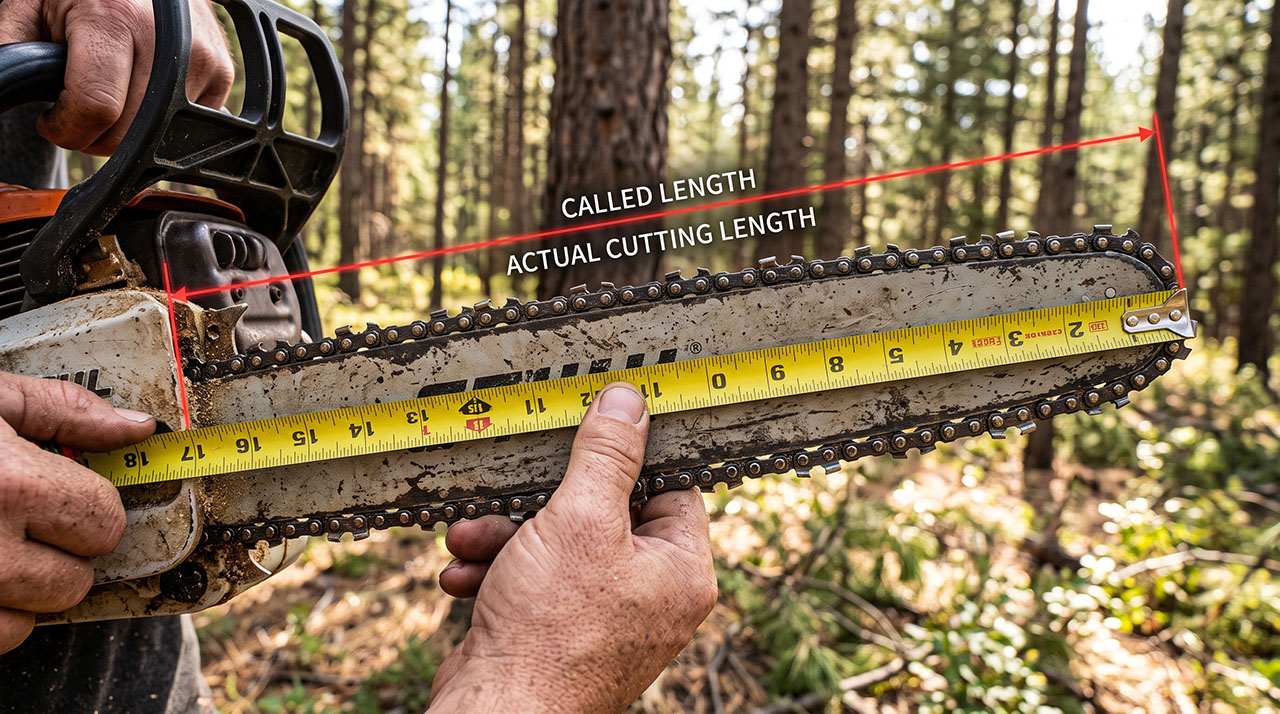
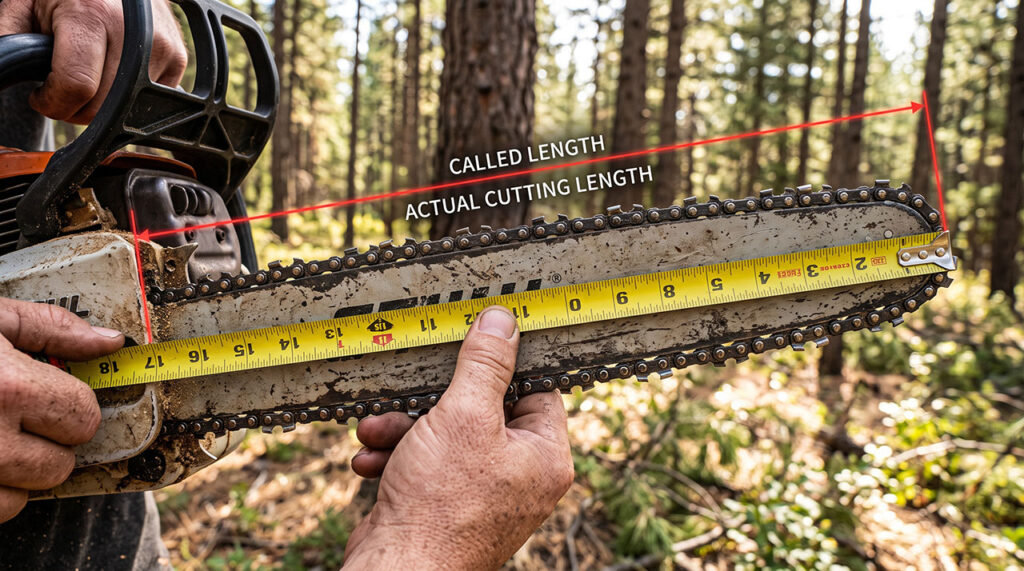
A lot of people make the mistake of removing the bar from the saw and measuring it from tip to tail. That will give you the wrong number. Chainsaw bars are sold by their “called” length, which is only the portion of the bar that actively cuts wood. It is the exposed part of the bar that sticks out of the engine casing.
How to Measure the Bar Properly
Leave the bar attached to the chainsaw engine.
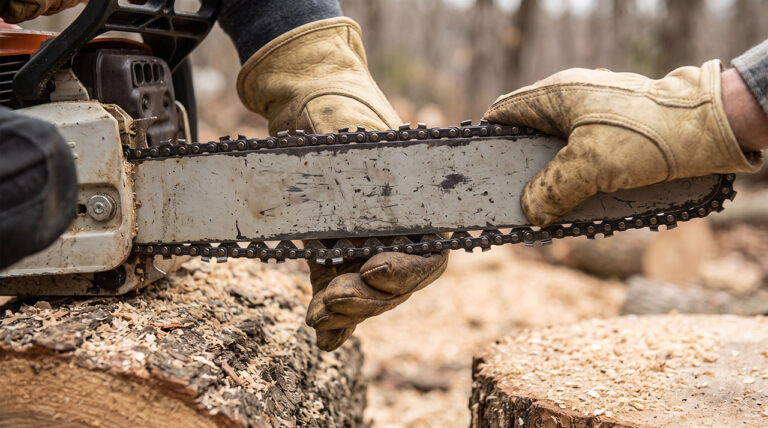
Take a standard tape measure and place the end right where the metal bar enters the plastic or metal casing of the saw body. Pull the tape measure straight down to the very tip of the bar. Round that measurement to the nearest even number. If it measures 15 and 3/4 inches, it is a 16-inch bar. Chainsaw bars are almost always sold in even numbers like 14, 16, 18, or 20 inches.
Real-World Mistakes When Measuring Chainsaw Chains
Over the years, I have made almost every mistake possible when dealing with chainsaws.
It is easy to get complacent and just grab whatever box looks right at the store. The problem is that returning a chain covered in bar oil because you realized it was the wrong size too late is a huge hassle. I have learned to double-check my numbers every single season.
Here are the most common pitfalls people run into, and how I learned to avoid them.
| Common Mistake | Why It Happens | Better Approach |
| Buying by bar length alone | Assuming all “16-inch” chains are identical | Count the exact drive links instead |
| Guessing the chain gauge | Chains stretch and look thinner over time | Look at the bar stamp or use a caliper |
| Measuring overall bar length | Pulling the bar off the saw to measure end-to-end | Only measure the exposed cutting length |
Chains Stretch Over Time
One of the biggest lessons I learned is that chains stretch as they get used.
When a chain gets old and dull, the metal heats up and the physical links stretch out slightly. If you take a severely stretched chain and try to measure the pitch manually, your numbers might be slightly off. It might look like the pitch is larger than it actually is.
This is why counting the drive links and reading the stamped numbers on the bar is always the safest bet. The number of drive links never changes, no matter how badly the chain is stretched.
Brand Mixing Headaches
Not all brands play nice with each other.
I once bought a replacement bar from one brand and a chain from another. Even though the numbers matched, the fit felt terribly tight. While standard measurements like pitch and gauge are universal, the exact profile of the drive sprocket can vary. Whenever possible, I try to match the brand of my chain to the brand of my guide bar. It just guarantees a smoother operation and less wear and tear on the engine.
Final Thoughts
Learning how to measure a chainsaw chain length correctly takes the frustration out of routine maintenance. I wasted entirely too much time returning wrong chains to the store before I finally sat down and learned what pitch, gauge, and drive links actually meant.
The biggest takeaway is to stop looking at the tape measure and start looking at the drive links. Grab a Sharpie, count the teeth on the bottom of the chain, and check your bar for stamped numbers. Once you have those three vital numbers, you can confidently buy a replacement chain for any saw, anytime, without second-guessing yourself. Stay safe out there, and happy cutting.