Table Saw Blade Teeth Guide: Lessons From My Workshop
Walking down the tool aisle as a new woodworker can be incredibly overwhelming. I remember staring at a massive wall of shiny metal, completely unsure of what to buy. You see numbers like 24T, 40T, and 80T. You see weird acronyms like ATB and FTG. If you are like I was, you probably just want a simple table saw blade teeth guide to tell you exactly what to put on your saw.
Finding the right table saw blade teeth guide changed everything for my woodworking. Early on, I ruined expensive boards and spent hours sanding out burn marks simply because I used the wrong blade. I realized that the blade that comes in the box with your new saw is rarely the one you want to use long-term. In this article, I am going to share exactly what I learned about table saw blades, cut through the confusing jargon, and help you get the cleanest cuts possible.
Why I Finally Wrote This Table Saw Blade Teeth Guide
Woodworking is already expensive. You buy the saw, you buy the lumber, and then you realize the blade matters just as much as the machine itself. I wrote this guide because I got tired of reading highly technical manuals that felt like they required an engineering degree to understand.
I needed practical advice. I needed someone to explain why my cuts looked like they were chewed by a beaver. Learning about tooth count and geometry is the single fastest way to improve your project quality.
| Beginner Assumption | Real-World Reality |
| More teeth always means a better cut. | High tooth counts burn wood during rip cuts. |
| One expensive blade can do everything perfectly. | You need specific blades for specific cuts. |
| The blade included with the saw is great. | Stock blades are usually low-quality filler. |
The Mistake That Ruined My First Project
My first real project was a small cherry wood coffee table. I went to the store and bought a beautiful, expensive 80-tooth blade. I figured more teeth meant a smoother finish.
I set up my fence to rip a long board down the middle. Halfway through the cut, the saw started screaming. Smoke poured out of the wood. When I finally pushed the board through, the cut edge was completely black. I had deeply burned the expensive cherry wood. I spent the next three hours with a sander trying to fix my mistake. I learned the hard way that tooth count is about matching the blade to the job.
Decoding Tooth Count: More Doesn’t Mean Better
The biggest myth in woodworking is that a high tooth count is always superior. That is completely false. The number of teeth on your blade dictates how fast the blade cuts and how it clears away sawdust.
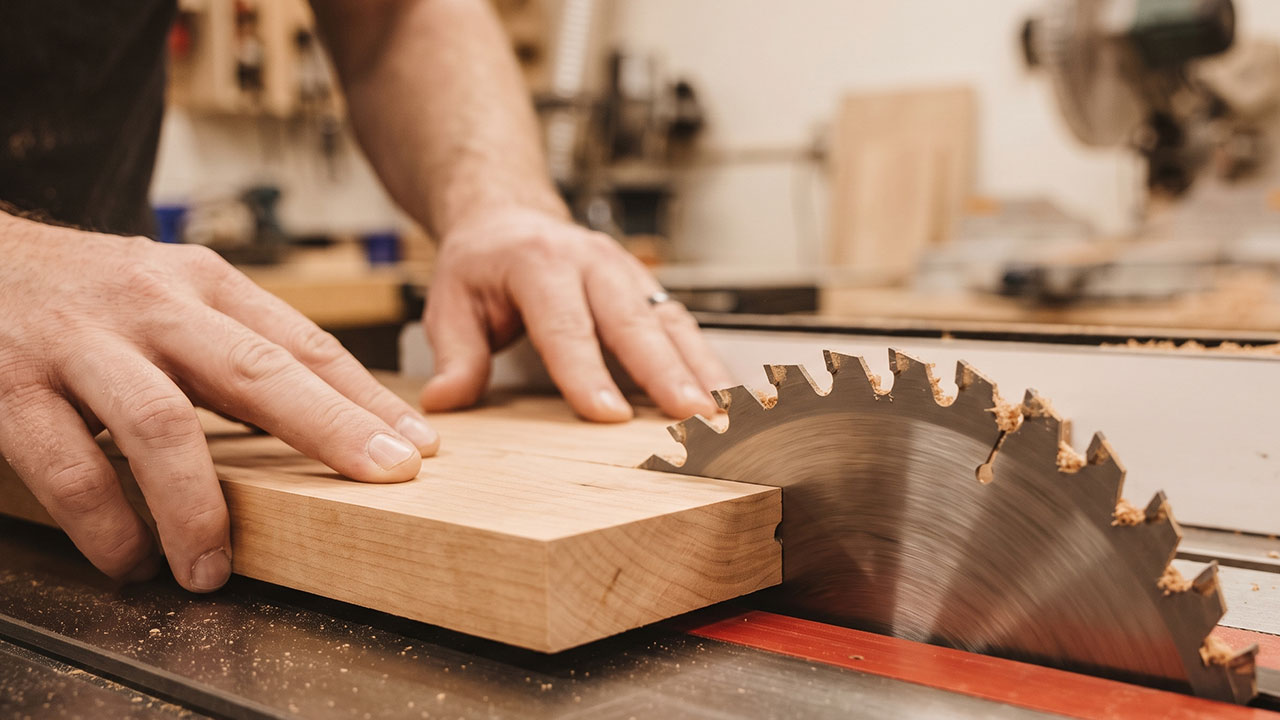
If you look closely at a blade, you will see gaps between the teeth. These gaps are called gullets. The fewer teeth a blade has, the bigger the gullets. The more teeth it has, the smaller the gullets. Those gullets carry sawdust out of the cut. If sawdust gets trapped, it creates friction. Friction causes heat, and heat causes those ugly burn marks.
Low Tooth Count for Ripping Wood
Ripping means cutting wood parallel to the grain. Think of a piece of wood like a tight bundle of plastic drinking straws. When you rip a board, you are splitting those straws apart down the middle.
Because you are cutting with the grain, the wood comes off in long, stringy chips. You need massive gullets to clear out that heavy waste quickly. For ripping on a standard 10-inch table saw, you want a blade with 24 to 30 teeth. It will power through thick hardwood easily without burning.
| Cut Type | Ideal Tooth Count (10-inch Blade) |
| Dedicated Ripping | 24T to 30T |
| Dedicated Crosscutting | 60T to 80T |
| General Purpose | 40T to 50T |
High Tooth Count for Crosscutting
Crosscutting means cutting across the grain. Going back to our straw analogy, this is like slicing across the bundle of straws. If you use a rough ripping blade with huge teeth to do this, it will catch the edges of the straws and tear them out. This creates a jagged, ugly edge called tear-out.
To get a clean crosscut, you need lots of teeth taking tiny, precise bites. For this job, a 60-tooth or 80-tooth blade is perfect. Because the waste material is fine dust rather than long strings, the smaller gullets can handle the clearing process just fine.
The “Goldilocks” Combination Blade
Let’s be honest. Changing blades every time you switch from a rip cut to a crosscut gets annoying fast. Sometimes, you just want to spend your weekend building, not messing with wrenches.
This is where the combination blade shines. A 40-tooth or 50-tooth combination blade is the true workhorse of my shop. It has groups of close-together teeth separated by larger gullets. It won’t give you a flawless, glass-smooth crosscut on delicate plywood, and it might slow down on very thick hardwood. But for 90% of everyday garage woodworking, it is the only blade you need.
Understanding Tooth Geometry (The Grind)
Once I understood tooth count, I thought I knew it all. Then I discovered that the teeth are actually shaped differently. This is called the grind.
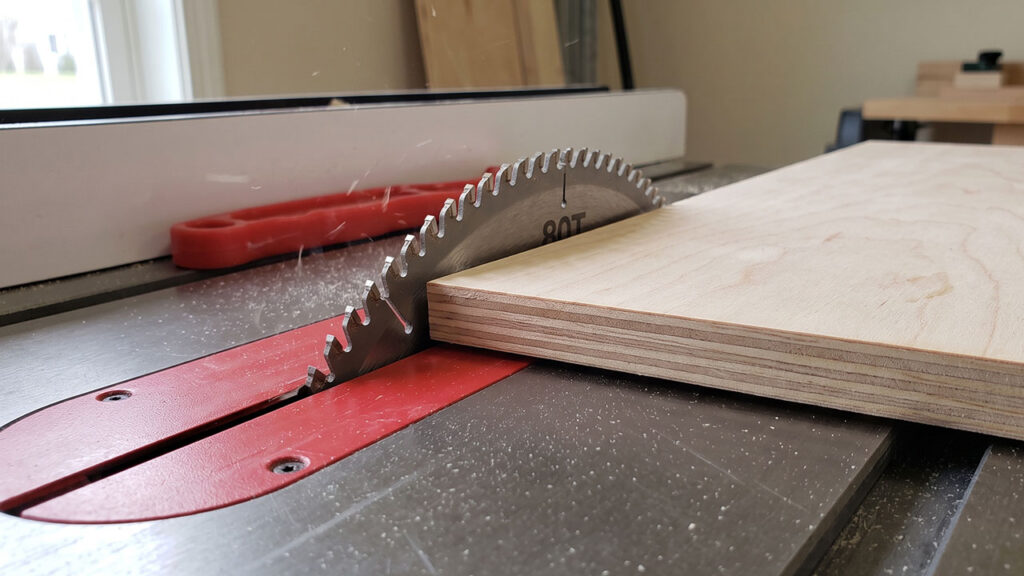
If you look closely at the carbide tips on your blade, you will notice they aren’t all flat. How those teeth are sharpened determines exactly how they slice through wood fibers. This part of our table saw blade teeth guide is where you start getting professional results.
| Grind Type | Best Material | Cut Quality |
| Flat Top (FTG) | Solid Wood (Ripping) | Fast, rough edges |
| Alternate Bevel (ATB) | Plywood & Crosscuts | Very clean, sharp edges |
| Triple Chip (TCG) | MDF, Melamine, Plastics | Durable, resists chipping |
Flat Top Grind (FTG) Explained
The Flat Top Grind is exactly what it sounds like. Every single tooth is perfectly flat straight across.
Think of it like a flat chisel. It attacks the wood head-on. These teeth are usually found on 24-tooth ripping blades. They remove material aggressively and quickly. One hidden benefit of FTG blades is that they leave a perfectly flat bottom in the cut. This is incredibly useful if you are trying to cut joinery, like a rabbet or a groove, on your table saw.
Alternate Top Bevel (ATB) for Clean Cuts
This is the most common grind you will find. The teeth on an ATB blade alternate angles. One tooth slants to the left, and the next tooth slants to the right.
Instead of chopping the wood like a flat chisel, an ATB blade acts like a series of tiny scoring knives. It cleanly slices the left side of the cut, then the right side. This slicing action is the secret to getting beautiful, tear-out-free cuts on delicate materials like veneered plywood. If you are building cabinets, an ATB blade is your best friend.
Triple Chip Grind (TCG) for Tough Materials
Man-made materials can be brutal on saw blades. If you cut a lot of MDF, laminate flooring, melamine, or hard plastics, a standard ATB blade will get dull surprisingly fast.
The Triple Chip Grind features a flat-topped raker tooth followed by a slightly taller, chamfered tooth (the corners are knocked off). The chamfered tooth roughs out the center of the cut, and the flat tooth cleans up the edges. It isn’t quite as smooth as an ATB blade, but it stays sharp much longer when cutting harsh, glue-heavy materials.
Hook Angle: The Hidden Detail I Ignored
For a long time, I never paid attention to the hook angle. It sounded too technical. But understanding it actually solved a major safety issue I was having in the shop.
Hook angle is simply the angle at which the teeth lean forward or backward. A positive hook angle leans forward, grabbing the wood and aggressively pulling it down into the saw table. A negative hook angle leans backward, creating a gentler, pushing-away action.
| Hook Angle Type | Effect on Material | Best Use Case |
| High Positive (+15° to +20°) | Pulls wood aggressively | Fast ripping of solid lumber |
| Low Positive (+5° to +10°) | Balanced feed rate | General purpose cutting |
| Negative (-2° to -5°) | Pushes wood away gently | Miter saws & radial arm saws |
You want a positive hook angle for your table saw to help hold the wood securely against the table. However, if you use a high positive hook angle on a sliding miter saw, the blade can violently grab the wood and climb toward you. Always make sure the hook angle fits the specific tool you are using.
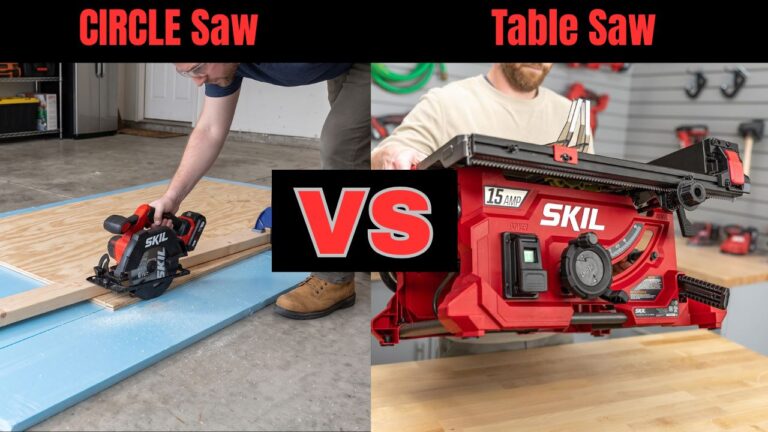
Table Saw Vs Circular Saw: My Brutally Honest Take
Thin Kerf vs. Full Kerf Blades
The “kerf” is just a fancy woodworking word for the width of the cut the blade makes. When shopping for blades, you will have to choose between a thin kerf and a full kerf.
A full kerf blade is exactly 1/8 of an inch thick. It is heavy, stiff, and won’t flutter or deflect when cutting dense woods. However, because it removes more material, it requires a lot of horsepower to spin through tough wood.
A thin kerf blade is about 3/32 of an inch thick. Because it is thinner, it removes less wood and creates less resistance.
| Blade Thickness | Biggest Pro | Biggest Con |
| Full Kerf (1/8″) | Extremely stable, no vibration | Requires a powerful 3HP+ saw |
| Thin Kerf (3/32″) | Cuts fast on smaller 15-amp saws | Can deflect slightly on thick wood |
When I started out, I had a portable jobsite saw. I put a heavy full kerf blade on it, and the motor bogged down constantly. Switching to a thin kerf blade was like giving my saw an instant power upgrade. If you have a standard 120-volt saw, stick to thin kerf blades. Save the full kerf blades for heavy-duty, 240-volt cabinet saws.
Practical Tips for Choosing Your Blade Setup
So, with all this information, what should you actually buy? It is easy to fall into the trap of thinking you need five different blades. You really don’t.
I prefer to keep things incredibly simple. Quality matters more than quantity. A good blade will cost you anywhere from fifty to a hundred dollars, but it will last for years and can be professionally sharpened when it eventually gets dull. Cheap blades are a false economy. They dull quickly, ruin your wood, and end up in the trash.
My Standard Two-Blade System
Over the years, I have settled on a very simple system that handles almost everything I build. I keep a high-quality 40-tooth or 50-tooth combination blade on my saw for daily use. It handles ripping and crosscutting solid pine, oak, and maple beautifully.
When I start a project using expensive birch or walnut plywood, I take five minutes to swap that blade out for an 80-tooth ATB blade. That is it. Just two blades.
| Common Problem | Likely Cause | Easy Fix |
| Wood is burning on rip cuts | Too many teeth (small gullets) | Switch to a 24T or 30T blade |
| Plywood edges are chipping | Too few teeth / wrong grind | Switch to an 80T ATB blade |
| Motor is slowing down in cuts | Blade is too thick for saw | Switch to a thin kerf blade |
Taking care of these blades is also crucial. Sometimes a blade isn’t dull; it is just dirty. Wood contains natural resins and pitch. As the blade gets hot, that sticky pitch bakes onto the teeth. This causes friction, which mimics a dull blade. A quick soak in a dedicated blade cleaner, followed by a scrub with a brass brush, will often make an old blade cut like new again.
Final Thoughts
Learning the ins and outs of a table saw blade teeth guide doesn’t have to be intimidating. It all boils down to matching the tool to the task. Use fewer teeth with deep gullets to rip wood fast. Use lots of teeth to slice cleanly across the grain. Pay attention to the grind and the kerf, and your projects will instantly look more professional.
My biggest piece of advice is to stop fighting your saw. If a cut feels difficult, smells like smoke, or looks terrible, pause what you are doing. The saw is trying to tell you something. Usually, it is simply asking for a different blade. Once you get a feel for how different teeth interact with wood, table saw woodworking becomes much safer and a lot more fun.