How to Change Circular Saw Blade Without Lock (Fast)
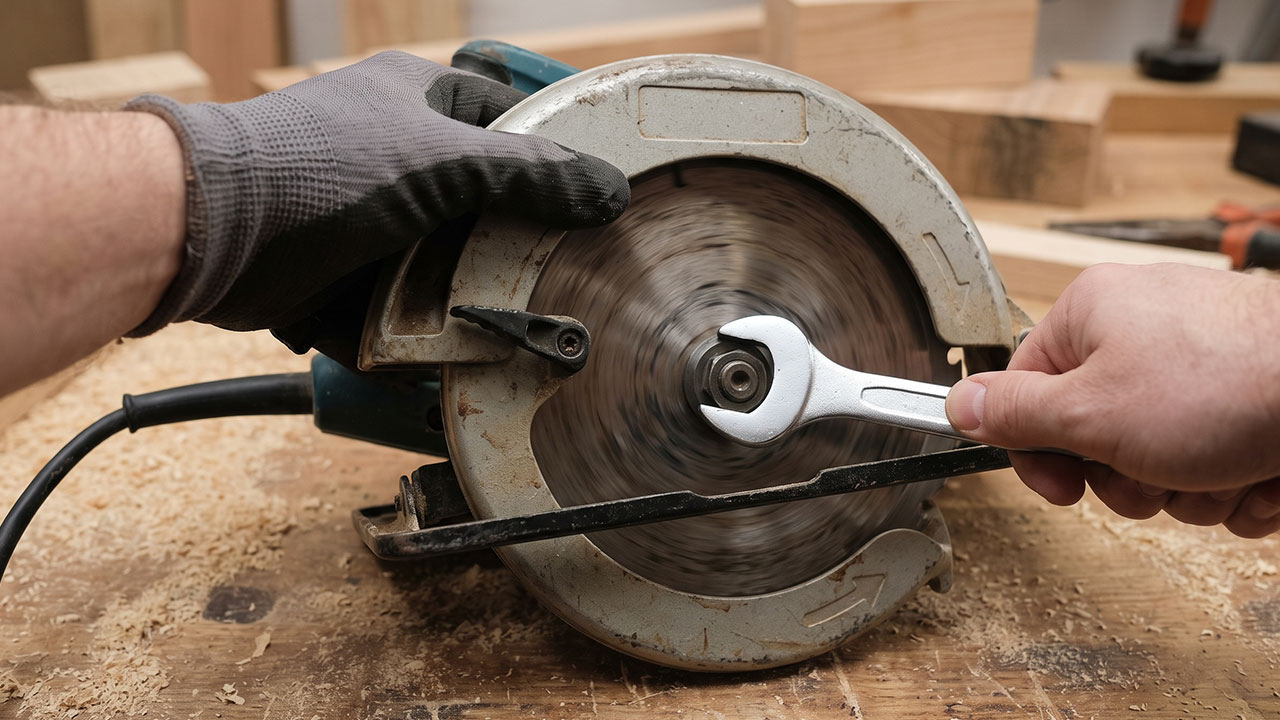
I remember the exact moment my trusty old circular saw betrayed me. I was right in the middle of framing a backyard shed and went to swap out a dull framing blade for a fresh plywood one. I pressed the spindle lock, and nothing happened. The button mashed in uselessly, and the blade kept spinning every time I turned my wrench. I spent an embarrassing amount of time wrestling with it before I finally figured out how to bypass the broken lock entirely.
Learning how to change circular saw blade without lock mechanisms is an annoying but necessary rite of passage for anyone who works with tools. Whether your lock button snapped off, stripped out internally, or you are using an antique model that never had one, you are not out of luck. You do not need to buy a new saw today. I will walk you through exactly how to safely wedge, unthread, and swap that blade using a few simple items you likely already have on your workbench.
Why the Spindle Lock Fails (And What It Means for You)
The spindle lock is a tiny metal pin designed to drop into a groove on the motor shaft. When it engages, it stops the arbor from spinning so you can loosen the main nut. However, because it takes a lot of force to loosen that nut, this little pin takes a massive beating.
I used to slap my wrench on the nut and yank it hard while holding the plastic lock button down. Over time, that brute force shears the metal edges right off the pin. Once those edges round off, the pin simply slips out of the groove. This makes the lock completely useless.
| Issue | What It Means |
| Button feels mushy | Internal spring is broken or jammed with sawdust. |
| Button presses but blade spins | Locking pin is sheared off or rounded. |
| Button is completely missing | Plastic housing cracked and fell out entirely. |
Preparing for How to Change Circular Saw Blade Without Lock
Before we get into the actual methods of freeing up that stuck nut, we have to talk about basic prep. The absolute last thing you want is a workaround method going wrong while the tool has active power.
Step 1: Kill the Power Completely
I cannot stress this enough. When you force a blade to stay still using scrap wood or clamps, your hands will be very close to those carbide teeth. If it is a corded saw, pull the plug. Keep the end of the cord visible so you know nobody accidentally plugged it back in. If it is cordless, pop the battery out completely.
Step 2: Retract and Secure the Blade Guard
You need clear access to the bottom of the blade. Pull the lower blade guard all the way back using the thumb lever. Carefully wedge it open. Sometimes I use a small wooden shim to hold it back. This way, I do not have to fight the spring tension while holding a wrench.
The Scrap Wood Method: My Go-To Solution
This is by far the safest way to master how to change circular saw blade without lock features. It uses the saw’s own mechanics against itself. You do not need any special tools besides the wrench that came with the saw.
I learned this the hard way after nearly slicing my hand. I tried to hold the blade with an old leather work glove. Spoiler alert: gloves do not stop sharp carbide teeth from biting you when your wrench slips.
Setting the Proper Blade Depth
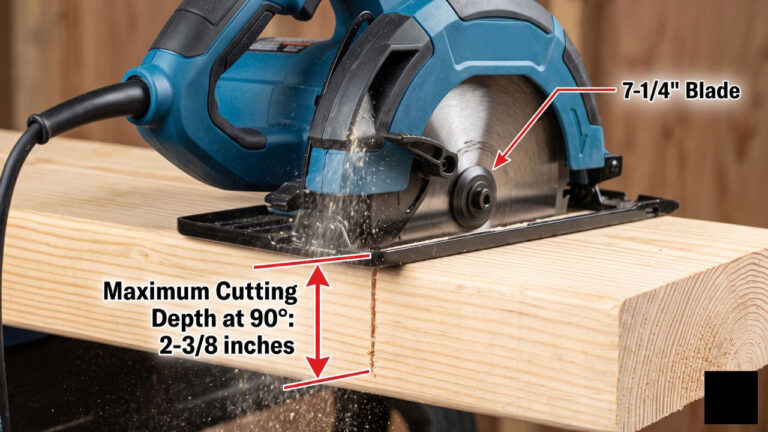
First, unlock your saw’s depth adjustment lever. Drop the blade down so it extends as far as possible past the metal baseplate. Lock the lever back in place. Giving yourself maximum blade exposure makes this trick much easier.
Wedging the Teeth and Loosening the Nut
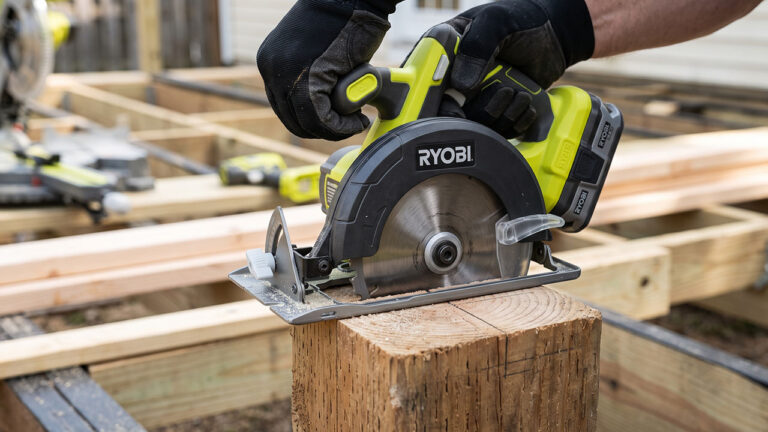
Grab a piece of scrap wood. A chunk of 2×4 works perfectly. Place the saw on a flat workbench. Firmly press the blade down into the edge of the wood block. You want the teeth to bite directly into the wood. Position the wood so that when you turn the wrench, the blade rotates into the block and stops dead.
| Method | Pros | Cons |
| Bare Hands (Gloved) | None. It is incredibly dangerous. | High risk of severe cuts. |
| Pliers on Blade | Fast if it works. | Can easily bend or damage the blade. |
| Scrap Wood Block | Safe, effective, and protects the blade. | Requires a solid workbench to lean on. |
The Reverse Thread Reality Check
Here is a huge mistake I made during my first year of woodworking. I spent twenty minutes sweating and pushing on my wrench while the blade was dug into a piece of wood. I thought the nut was permanently stuck. It turned out, I was actually tightening it.
Left-Side vs Right-Side Blades
Most standard sidewinder circular saws have the blade on the right side of the motor. On these saws, the arbor nut is reverse-threaded. That means “righty-tighty, lefty-loosey” goes completely out the window. To loosen it, you must turn the wrench clockwise.
The Golden Rule for Circular Saw Nuts
If your saw has the blade on the left side (like a worm drive saw), it usually has standard threads. A great trick I eventually learned simplifies everything. To loosen the nut, always turn the wrench in the exact same direction that the blade naturally spins during a cut.
| Saw Type | Blade Location | Loosening Direction |
| Standard Sidewinder | Right Side | Clockwise (Reverse Thread) |
| Worm Drive | Left Side | Counter-Clockwise (Standard) |
| Compact Battery Saw | Left Side | Counter-Clockwise (Standard) |
Alternative Hacks for Stubborn Arbor Nuts
Sometimes, the arbor nut is cranked down so hard that the wood block trick fails. The blade might just chew through the wood. The saw might even twist out of your hands. When I face a truly stuck nut while trying to figure out how to change circular saw blade without lock buttons, I escalate my tactics.
The Vise-Grip on the Inner Flange Trick
Look closely behind the blade. There is an inner washer, called a flange, that sits between the blade and the motor. On many saws, this inner flange has flat edges machined into it. You can slide a thin wrench back there. You can also carefully clamp a pair of needle-nose locking pliers onto that flat edge to hold the shaft still.
Using a C-Clamp on the Blade Body
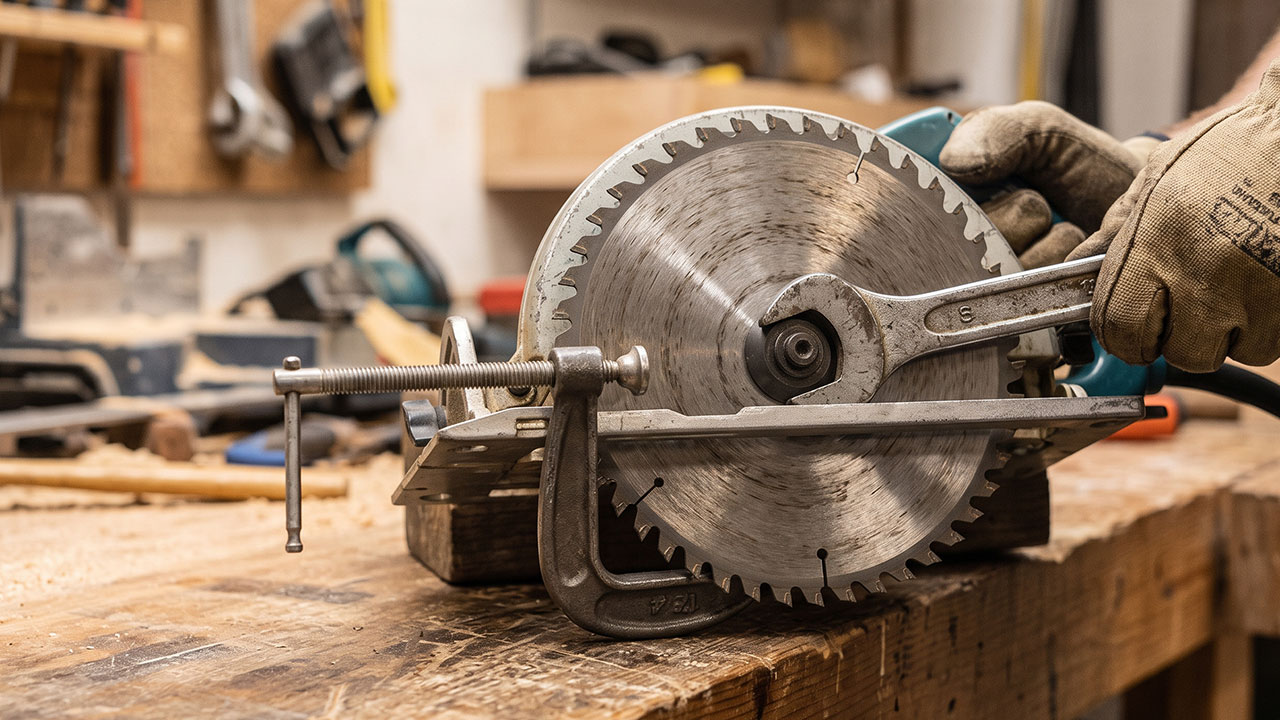
This is my last resort, but it works like magic. Take a medium-sized C-clamp. Clamp it directly onto the flat body of the blade. Position it so the body of the clamp rests firmly against the metal baseplate of the saw. When you turn your wrench, the clamp instantly binds against the metal shoe. This freezes the blade perfectly in place.
| Tool Used | Best Situation | Potential Risk |
| Vise-Grips | Inner flange has flat metal edges. | Can mar the metal if clamped poorly. |
| C-Clamp | Severely stuck arbor nuts. | Might scratch the saw’s baseplate. |
| Impact Driver | You have a hex-head bolt. | Can damage internal motor gears. |
Common Mistakes When Changing a Circular Saw Blade Without a Lock
When you feel frustrated, it is easy to make bad decisions. I have definitely damaged a good tool by losing my patience. Here are the things you should absolutely avoid doing when your spindle lock is broken.
Trying to wedge a screwdriver through the vent holes of the motor housing is a terrible idea. I saw a buddy do this once. He thought he could jam the internal cooling fan to stop the motor from spinning. He ended up snapping three plastic fan blades off. His saw vibrated like a jackhammer ever since.
Best Circular Saw for Woodworking
| Mistake | Why It Fails | Better Approach |
| Jamming motor vents | Breaks internal plastic fan blades. | Use the scrap wood method. |
| Pounding wrench | Damages delicate arbor threads. | Use slow, steady leverage. |
| Using standard pliers | Strips the edges of the hex bolt. | Use a properly sized box wrench. |
Installing the New Blade and Preventing Future Binds
Once you finally get that old blade off, you want to make sure you never have to fight it this hard again. The easiest way to deal with a broken spindle lock is to ensure the arbor nut is easy to remove next time.
Mind the Directional Arrows
Before you put the nut back on, look at your new blade. There is an arrow printed on the face showing the direction of rotation. Make sure this matches the arrow printed on the metal upper guard of your saw. Installing a blade backward will just burn your wood and ruin the carbide tips.
Don’t Over-Tighten the Arbor Nut
I used to crank my blades down as hard as humanly possible. I was terrified they would fly off while spinning at 5,000 RPM. That is a total myth. Circular saw blades are designed to self-tighten slightly during use. You only need to snug the nut down firmly with your wrench.
| Maintenance Habit | Long-Term Benefit |
| Snug, do not crank | Makes future blade changes effortless. |
| Wipe down arbor | Prevents rust and sawdust binding. |
| Add machine oil | Keeps threads smooth and easy to turn. |
Is It Time to Just Replace the Saw?
At a certain point, a broken spindle lock might just be the first symptom of a dying tool. I kept my first circular saw alive for six years. Eventually, the daily hassle heavily outweighed the value.
If your spindle lock broke because the saw took a massive fall onto concrete, check the baseplate. If the metal shoe is bent, your cuts will never be square again. If the motor smells like burning ozone every time you cut a piece of wood, the internal brushes are likely fried. Use these workarounds to finish your current project safely, but know when to let an old tool go.
Figuring out how to change circular saw blade without lock mechanisms can feel incredibly frustrating the first time. However, it is honestly a very straightforward fix. The scrap wood method has saved me countless hours on job sites. It completely eliminates the need for that fragile little plastic button. Just remember to double-check your thread direction so you do not accidentally tighten a reverse-thread nut into oblivion.
The biggest takeaway here is to respect the tool and never rely on brute force. Working smart with a block of wood or a strategically placed C-clamp is always safer than wrestling a sharp blade with your bare hands. Stay patient, keep your fingers clear, and you will have that fresh blade mounted and ready to cut in no time.