How to Use a Table Saw for Beginners: A Safe Start
I still remember staring at my first table saw, completely terrified to turn it on. If you are searching for how to use a table saw for beginners, you probably feel that same mix of excitement and deep respect. The machine is loud, it spins incredibly fast, and it demands your absolute full attention.
But over the years, I learned that this fear is really just a lack of understanding. Once you know exactly how the machine works and how the wood behaves, that fear turns into quiet confidence. I wrote this guide to share the exact steps, safety habits, and real-world lessons that helped me go from a nervous beginner to making precise cuts every day.
Understanding the Anatomy of Your Saw
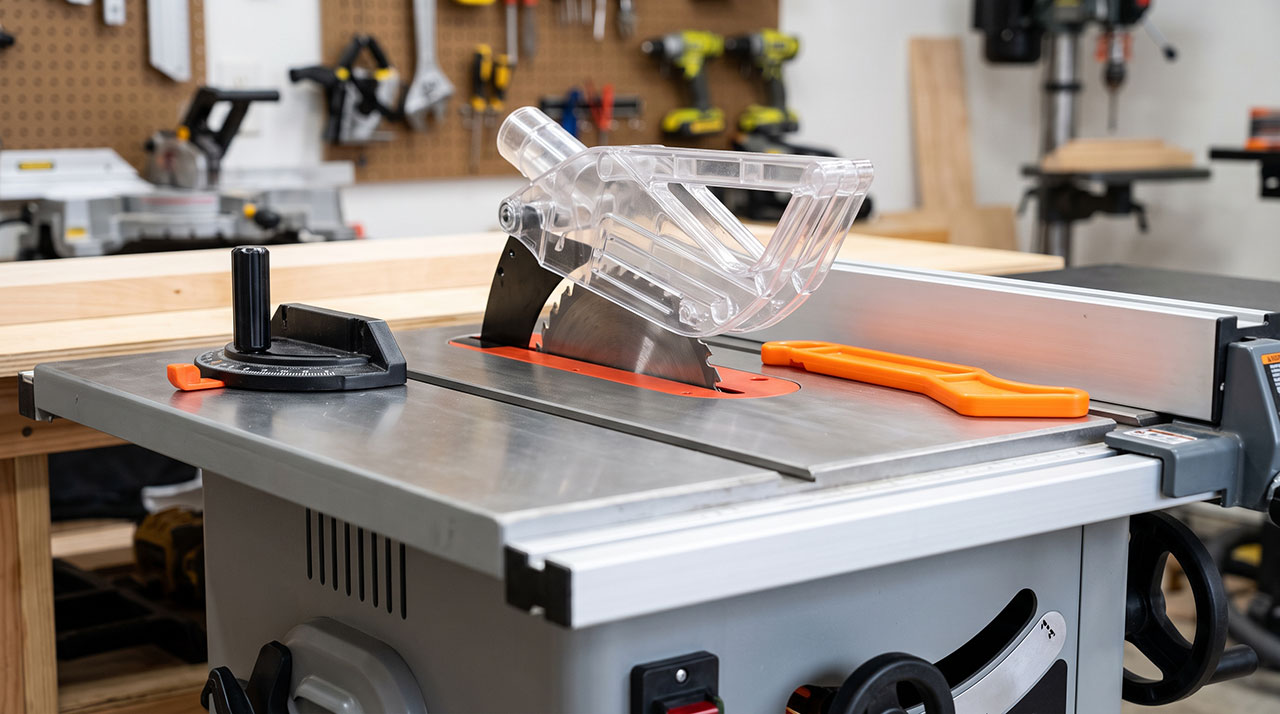
Before you even plug the machine into the wall, you need to know what you are looking at. A table saw has a few core components that dictate how safely and accurately every single cut is made.
The Riving Knife and Blade Guard
These two pieces are your absolute best friends. The riving knife is the curved piece of metal that sits directly behind the saw blade. It stops the wood from pinching together after it passes through the teeth. When wood pinches a spinning blade, it violently throws the wood backward.
The blade guard sits over the top of the blade. It creates a physical barrier between your fingers and the sharp teeth. I used to think the guard was annoying because it blocked my view. Later, I realized it was keeping dust out of my face and protecting my hands. Keep them both installed.
The Rip Fence and Miter Gauge
You will use these two tools to guide your wood, but never at the same time. The rip fence is the long metal barrier that locks down parallel to the blade. You use it when you are cutting wood lengthwise.
The miter gauge slides into the metal slots on the top of the table. You use this when you want to cut across the width of a board. Learning when to use each one is the first major hurdle for new woodworkers.
| Saw Component | Main Purpose |
| Riving Knife | Keeps the wood from pinching the blade and flying backward. |
| Rip Fence | Guides long boards for straight, lengthwise cuts. |
| Miter Gauge | Pushes boards safely across the blade for shorter crosscuts. |
Essential Safety Gear Before You Power Up
You cannot compromise on safety gear when operating heavy machinery. I learned early on that sawdust in the eye or ringing ears will quickly ruin a good day in the shop.
Protecting Your Eyes and Ears
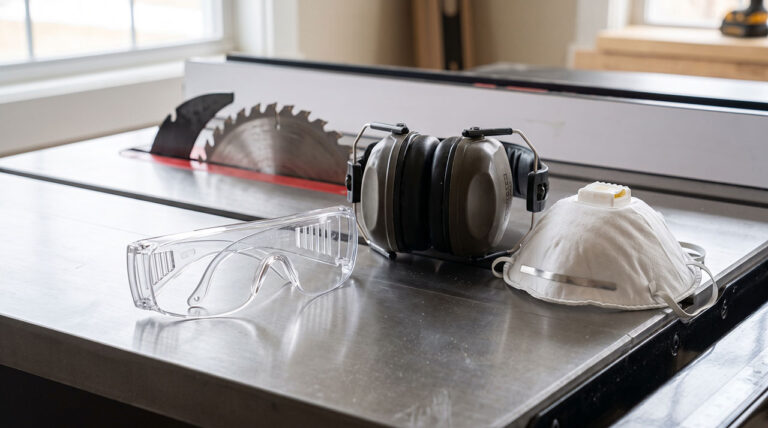
A spinning blade throws a massive amount of dust, wood chips, and sometimes small splinters directly at your face. Standard prescription glasses will not cut it. You need wrap-around safety glasses to protect your eyes from every angle.
Table saws are also incredibly loud. The high-pitched whine of a motor cutting through dense hardwood will damage your hearing over time. I highly recommend wearing over-ear muffs or high-quality foam earplugs every single time you turn the saw on.
What Not to Wear
What you leave outside the shop is just as important as the safety gear you wear inside. When I was learning how to use a table saw for beginners, an old carpenter told me to never wear gloves.
If a glove touches the blade, the teeth will catch the fabric and pull your entire hand into the machine. The same goes for long sleeves, loose hoodies, jewelry, or dangling headphone wires. Roll your sleeves up past your elbows and tie long hair back.
| Gear Item | Keep or Remove? | Why? |
| Safety Glasses | Keep | Blocks flying wood chips and heavy dust. |
| Leather Gloves | Remove | The blade can snag the material and pull your hand. |
| Ear Protection | Keep | Prevents long-term hearing damage from the motor. |
Overcoming the Fear of Kickback
If there is one word that scares beginners, it is kickback. It sounds terrifying, but understanding why it happens is the easiest way to prevent it entirely.
What Exactly is Kickback?
Kickback happens when a piece of wood gets trapped between the spinning blade and the rip fence. Because the back of the blade is spinning upward toward you, it catches the trapped wood and launches it straight back at your torso at highway speeds.
I experienced a minor kickback once when I was rushing a cut. The wood shot back and hit the wall behind me with a massive crack. It shook me up, but it taught me exactly what I did wrong. I let the wood drift away from the fence.
How I Keep Kickback from Happening
Preventing kickback comes down to controlling the wood. You must keep the wood pressed firmly down against the table and tightly against the rip fence until the cut is completely finished.
Never use your bare hands to push wood near the blade. Always use a push stick or a push block. Furthermore, never stand directly in line with the blade. I always stand slightly to the left of the blade, so if the wood ever does shoot back, it flies right past my hip instead of hitting my stomach.
| Kickback Trigger | My Prevention Rule |
| Wood pinching the blade | Always keep the riving knife installed. |
| Wood drifting away from fence | Keep steady, even pressure against the fence. |
| Standing directly behind wood | Stand slightly offset to the left of the blade path. |
Setting Up for Your First Cut
Preparation is everything. A good cut is determined before the motor even turns on. Taking an extra minute to set up your saw properly will save you a lot of frustration and wasted lumber.
Dialing in the Perfect Blade Height
A common mistake I see is raising the blade way too high. If the blade is fully exposed, it is incredibly dangerous. If it is too low, it will struggle to cut through the wood and might cause burning.
The sweet spot is setting the blade so that the highest tooth sits just about an eighth of an inch above the top of your wood. The bottom of the gullet (the curve between the teeth) should be roughly even with the top surface of your board. This keeps the blade cool and minimizes the exposed sharp edges.
Squaring the Fence and Blade
You cannot cut a straight line if your saw is crooked. Before starting a project, I always make sure my rip fence is perfectly parallel to the saw blade.
You can check this by measuring the distance from the front of the blade to the fence, and then measuring from the back of the blade to the fence. The numbers should be exactly the same. If the back is narrower, the wood will get pinched, leading to a dangerous kickback scenario.
| Setup Step | Why It Matters |
| Adjusting Blade Height | Gives cleaner cuts and limits dangerous exposed teeth. |
| Checking Fence Alignment | Prevents the wood from binding and causing kickback. |
| Testing on Scrap Wood | Ensures your measurements are right before cutting good wood. |
Making a Basic Rip Cut
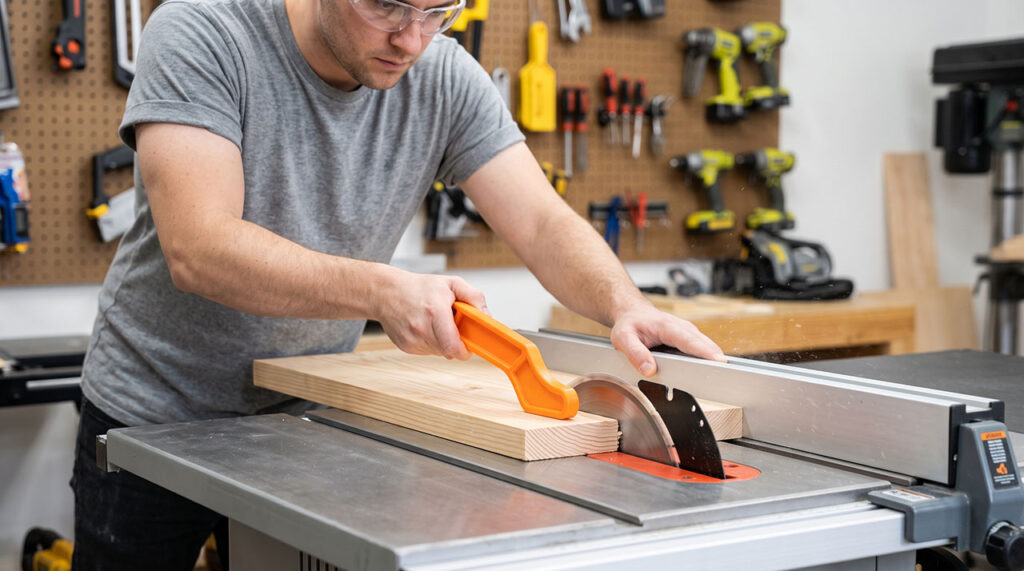
A rip cut simply means you are cutting the wood lengthwise, parallel to the grain. This is the most common cut you will make on a table saw, and it relies entirely on the rip fence.
Stance and Body Position
Your body positioning changes everything. Stand with your feet shoulder-width apart to keep your balance. Use your left hand to guide the wood flat on the table and snug against the fence, keeping your hand far away from the blade.
Your right hand is the driving force. You will use it to push the wood smoothly forward. You want to look at the fence where the wood touches it, not at the spinning blade. If you keep the wood tight to the fence, the blade will naturally do its job perfectly.
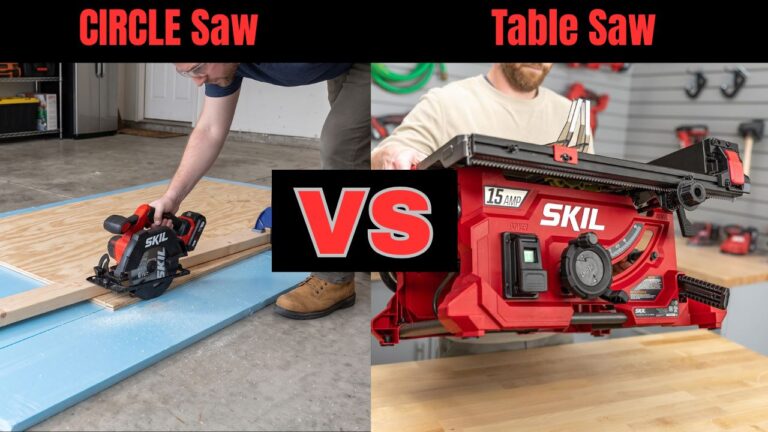
Table Saw Vs Circular Saw: My Brutally Honest Take
Feeding the Wood and Using Push Sticks
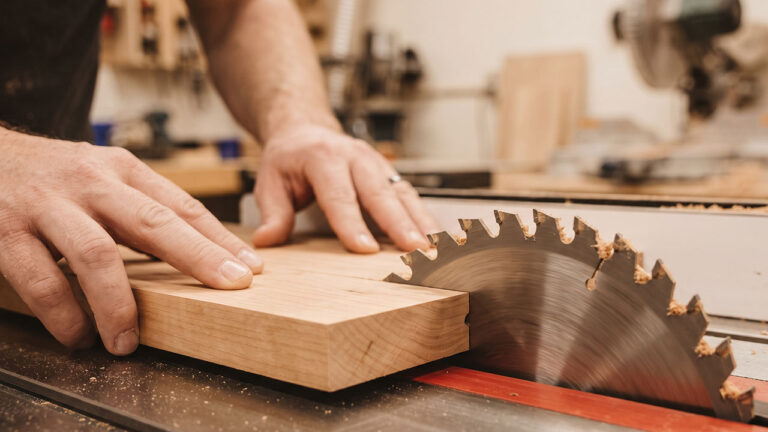
Once the back edge of the board reaches the front of the table, grab your push stick with your right hand. Never let your fingers get within six inches of the blade.
Push the wood completely past the blade and past the riving knife before you stop. One of my early mistakes was stopping the push as soon as the wood cleared the teeth. You must push it all the way through and off the back of the saw to finish the cut safely.
| Common Rip Cut Mistake | The Better Approach |
| Staring directly at the blade | Look at the gap between the wood and the fence. |
| Pushing with your bare thumbs | Keep a push stick perfectly in reach before you start. |
| Stopping halfway through the cut | Feed the wood smoothly and entirely past the riving knife. |
Mastering the Crosscut
A crosscut happens when you cut across the width of a board, cutting perpendicular to the wood grain. This is how you cut long boards down to shorter lengths.
The Golden Rule of Crosscutting
There is one rule you must never break: never use the miter gauge and the rip fence at the same time. This is a crucial lesson for anyone learning how to use a table saw for beginners.
If you push a board across the blade with the miter gauge, and the end of the board is dragging against the rip fence, the wood will absolutely get wedged. It will bind against the spinning teeth and kick back violently. Whenever I use the miter gauge, I slide the rip fence completely out of the way.
Upgrading to a Crosscut Sled
The miter gauge that comes with most beginner saws is usually small and slightly wobbly. As I got deeper into woodworking, I built a simple crosscut sled.
A crosscut sled is a jig that rides in both metal slots on your table. It supports the wood from underneath and behind, giving you perfectly square, incredibly safe crosscuts. It keeps your hands safely away from the action and provides amazing control over smaller pieces of wood.
| Cut Type | Right Tool to Use | Wrong Tool to Use |
| Ripping a long board | Rip Fence | Miter Gauge |
| Cutting a board shorter | Miter Gauge or Sled | Rip Fence |
| Cutting a small square | Crosscut Sled | Bare hands against fence |
Lessons I Learned the Hard Way
No matter how many articles you read, you will make a few mistakes when you start cutting. I certainly did. Recognizing these early warning signs will help you correct your technique quickly.
Dealing with Burn Marks on Wood
When I first started, I noticed my cherry and maple boards were coming out with dark, scorched burn marks along the edges. I thought my blade was dull.
It turned out I was feeding the wood way too slowly. When you push the wood too slowly, the friction from the spinning teeth literally burns the wood. I learned to feed the wood at a steady, consistent walking pace. You want the blade to cut, not rub.
Stalling the Motor
Another terrifying moment as a beginner is when the saw suddenly bogs down and stops spinning mid-cut. The motor groans, and the wood gets stuck.
This usually happens because you are forcing the wood through too quickly, or you are cutting a thick piece of dense hardwood with a cheap, thin blade. When the saw bogs down, immediately turn off the power with your knee or free hand. Do not try to yank the wood backward while the machine is on.
| Problem | Likely Cause | Quick Fix |
| Wood has burn marks | Feeding the wood too slowly | Push the wood at a slightly faster, even pace. |
| Motor bogs down | Pushing too fast or dull blade | Slow your feed rate or upgrade your saw blade. |
| Wood feels hard to push | Fence is not parallel | Turn off the saw and realign the rip fence perfectly. |
Final Thoughts
Learning how to use a table saw for beginners takes time, patience, and a healthy dose of respect for the machine. The biggest lesson I learned is to never rush a cut. If a setup feels awkward, unsafe, or slightly off, stop the machine immediately and rethink your approach. Your intuition is usually right.
Ultimately, a table saw is just a tool. It is not something to be feared, but it is something to be mastered through careful, deliberate practice. Start with simple rip cuts on cheap pine, focus entirely on your hand placement, and build your confidence slowly. Before long, you will be making perfect cuts without breaking a sweat.