How Do You Tighten A Chainsaw Chain Safely?
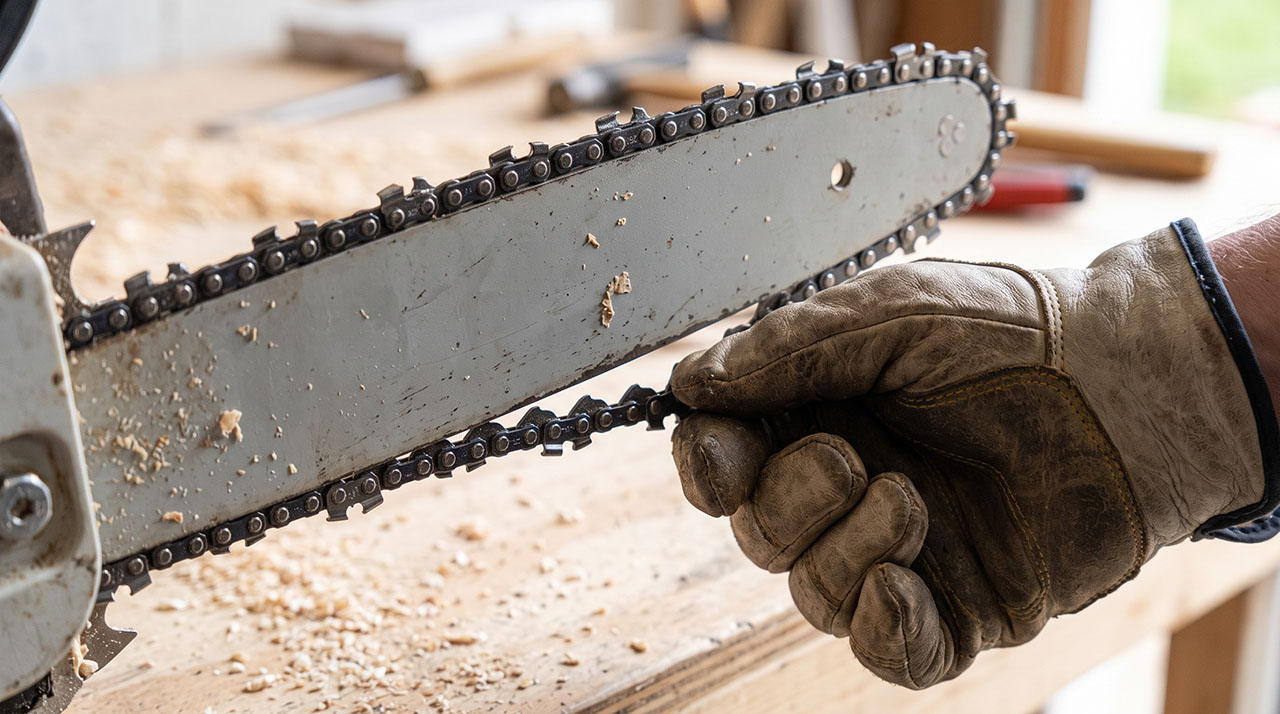
I still remember the first time I bought a chainsaw. I was clearing some old oak branches behind my shed. About ten minutes into cutting, the chain suddenly jumped completely off the guide bar. It scared me half to death. I had absolutely no idea how to fix it. I sat there on a log, wondering, how do you tighten a chainsaw chain the right way?
Since that day, I have spent hundreds of hours cutting firewood, felling small trees, and doing yard maintenance. I learned the hard way that a loose chain is not just annoying. It is incredibly dangerous. Today, I want to walk you through the exact steps I use to get perfect chain tension every single time. You do not need to be a lumberjack to get this right. You just need to know a few basic rules.
Why I Never Ignore a Loose Chainsaw Chain
When a chain gets loose, it hangs down from the bottom of the bar. We call this a “slapping” chain. It looks bad, but it acts even worse.
A loose chain is unpredictable. It can easily catch on a thin branch and derail. When a chain derails at high speed, it can whip back toward your hands or legs. Modern saws have chain catchers to help stop this, but you never want to test that safety feature if you do not have to.
The Dangers of a Slapping Chain
A slapping chain damages your equipment very quickly. The metal drive links on the bottom of the chain will repeatedly bang against the edge of the guide bar. This creates tiny metal burrs.
Eventually, those burrs make the bar groove rough and uneven. Your saw will stop cutting straight. You will push harder, the saw will cut slower, and you will wear out your gear long before its time. Keeping the right tension saves your guide bar from an early trip to the scrap pile.
| Problem | Cause | Real-World Result |
| Chain sags below bar | Normal stretching | Derailment risk increases |
| Saw cuts in a curve | Damaged bar groove | Frustration and wasted wood |
| Drive links get chewed up | Slapping against metal | Need to buy a new chain |
The Opposite Problem: A Too-Tight Chain
When I first learned how to tighten a chainsaw chain, I made a classic rookie mistake. I cranked the tension screw down as hard as I could. I thought tighter meant safer. I was very wrong.
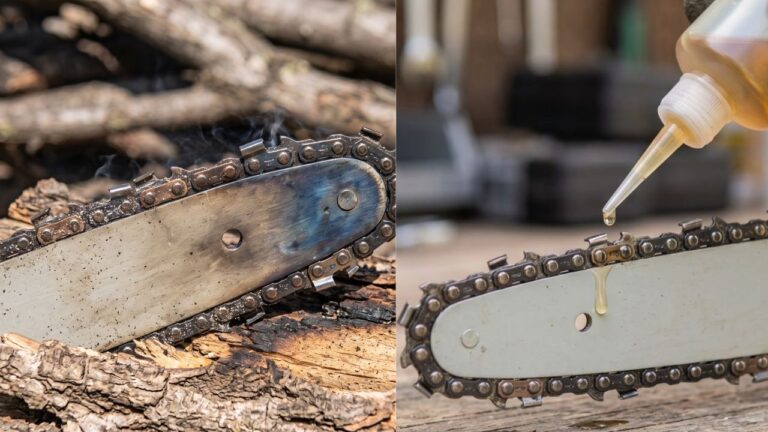
A chain that is too tight creates massive friction. The engine has to work twice as hard to spin the chain. The guide bar gets extremely hot, sometimes hot enough to smoke. It also burns up your bar and chain oil instantly. A chain needs just enough slack to glide smoothly around the track.
The Pre-Flight Safety Checks I Always Do
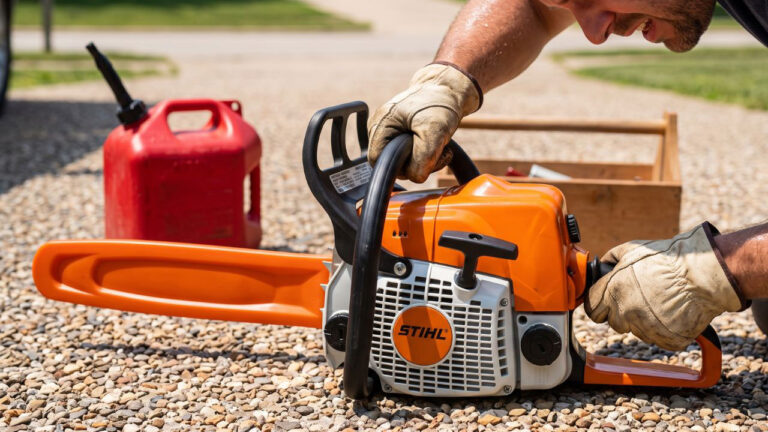
Before you even touch a wrench, you have to prep the saw. I never skip these steps. Chainsaw teeth are literally designed to rip through solid wood. They will not hesitate to rip through heavy work gloves, either.
Always put on a thick pair of leather gloves before you touch the chain. The cutting teeth are razor sharp even when the saw is turned off.
Disconnecting the Power Source
You must eliminate any chance of the saw starting by accident. It sounds like common sense, but people forget this all the time.
If you use a gas chainsaw, pull the rubber boot off the spark plug. If you use a battery-powered saw, physically remove the battery from the housing. If you have an electric saw with a cord, unplug it from the wall. Never trust just the power switch.
| Power Type | Safety Action | Why I Do It |
| Gas Engine | Remove spark plug wire | Stops accidental firing |
| Battery Saw | Pull out the battery pack | Kills all power instantly |
| Corded Electric | Unplug from the wall | Prevents trigger slips |
Letting the Saw Cool Down First
This is a lesson that took me a whole season to figure out. Never adjust your chain tension immediately after making heavy cuts.
When you cut wood, friction creates heat. Metal expands when it gets hot. If you tighten a hot, expanded chain, it will shrink as it cools down in your garage. That shrinking metal will pull against the guide bar with massive force. I have actually seen a guide bar bend because a chain cooled and contracted too tightly around it. Wait about fifteen minutes for the saw to cool down before adjusting.
Exactly How Do You Tighten A Chainsaw Chain?
Now we get to the actual work. You will need the combination wrench that came with your saw. Most people just call this a “scrench” because it has a socket wrench on one end and a flathead screwdriver on the other.
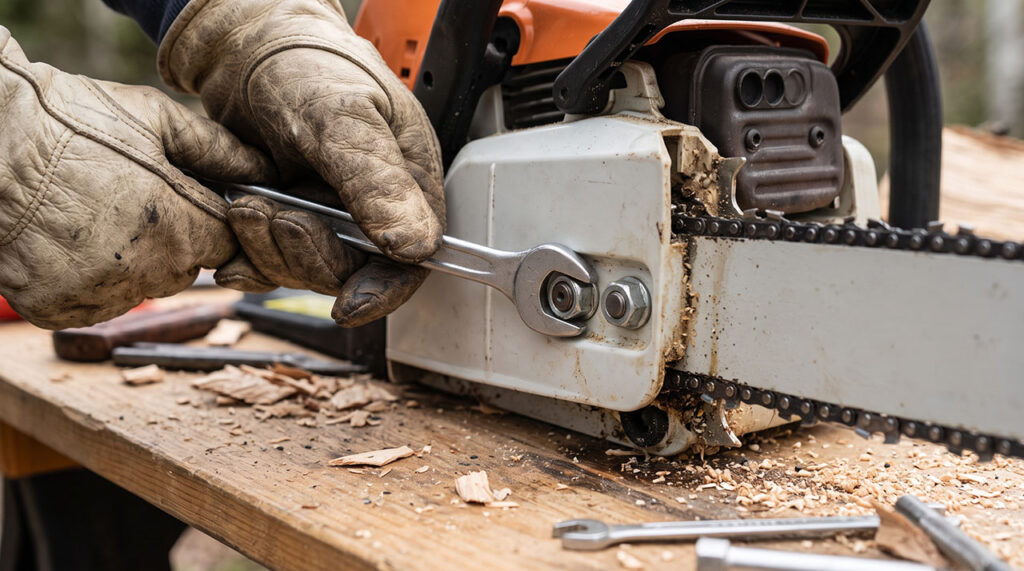
I keep my scrench in my back pocket whenever I am cutting wood. You will use it constantly. Here is the step-by-step process I follow every single time.
Step 1: Loosen the Bar Nuts
Look at the side cover of your chainsaw. You will see one or two large nuts holding the plastic or metal cover in place. This cover pins the guide bar to the body of the saw.
Use your scrench to loosen these nuts. Do not take them off completely. Just loosen them enough so the guide bar can slide up and down slightly. If you leave the nuts tight, the tensioning screw will strip out when you try to turn it.
| Action | Common Mistake | Better Approach |
| Loosening bar nuts | Removing them completely | Just back them off a few turns |
| Freeing the bar | Leaving nuts too tight | Make sure the bar can wiggle slightly |
Step 2: Lift the Nose of the Guide Bar
This is the most critical step in the entire process. If you skip this, your chain will be loose again the second you start cutting wood.
Grab the tip (the nose) of the guide bar and lift it up firmly. Why? Because gravity pulls the heavy bar down. When you rest the saw against a log to cut, the pressure pushes the bar up. If you tighten the chain while the bar is sagging down, it will instantly go slack as soon as you apply upward cutting pressure. Always lift the nose.
Best 12-Inch Battery Chainsaw: Top Models
Step 3: Turn the Tensioning Screw
While keeping that upward pressure on the nose of the bar, locate your tensioning screw. On older saws, it is right next to the bar facing forward. On newer saws, it is usually on the side cover between the bar nuts.
Take your flathead screwdriver and turn the screw clockwise (righty-tighty). As you turn it, watch the bottom of the guide bar. You will see the sagging belly of the chain slowly pull up into the groove of the bar. Stop turning when the bottom of the chain just touches the bottom rails of the bar. It should not hang down at all.
Step 4: Tighten the Nuts While Holding the Nose
Do not let go of the bar tip yet! Keep pulling up on the nose of the guide bar with your left hand.
Use your right hand to grab the scrench and tighten the bar nuts back down. Snug them up tight. Once the nuts are locked in place, you can finally let go of the bar. The guide bar is now locked in the “up” position, meaning it will not shift when you make your first cut.
The Snap Test: How I Know the Tension is Perfect
After I tighten everything up, I need to know if I hit the sweet spot. You cannot just guess by looking at it. I use a very simple physical check called the snap test.
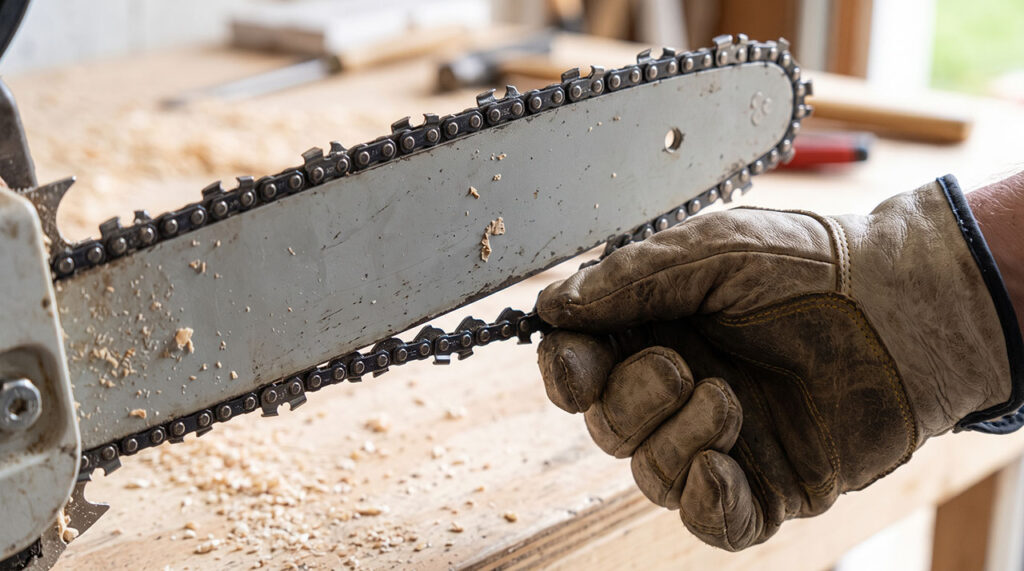
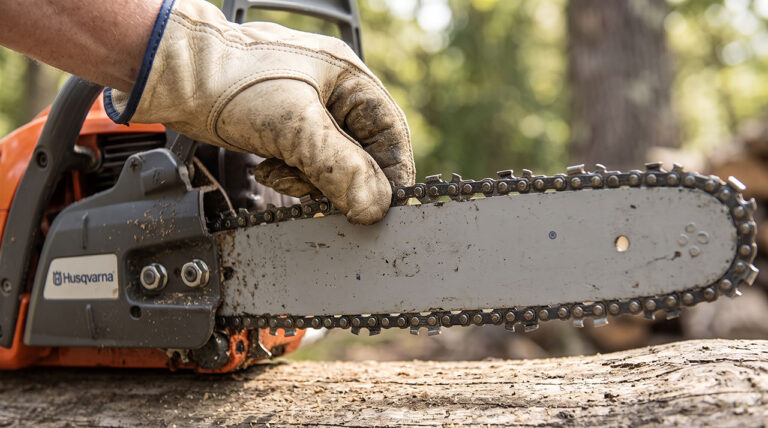
I put on my heavy leather gloves. I grab the chain right in the middle of the bottom of the guide bar. I pull the chain straight down away from the bar.
| What I See | What It Means | Next Step |
| Chain barely pulls away | Tension is way too tight | Loosen nuts, back off screw slightly |
| Chain hangs down after pull | Tension is still too loose | Repeat the tightening steps |
| Chain snaps right back up | Tension is absolutely perfect | Go cut some wood |
When you pull the chain down, you should see three or four drive links completely come out of the bar groove. When you let go, the chain should snap back up into the groove instantly and sit flush against the metal rails.
Next, I grab the chain on top of the bar and pull it forward. It should move smoothly around the bar without binding or catching. If I have to strain my arms to pull the chain around the track, I made it too tight.
Common Mistakes I Made When I First Started
Learning how to run a chainsaw properly involves making mistakes. I have made plenty of them. I want to share a few traps I fell into so you can avoid them.
Chain tension is not a “set it and forget it” task. It changes constantly while you work. Knowing how your saw reacts to different conditions will save you a lot of frustration.
Breaking In a Brand New Chain
The first time I put a brand new chain on my saw, I tightened it perfectly. I went to cut a thick piece of maple. Five minutes later, the chain was hanging three inches below the bar. I thought my saw was broken.
A new chain stretches very quickly during its first use. The metal links settle into the rivets, and the whole chain gets slightly longer. This is totally normal. When you put on a new chain, plan to stop and tighten it two or three times within the first twenty minutes of cutting. After that break-in period, it will hold its tension normally.
Letting Debris Pack Under the Side Cover
Sometimes, I would turn the tension screw, but nothing would happen. The chain would stay loose. I would get frustrated and force the screw, almost stripping it.
The problem was usually sawdust and dried chain oil packed behind the side cover. When this gunk builds up, it traps the metal tensioning pin. The pin simply cannot move the bar forward. Now, I always scrape out the greasy sawdust with my scrench before I put the cover back on. Keeping that area clean makes tensioning incredibly easy.
| Issue | Real Cause | My Solution |
| Screw turns but chain stays loose | Pin is stuck in sawdust | Clean behind the side cover |
| Bar nuts feel locked up | Thread damage or rust | Wipe down bolts, apply light oil |
Tool-less vs. Standard Tensioning Systems
Over the last few years, many brands have introduced “tool-less” tensioning systems. You usually see these on battery-powered saws and smaller gas saws built for homeowners.
Instead of using a metal scrench, you turn a large plastic dial on the side of the saw to tighten the chain. I own both types, and I have very different opinions on them depending on the job.
Standard tensioning systems with heavy metal bolts are incredibly durable. I never worry about them breaking when I am deep in the woods. However, you have to keep track of your tools.
Tool-less systems are amazing for quick yard work. You can tighten the chain in five seconds with bare hands. But in my experience, those plastic dials can get jammed with dirty wood chips, and they do not always hold tension as tightly during heavy-duty cutting.
| Feature | Standard System | Tool-less System |
| Tools Needed | Scrench required | Just your hands |
| Durability | Heavy metal, very tough | Plastic dials, can wear out |
| Best Use Case | Felling trees, heavy firewood | Quick pruning, light yard work |
How Often Should You Check Your Chain Tension?
This was a big question I had early on. I was constantly checking the chain, paranoid that it was going to fly off. Over time, I developed a very reliable habit.
I check the tension every single time I put down the saw to take a break. I check it every time I fill up the gas tank or swap out a battery. More importantly, I make it a habit to glance down at the bar between cuts.
If I notice the chain looking a little wavy on the bottom, I stop immediately. It only takes thirty seconds to fix. Pushing through a cut with a loose chain is just asking for a derailment. A good rule of thumb is this: if you have to ask yourself if the chain looks loose, it is probably time to adjust it.
Paying Attention to the Oil
Chain tension and chain oil work closely together. If your saw runs out of oil, the chain gets bone dry. A dry chain gets incredibly hot very fast. Heat causes massive stretching.
If you find yourself constantly wondering how do you tighten a chainsaw chain because it keeps going slack every ten minutes, check your oil reservoir. You might have a clogged oil port. A well-oiled chain runs cooler, stretches less, and stays tight much longer.
Final Thoughts
Learning how to tighten a chainsaw chain is one of those skills that feels awkward the first few times you do it. You might forget to lift the nose of the bar, or you might make it just a little too tight. That is completely okay. After a few weekends of cutting wood, finding the tensioning screw and doing the snap test will become pure muscle memory.
The biggest takeaway is simply to pay attention to your tools. Don’t ignore a sagging chain, let the saw cool down before you tighten it, and always remember to pull the bar tip up before locking those nuts down. Treat the chainsaw with respect, keep that tension perfectly snug, and it will effortlessly slice through anything you put in front of it. What project are you planning to tackle next with your saw?