How to Tension a Chainsaw Chain: My Practical Guide
The first time I threw a chainsaw chain in the middle of a job, my heart jumped into my throat. I was cutting up a fallen oak tree in my backyard, rushing to finish before dinner, when a loud clatter stopped me dead in my tracks. The chain had jumped completely off the guide bar, tangling itself around the drive sprocket. I realized right then that I had no idea how to tension a chainsaw chain properly, and my guesswork was actually putting me in danger.
Learning how to keep that chain sitting perfectly on the bar changed everything for me. It stopped the constant delays, saved my equipment from unnecessary wear, and most importantly, kept me safe. If you are struggling with a chain that keeps sagging, popping off, or cutting poorly, I completely understand the frustration. Today, I want to share exactly what I learned about getting that tension right every single time.
Why Getting the Right Chain Tension Changed My Workflow
For a long time, I thought a loose chain was just an annoying part of using a chainsaw. I would cut a few logs, watch the chain sag like a hammock under the guide bar, and then waste ten minutes fiddling with tools to tighten it back up. It felt like I was spending more time maintaining the saw than actually cutting wood.
What I did not understand was that a loose chain does not just ruin your cutting rhythm. It actively damages the saw. When the chain hangs too low, it slaps against the bottom of the guide bar. This wears out the metal rails quickly. I ended up ruining a perfectly good guide bar in less than a season because I was too stubborn to learn the proper tensioning technique.
Once I figured out the mechanics behind it, cutting firewood became a completely different experience. The saw did the work instead of me forcing it. The cuts were straighter, the engine sounded smoother, and I stopped ruining expensive parts.
The Basic Tools You Need
You really do not need a fancy workshop to get this done. Tensioning your chain is something you will often do right in the dirt, leaning over a log.
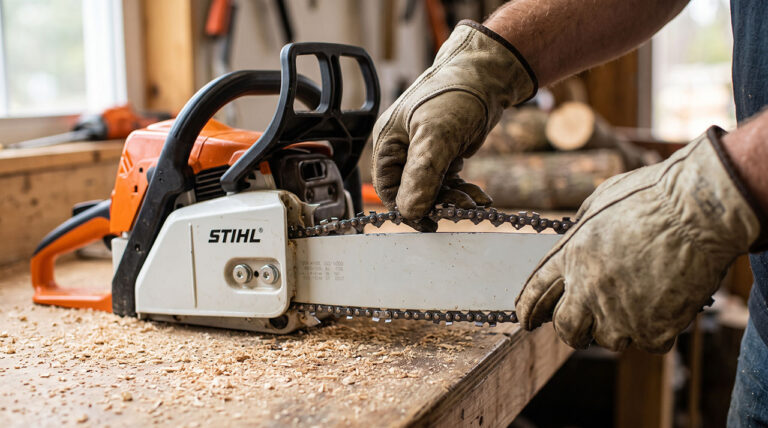
I always carry a “scrench” in my back pocket when I am working. A scrench is that simple combination tool that came with your chainsaw. It has a socket wrench on one end for the bar nuts and a flathead screwdriver on the other end for the tensioning screw. Heavy-duty leather gloves are also an absolute must. Chainsaw teeth are razor-sharp even when the engine is off, and you will be handling the chain directly.
Step-by-Step: How to Tension a Chainsaw Chain
Figuring out how to tension a chainsaw chain is all about following a specific sequence. If you skip a step or do them out of order, the tension will not hold once you start cutting.
Step 1: Prep the Saw and Ensure Safety
Safety always comes first when you have your hands near cutting teeth. Do not skip this step just because you are in a hurry.
If you are using a gas-powered saw, make sure the engine is completely off and cool. I always pop the spark plug boot off just to be absolutely certain it cannot fire. If you are using a battery-powered saw, physically remove the battery. Set the saw flat on a stable surface, like a sturdy stump or a workbench, so it does not wobble while you work.
Step 2: Loosen the Bar Nuts
Your guide bar is held in place by one or two large nuts on the side panel. You need to loosen these to allow the bar to slide.
Use the wrench end of your scrench to crack the bar nuts loose. Do not take them completely off. If you remove them, the side cover will fall off, and you will have to reassemble everything. You just want them loose enough so that the guide bar can move up and down freely.
Step 3: Locate the Tensioning Screw
Every modern saw has a tensioning screw, but its location depends on the brand and model you own.
On many saws, the screw is located right between the two bar nuts on the side panel. On others, it is located on the front of the saw, pointing toward the guide bar, right next to the cutting spikes. Take your scrench and fit the flathead side into this screw. Turning it clockwise tightens the chain, while turning it counter-clockwise loosens it.
Step 4: Dial in the Proper Tension
This is where the actual adjustment happens. Keep your gloves on and get ready to feel the chain.
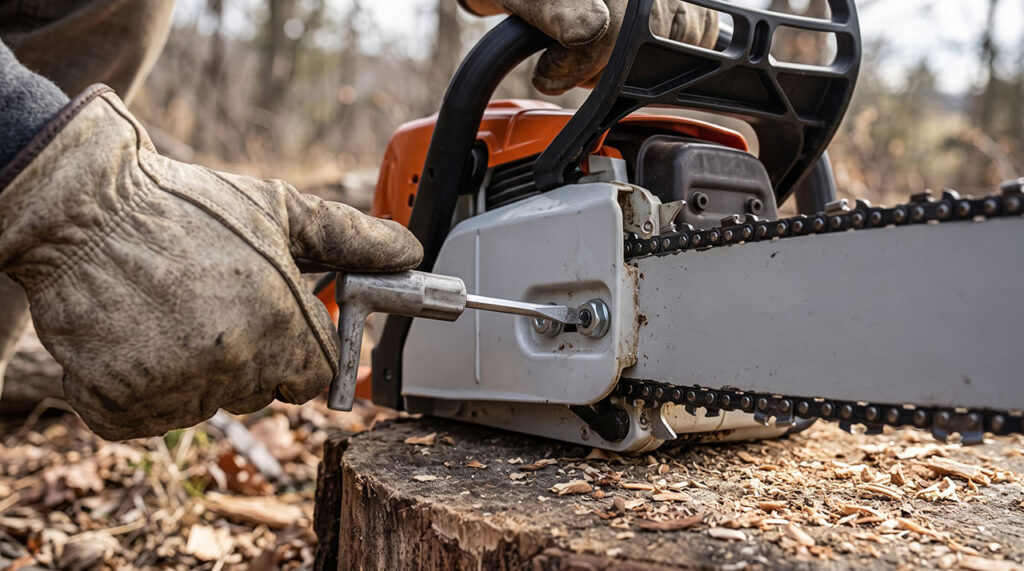
Slowly turn the tensioning screw clockwise. As you do this, watch the bottom of the guide bar. You will see the chain slowly lift up and pull tight against the bottom rails of the bar. Stop turning when the chain touches the bottom of the bar without any visible sagging.
Best 12-Inch Battery Chainsaw: Top Models
Step 5: The Crucial Lift and Tighten Technique
This single trick solved 90% of my tensioning problems. If you do not do this, your chain will instantly go slack the second you start cutting wood.
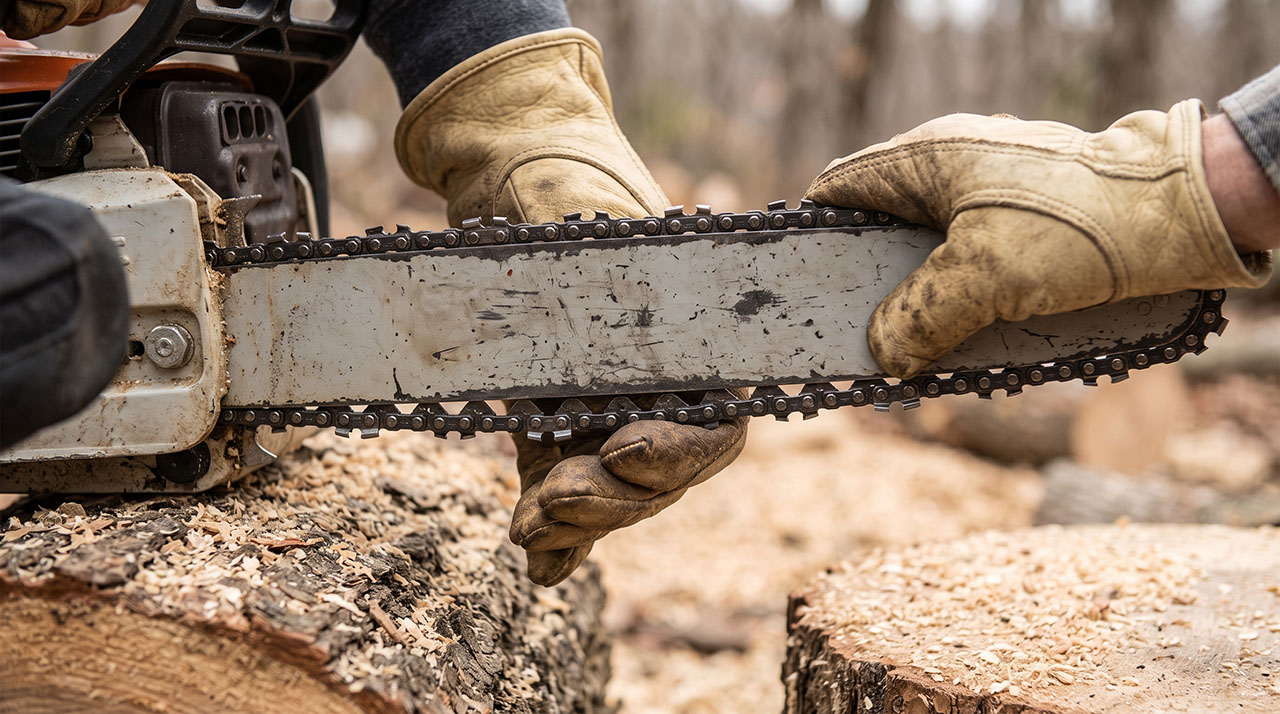
Grab the very tip (the nose) of the guide bar with your gloved hand and pull it upward. You will notice the chain might suddenly sag a little bit when you do this. While keeping that upward pressure on the nose of the bar, use your other hand to tighten the bar nuts down securely. Always lift the nose while tightening the nuts.
| Common Mistake | Why It Fails | The Better Approach |
| Tightening nuts without lifting the bar | The bar shifts up during the first cut, instantly creating chain slack. | Lift the nose of the bar firmly while tightening the nuts. |
| Removing the bar nuts completely | Causes the side cover to pop off, wasting time and risking lost parts. | Only loosen them a half-turn until the bar can slide. |
| Using bare hands | Chainsaw teeth will easily slice your fingers, even when stationary. | Always wear thick leather work gloves. |
How Tight Should a Chainsaw Chain Actually Be?
This was the hardest part for me to grasp at first. I used to tighten the chain until it felt like a guitar string. That was a huge mistake.
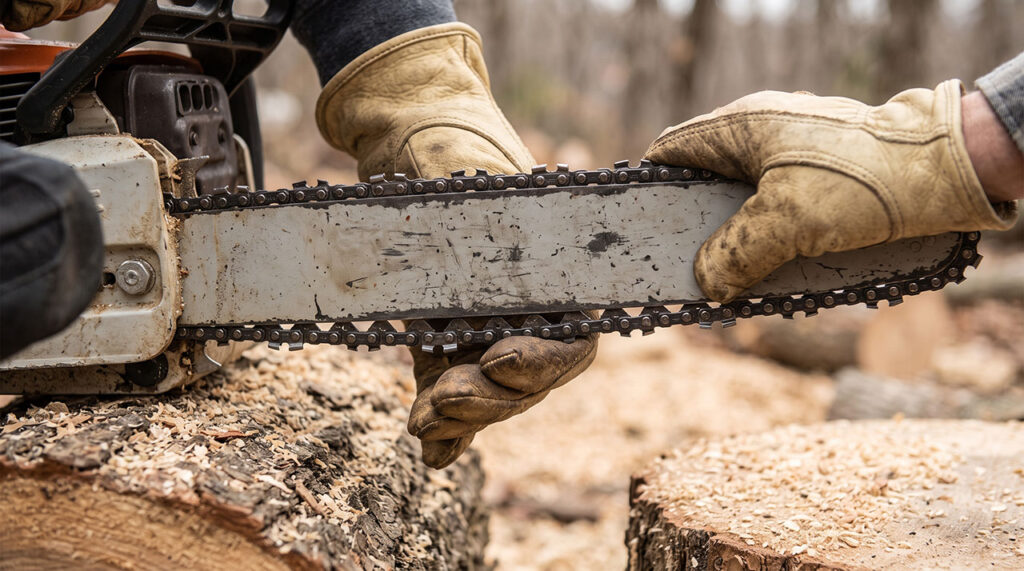
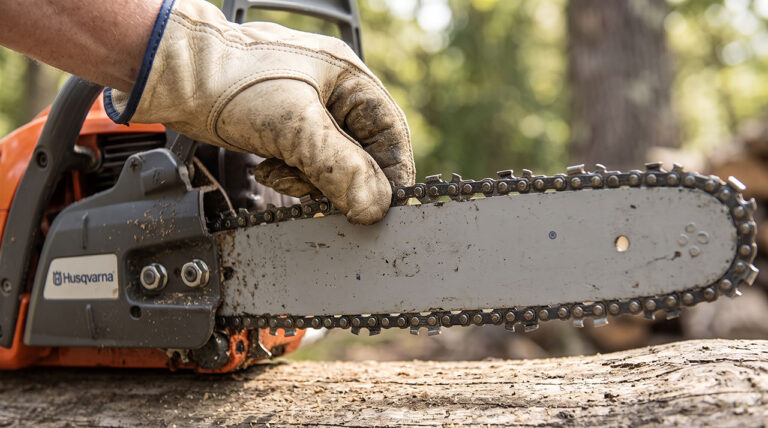
A properly tensioned chain needs to be tight enough to stay in the groove, but loose enough to rotate freely around the bar. To test this, I use the “snap test.” With your gloves on, grab the chain in the exact middle of the bottom of the guide bar. Pull it straight down.
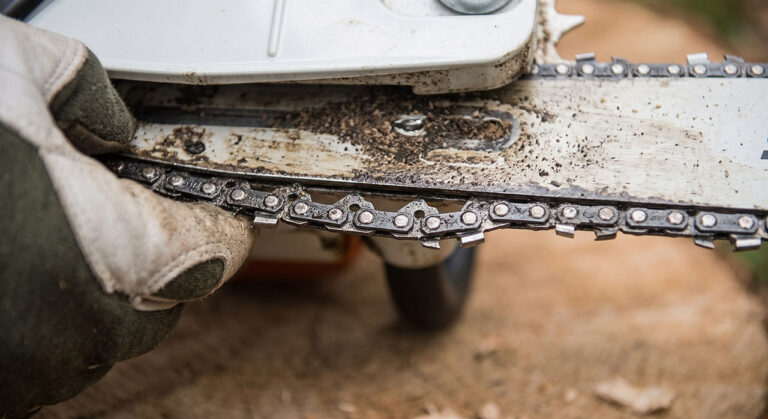
You should be able to pull the chain down just enough to see the tips of the drive links (the little metal shark fins that sit inside the bar groove). When you let go, the chain should immediately snap back perfectly into place against the bar. If it hangs down and doesn’t snap back, it is too loose. If you cannot pull it down at all, it is way too tight.
| The “Snap Test” Myth | The Reality |
| The chain should not move at all when pulled. | You must be able to pull it down slightly; it needs slack to rotate. |
| A little sag at the bottom is perfectly fine. | Sagging means the drive links can jump out of the groove (derailment). |
| You only need to check tension before you start cutting. | Tension changes as you work; you must check it frequently during use. |
Hot Chain vs. Cold Chain: A Costly Misunderstanding
I ruined a good sprocket bearing because I did not understand thermal expansion. This is a trap almost every beginner falls into.
When you cut wood, the friction creates a massive amount of heat. As the metal chain heats up, it expands and actually gets longer. This makes the chain look very loose after ten minutes of hard cutting. It is completely normal to stop and tighten a hot chain.
The problem happens when you finish working for the day and put the saw away with that newly tightened hot chain. As the metal cools down in your garage, the chain shrinks back to its normal size. Because you tightened it when it was hot, it now acts like a shrinking rubber band, putting immense, crushing pressure on your guide bar, drive sprocket, and engine bearings. Always loosen your chain slightly before storing the saw.
| Chain State | What Happens | My Recommended Action |
| Cold Chain | Metal is at its shortest length. | Set your perfect tension before you start cutting. |
| Hot Chain | Metal expands; chain sags significantly. | Re-tension while working, but remember it is expanded. |
| Cooling Down | Metal shrinks rapidly, creating severe tension. | Loosen the bar nuts slightly before putting the saw away for the day. |
Why Your Chainsaw Chain Keeps Coming Loose
Even when you follow all the steps perfectly, you might find your chain going slack again after just a few cuts. I used to think my saw was broken, but it usually comes down to a few common culprits.
Understanding why a chain loosens helps you fix the root cause instead of just constantly turning the tension screw. Let me walk you through the most common reasons I have encountered in my own backyard.
You Are Breaking in a New Chain
New chains stretch. There is no getting around it. When you put a brand new chain on your saw, the rivets and joints are incredibly stiff. As you make your first few cuts, the friction causes those parts to settle and expand.
I expect to re-tension a brand new chain three or four times within the first twenty minutes of using it. Do not let this frustrate you. It is a normal break-in process. Just keep your scrench handy, check the tension after every few logs, and keep adjusting until the stretch settles down.
Your Drive Sprocket is Worn Out
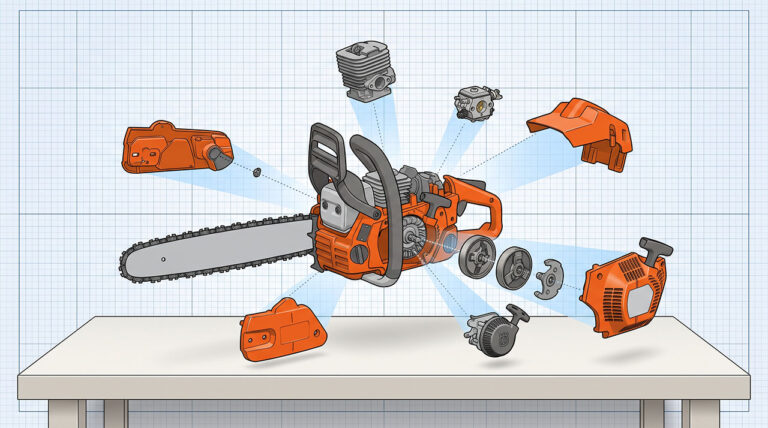
If your chain is older and still refuses to hold tension, you need to look behind the clutch cover. The drive sprocket is the metal gear that actually catches the chain and spins it.
Over time, the metal drive links of the chain grind deep grooves into that sprocket. Once those grooves get too deep, the chain cannot seat properly. It will bounce around, creating slack no matter how much you tighten the screw. If your sprocket looks chewed up, replacing it will instantly solve your tensioning issues.
| Symptom | Likely Cause | How to Fix It |
| Chain sags after 3 minutes of cutting. | New chain stretching (break-in period). | Stop and re-tension immediately; repeat until stable. |
| Chain won’t hold tension, feels jerky. | Worn out drive sprocket. | Remove clutch cover and replace the damaged sprocket. |
| Bar shifts upwards during a cut. | Bar nuts were tightened without lifting the nose. | Loosen nuts, lift the bar nose firmly, and re-tighten. |
What Happens If You Get the Tension Wrong?
I used to rush the tensioning process just to get back to cutting. That impatience cost me money in replacement parts.
If your chain is too tight, you are forcing the engine to work twice as hard just to spin the chain. You will notice the saw sounds bogged down. The friction will burn all the bar oil off, causing the guide bar rails to overheat, turn blue, and eventually warp. I have literally seen smoke pouring off a pinched bar because I over-tightened the chain.
If the chain is too loose, you run the risk of a derailment. The chain can jump off the bar while spinning at high speeds. Usually, the chain catcher hook on the bottom of the saw stops it from hitting you, but it will mangle the drive links on the chain. A mangled chain will not fit back into the bar groove, forcing you to buy a new one.
| Tension Level | Physical Signs | Real-World Consequence |
| Too Tight | Chain cannot be pulled down; saw bogs down easily. | Burns up the guide bar, ruins the clutch, drains battery/gas fast. |
| Perfect | Chain snaps back instantly; moves freely by hand. | Smooth, fast cuts with minimal wear on the engine and bar. |
| Too Loose | Chain hangs below the bar; slaps metal while running. | High risk of the chain jumping off and twisting the metal links. |
My Daily Chainsaw Maintenance Routine
Learning how to tension a chainsaw chain taught me to pay closer attention to the rest of the saw. Proper tensioning relies on a clean, well-maintained guide bar.
Before I make my first cut of the day, I take a small wire brush or a flathead screwdriver and scrape out the groove that runs along the edge of the guide bar. Sawdust and dried bar oil build up in there like concrete. If that groove is packed with dirt, the drive links cannot sit deep enough, making it impossible to get an accurate tension reading.
I also make it a habit to flip my guide bar upside down every time I take the chain off to sharpen it. It looks upside down because the logo will be inverted, but this ensures both the top and bottom of the bar wear down evenly over time.
| Maintenance Part | Quick Check Before Cutting | Why It Matters |
| Bar Groove | Scrape out packed sawdust and old oil. | Allows the chain to seat deeply and tension accurately. |
| Guide Bar | Flip it upside down periodically. | Prevents one side of the metal rails from wearing out unevenly. |
| Oiling Port | Ensure the small oil hole is free of debris. | Keeps the chain lubricated, reducing heat and chain stretch. |
Final Thoughts
Mastering how to tension a chainsaw chain is a right of passage for anyone who cuts their own wood. It took me a few frustrating afternoons and a ruined guide bar to finally respect the process. Now, checking the tension is just muscle memory. I pull the chain, listen for that satisfying snap back against the bar, and I know I am ready to work safely.
Do not let a loose chain intimidate you, but do not ignore it either. Keep your scrench nearby, remember to always lift the nose of the bar before locking down those nuts, and give your saw the quick maintenance it deserves. If you take care of the chain tension, the saw will easily take care of the firewood.