How to Cut Tree Limbs with a Chainsaw: A Practical Guide
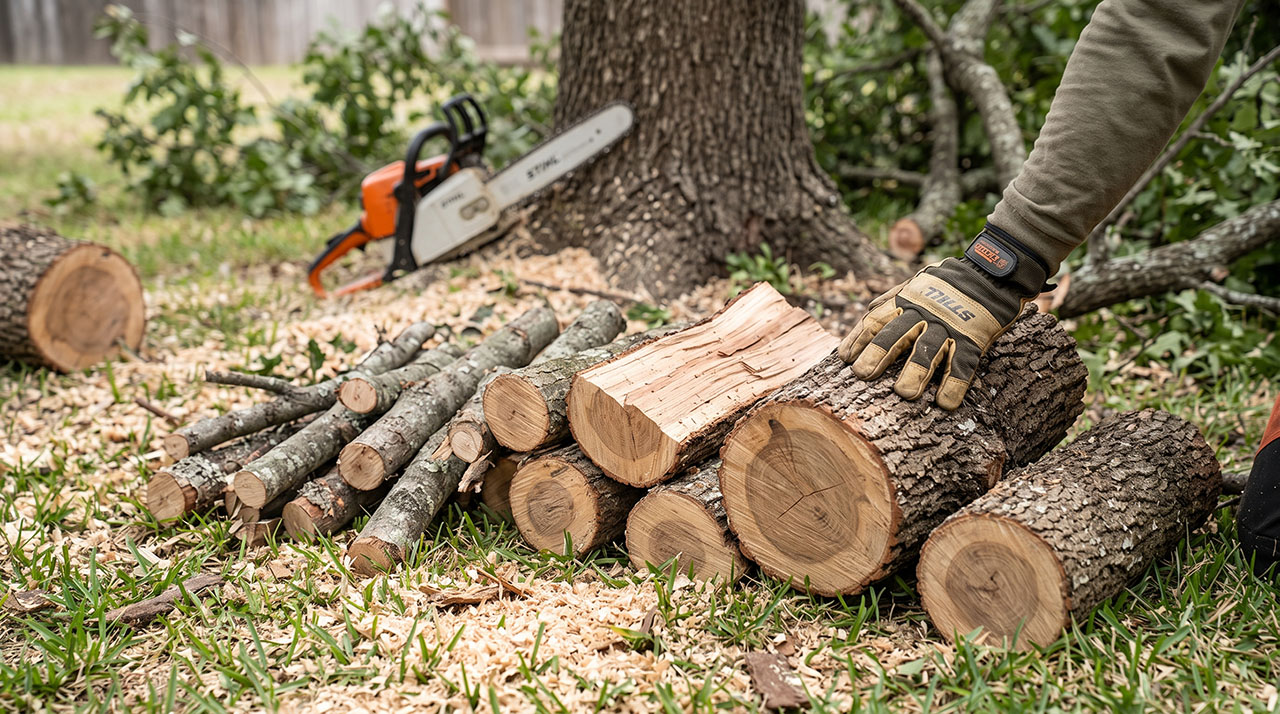
The first time I tried figuring out how to cut tree limbs with a chainsaw, I made a massive mess of my yard. I thought I could just walk up to a heavy oak branch, pull the trigger, and slice right through it like butter. Instead, the heavy wood pinched my saw bar tight, the falling branch tore a massive strip of bark down the trunk, and I spent an hour trying to yank my trapped chainsaw free.
If you are staring down an overgrown yard or storm damage, you need to know that limbing trees is about gravity and technique, not raw power. In this guide, I will walk you through exactly what I learned about reading wood tension, wearing the right gear, and using the famous three-cut method. You will learn how to clear your branches safely without ruining your tools, hurting yourself, or damaging the tree.
The Reality of Yard Work and Chainsaws
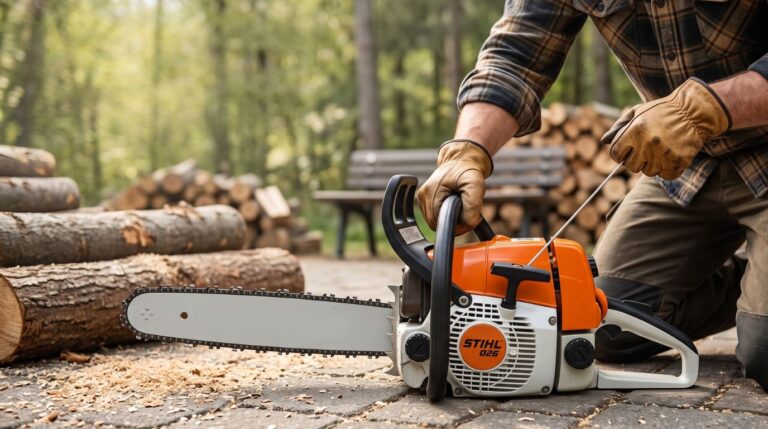
Before we get into the cuts, we need to talk about what actually happens when you fire up a saw. Chainsaws are loud, heavy, and pull you forward when the chain bites into the wood. I used to think the hardest part was just starting the engine. I was very wrong.
The hardest part is predicting where the wood will go once it is no longer attached to the tree. Branches are incredibly heavy. Even a limb that looks small from the ground can weigh fifty pounds and snap back with violent force. When you learn how to cut tree limbs with a chainsaw, you are really learning how to manage that falling weight safely.
| Beginner Expectation | The Harsh Reality |
| You can just cut straight down from the top. | The branch will sag, trapping your saw blade instantly. |
| Regular work clothes are fine for a quick job. | Wood chips fly everywhere, and slips happen fast. Gear is vital. |
| The branch will fall straight down to the ground. | Branches bounce, roll, twist, and can hit your legs. |
Essential Safety Gear You Actually Need
I used to skip safety gear because I thought I was just doing a quick job. That was a foolish mistake. Chainsaws do not cut; they tear. You need a physical barrier between that spinning chain and your body.
Now, I never start my saw without putting my gear on. It takes two extra minutes and gives me total peace of mind. You do not need to spend a fortune, but you do need the basics to protect your eyes, ears, and legs.
Ryobi 40 Volt Chainsaw Reviews
The Magic of Chainsaw Chaps
If you buy one piece of safety gear, make it chainsaw chaps. I wear them every single time. They look like heavy aprons for your legs. If the saw slips and hits your leg, the chaps do not just block the blade. They are filled with long Kevlar fibers that instantly tangle the sprocket and stop the motor dead.
| Safety Gear Item | Why I Always Use It |
| Kevlar Chainsaw Chaps | Stops the spinning chain instantly if it touches my legs. |
| Helmet with Face Visor | Deflects flying wood chunks and sawdust from my eyes. |
| Heavy Leather Gloves | Reduces extreme vibration and gives me a tight grip. |
The 3-Cut Method: How to Cut Tree Limbs with a Chainsaw
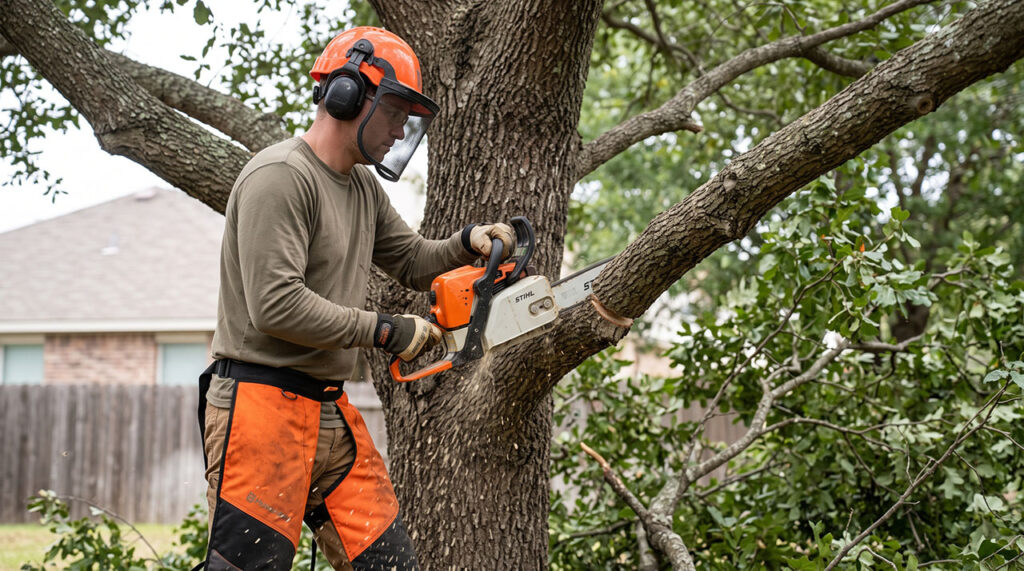
This is the most important lesson I ever learned. When I first started, I would just put the saw on top of a branch next to the trunk and cut down. When the branch was almost cut through, gravity would pull it down. Because it was still attached at the bottom, it would peel a huge strip of bark off the main trunk. This hurts the tree and leaves it open to bugs and disease.
To avoid peeling bark and pinching your saw, you must use the three-cut method. This technique manages the weight of the branch before you make your final, clean cut near the trunk. It feels like extra work at first, but it saves you massive headaches.
Cut 1: The Undercut
Your first cut goes on the bottom of the branch. Move about one foot away from the main trunk. Rev the saw to full speed and gently cut up into the bottom of the limb.
Stop when you are about a quarter of the way through the branch. Do not cut too deep, or the weight of the branch will drop and trap your saw. This small undercut acts as a stopping point. If the bark starts to peel later, the tear will hit this cut and stop instantly.
Cut 2: The Relief Cut
Now, move your saw an inch or two further out on the branch, away from the trunk. You are going to cut down from the top. Make sure you are standing safely to the side, not directly under the branch.
Cut straight down. As you get close to the undercut you made in step one, the branch will simply snap off and fall to the ground. Your saw will not get pinched because the branch breaks cleanly at the undercut. Now, all the heavy weight is gone. You are left with a short, easy-to-manage stub.
Cut 3: The Final Collar Cut
With the heavy weight out of the way, you can focus on making a clean cut for the health of the tree. Look closely at where the stub meets the trunk. You will see a slightly swollen area at the base of the branch. This is called the branch collar.
You want to cut just outside of this collar. Do not cut flush against the main trunk. The collar contains special cells that help the tree heal over the wound. Cut cleanly from the top down, supporting the stub with your free hand if it is light enough.
| Cut Number | Location on the Limb | Primary Purpose |
| 1. Undercut | Bottom, 12 inches from trunk. | Creates a break line to prevent bark from tearing. |
| 2. Relief Cut | Top, 13 inches from trunk. | Drops the heavy weight of the limb safely to the ground. |
| 3. Final Cut | Just outside the branch collar. | Leaves a clean wound so the tree can heal properly. |
Reading the Wood: Tension vs. Compression
When learning how to cut tree limbs with a chainsaw, you must learn to read the wood. Branches are rarely sitting perfectly straight. They are heavy, bent, leaning, or resting on other branches. This creates stored energy inside the wood.
If a branch is bent, one side of the wood is being stretched out. This is called tension. The other side of the wood is being squished together. This is called compression. Understanding this changed everything for me.
What Happens When You Guess Wrong?
If you cut into the compression side first, the wood will squish together as you cut and trap your saw bar like a vise. If you cut into the tension side all at once, the branch can violently snap and spring back at you.
The trick is to always cut the compression side first, just a little bit. Make a small cut on the squished side to relieve the pressure. Then, finish the cut from the tension side. The wood will open up naturally, freeing your saw instead of trapping it.
| State of the Wood | What It Means | How to Safely Cut It |
| Tension (Stretched) | The wood is being pulled apart. | Cut this side second. The cut will open up as you go. |
| Compression (Squished) | The wood is being pushed together. | Cut this side first, just a little bit, to relieve pressure. |
Chainsaw Kickback and How I Avoid It Now
Kickback is the scariest part of using a chainsaw. It happens in a fraction of a second. If the upper corner of the tip of your saw touches wood, the chain can catch. Instead of cutting, the energy throws the saw violently upward and backward, right toward your face.
I experienced a mild kickback once while trying to trim a bushy limb. The tip brushed a hidden branch behind it. The saw jumped out of my hands, but the chain brake engaged. It terrified me. Now, I respect the kickback zone entirely.
How I Keep the Saw Stable
I never cut with the tip of the bar. I always try to cut with the middle or base of the bar where I have total control. I also wrap my left thumb completely under the front handle. A firm wrap grip ensures that if the saw kicks back, my arm holds it steady, and my wrist naturally hits the chain brake to stop the blade.
Common Mistakes When Limbing Trees
I made almost every mistake possible when I first bought my house and started clearing trees. Yard work looks easy on video, but wood is unpredictable. Here are a few traps I fell into, and how you can avoid them.
The biggest mistake was getting impatient. I would try to cut a massive limb in one single slice just to save time. It always resulted in a stuck saw. Taking the time to do multiple small cuts actually saves you hours of frustration.
Cutting Above Shoulder Height
Never lift a chainsaw above your shoulders. I tried this once to reach a stubborn branch. Your arms lose all their strength when held high. You have zero control over the saw, and if it kicks back, it comes straight for your head.
If a branch is too high to reach comfortably with your feet flat on the ground, do not use a standard chainsaw. Use a pole saw, or call a professional. It is simply not worth the risk.
Ignoring the Drop Zone
I used to just stand right under the branch I was cutting, thinking I could just step back when it fell. But branches do not fall straight. They swing wildly on their way down. The butt end of a limb can swing backward and hit your knees. I always stand at a 45-degree angle behind the cut now. I give myself a clear path to walk away as soon as the wood starts to crack.
| Common Mistake | The Danger Involved | My Better Approach |
| Cutting above my shoulders. | Zero control over the saw; huge kickback risk. | I keep my feet flat and use a pole saw for high branches. |
| Standing under the branch. | The limb can swing back and hit your legs or chest. | I stand behind the cut at a 45-degree angle. |
| Cutting multiple branches at once. | Hidden branches hit the tip, causing kickback. | I clear out small brush first, cutting one branch at a time. |
Keeping Your Chainsaw Happy While Pruning
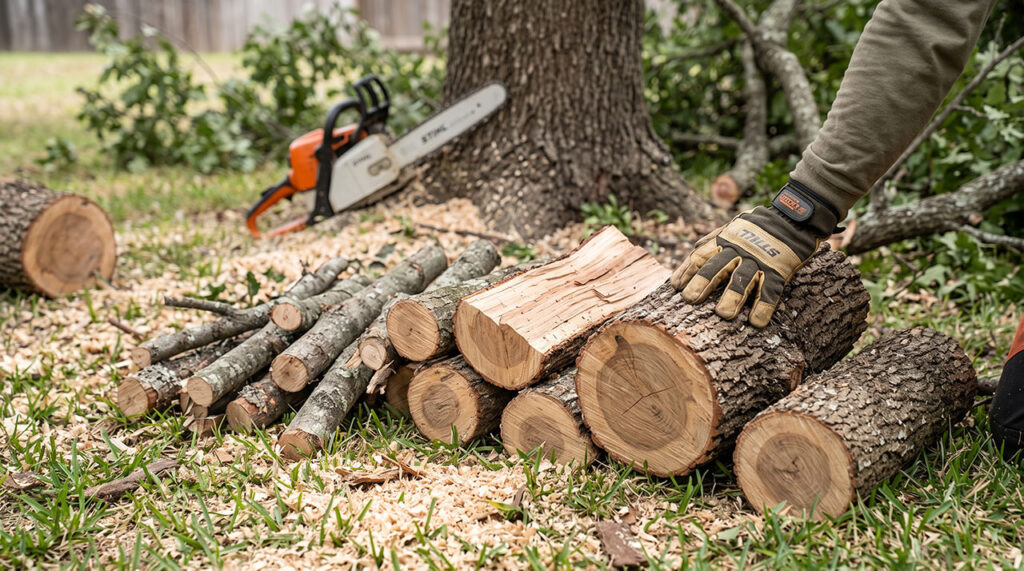
A chainsaw does all the hard work for you, but only if you take care of it. When I first started, I let my chain get incredibly dull. I found myself pushing the saw hard into the wood, trying to force it to cut. You should never have to push a chainsaw. It should pull itself into the wood.
If you are pushing, your chain is dull. Stop immediately. Cutting with a dull chain overheats the bar, strains the engine, and wears you out fast.
Recognizing a Dull Chain
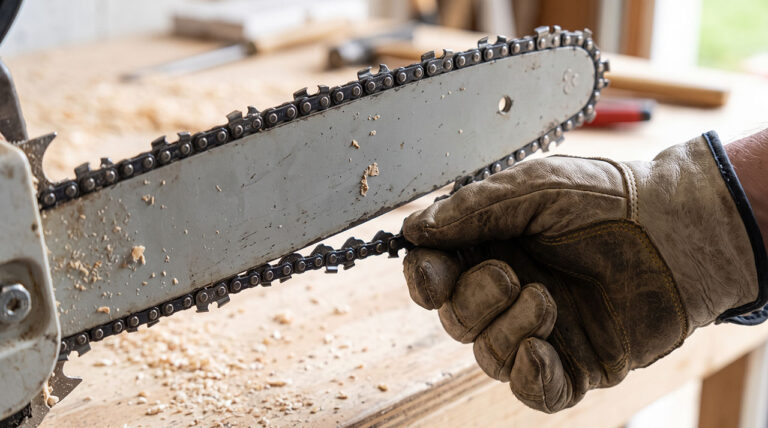
A sharp chain produces big, thick wood chips that look like they came from a wood plane. A dull chain produces fine, dusty sawdust. If you see fine dust flying around, it is time to grab a round file and sharpen your teeth.
Also, always check your bar oil. A chainsaw uses sticky oil to keep the chain sliding smoothly around the metal bar. If that oil runs dry, the metal heats up and expands. I check my oil tank every single time I fill up the gas tank.
| Chainsaw Symptom | What It Usually Means |
| Spitting out fine sawdust. | The chain teeth are dull and need to be sharpened. |
| The saw pulls to the left or right. | The chain is sharpened unevenly or the bar is bent. |
| Smoke coming from the metal bar. | The chain is too tight, or the saw is out of bar oil. |
Final Thoughts
Learning how to cut tree limbs with a chainsaw completely changed how I handle my property. It took a few stuck saws and torn bark mistakes for me to slow down and learn the mechanics of wood. The biggest lesson I learned is that gravity dictates everything. If you respect the weight of the wood and use the three-cut method, you remove almost all the frustration from the job.
Always put safety first. Wear your chaps, keep your chain sharp, and never cut past your comfort zone. Yard work should be rewarding, not dangerous. Take your time, read the tension in the branches, and your trees will look great while you stay perfectly safe.