How Tight Should a Chain Be on a Chainsaw? My Honest Guide
I still remember the first time I used a chainsaw to clear a fallen oak tree in my backyard. I had no idea how tight should a chain be on a chainsaw, so I just guessed. About ten minutes into cutting, the chain suddenly popped off the guide bar, tangling up near the sprocket and scaring me half to death. I learned very quickly that guessing is the worst thing you can do when it comes to chainsaw maintenance.
Over the years, I have made every mistake you can make with chain tension. I have clamped them down so tight that the guide bar smoked, and I have left them so loose that they ruined the drive links. Finding that perfect “Goldilocks” zone—not too tight, not too loose—is essential for your safety, your saw’s lifespan, and getting smooth cuts. Here is exactly what I have learned about getting chainsaw chain tension right every single time.
The Snap Test: My Go-To Method for Perfect Tension
Testing your chain tension is not a guessing game. There is a very simple, practical test you can do in about two seconds.
How to perform the snap test
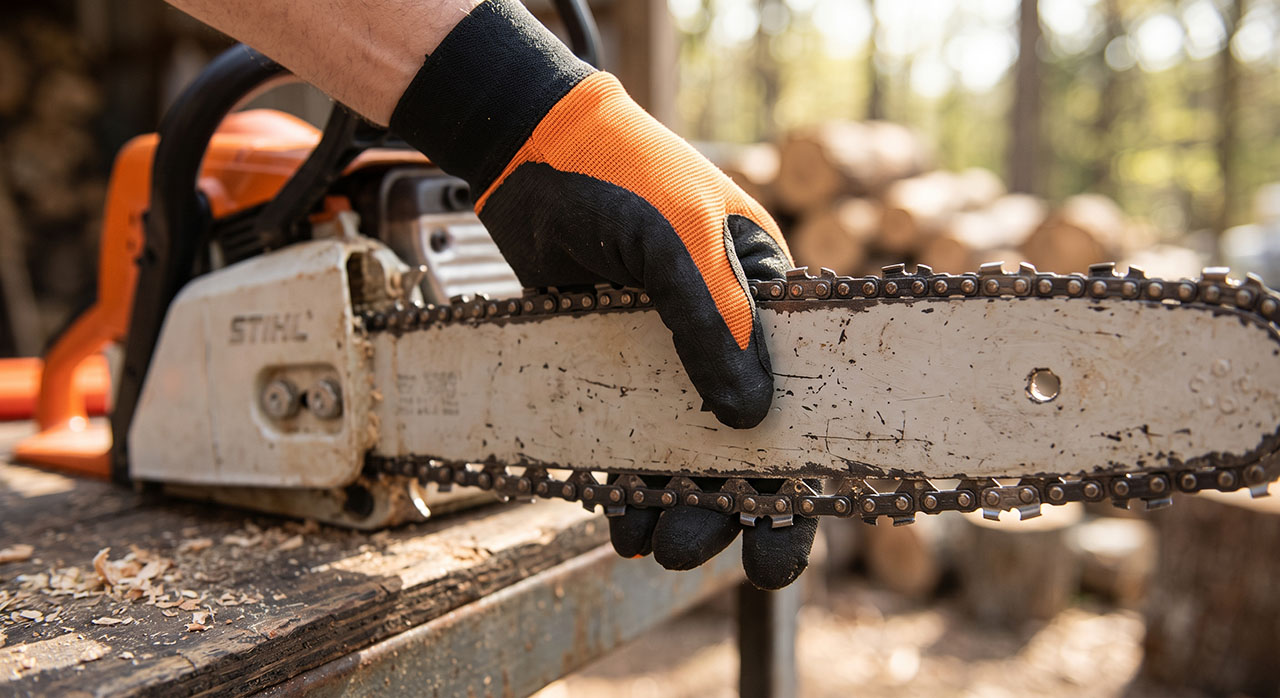
The easiest way to check if your tension is correct is by doing the snap test. Make sure your chainsaw is completely turned off. If you are using an electric saw, take the battery out. If it is gas, make sure the engine is totally shut down. Grab the chain right in the middle of the bottom of the guide bar. Pull it straight down away from the bar.
When you let go, the chain should quickly snap right back into place. It should sit flush against the bottom rails of the guide bar. If it hangs down loosely after you let go, you have a problem. If you cannot pull it down easily in the first place, you also have a problem.
What the drive links should look like
When you pull the chain down, look at the metal teeth that ride inside the groove of the bar. These are called drive links. A properly tensioned chain will let you pull it down just enough to see the entire drive link.
The very tips of those drive links should barely stay inside the groove of the bar. If the tips come completely out of the groove, the chain is way too loose.
| Tension State | Snap Test Result | Drive Link Visibility |
| Perfect Tension | Snaps back firmly | Tips stay in the groove |
| Too Loose | Sags after pulling | Completely leaves groove |
| Too Tight | Cannot pull down easily | Cannot see full drive link |
The Danger of a Loose Chainsaw Chain
Leaving a chain too loose is probably the most common mistake beginners make. I did it, and you probably will too. But it is incredibly dangerous.
Derailing and safety hazards
When your chain hangs off the bottom of the bar, it loses its track. As soon as you hit a tough knot or twist the saw slightly in a cut, the chain can derail. This is called throwing a chain.
When a chain gets thrown at full speed, it can whip backward toward your hands and legs. Modern chainsaws have chain catchers to help prevent severe injury, but it is still a terrifying experience. I threw a chain once, and it completely ruined my workday and my nerves.
Greenworks 60V 18-Inch Chainsaw: My Honest Real-World Experience
Damage to the drive sprocket
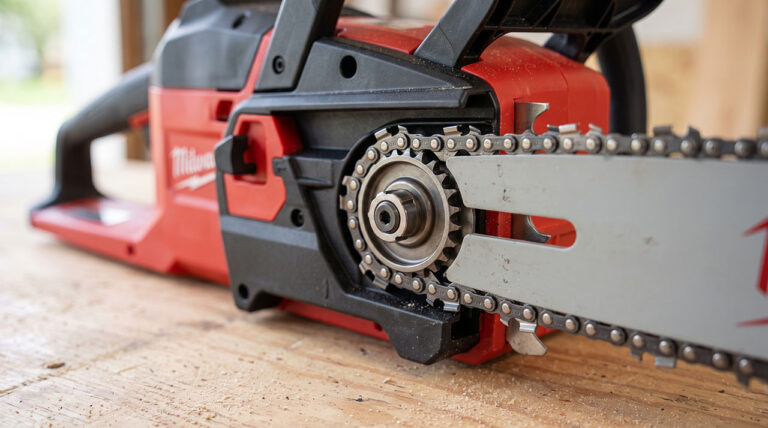
Safety aside, a loose chain will destroy your equipment. When the chain slaps around loosely, it beats up the drive sprocket. The sprocket is the little star-shaped gear near the engine that spins the chain.
A loose chain will wear down those gear teeth unevenly. Once your sprocket is damaged, it will ruin every new chain you put on it. It becomes a very expensive cycle of replacing parts that you could have avoided.
| Issue | What Happens Physically | Real-World Consequence |
| Derailing | Chain pops off the bar | Major safety risk |
| Sprocket Wear | Chain slaps the gear teeth | Expensive repairs needed |
| Poor Cutting | Chain catches and binds | Jagged, ugly cuts |
Why an Overly Tight Chain is Just as Bad
After throwing a chain, my immediate reaction was to crank the tension down as hard as I could. I figured tighter was safer. I was completely wrong.
Overheating and smoking bars
If your chain is strung as tight as a guitar string, the metal creates massive friction against the guide bar. The first time I did this, I noticed the tip of my guide bar smoking within two minutes of cutting wood.
The heat literally burns the lubricating oil right off the bar. Your guide bar will turn blue from the extreme heat, and the metal will actually warp. Once a guide bar is warped, it is basically garbage.
Stretching the chain prematurely
Chains are made of metal rivets and links. When you over-tighten a chain, you put immense stress on those tiny metal parts. As the engine forces the tight chain to spin, the rivets pull apart.
This permanently stretches the chain. I once ruined a brand-new chain in a single afternoon because I had it so tight that the metal yielded. Once a chain stretches past a certain point, you can no longer tighten it enough, and you have to throw it away.
| Symptom | Probable Cause | Best Solution |
| Smoking guide bar | Chain is way too tight | Stop immediately and loosen |
| Blue marks on metal | Extreme friction heat | Check bar oil and lower tension |
| Engine bogging down | Motor is fighting tight chain | Back off the tension screw |
Hot Chain vs. Cold Chain: A Mistake I Had to Learn
This is a lesson that took me years to fully understand. Chainsaw chains change size depending on their temperature.
Thermal expansion is real
When metal gets hot, it expands. When you are cutting wood, the friction makes the chain very hot. As it heats up, the chain actually gets longer.
Because it gets longer, it gets loose. You will naturally stop and tighten the hot chain so you can keep working safely. That is the correct thing to do. However, you have to remember to undo that extra tension later.
Why you must loosen it after cutting
Here is the biggest mistake I ever made. I tightened a hot chain, finished cutting my firewood, and put the saw away in my cold garage.
As the saw cooled down overnight, the metal chain shrank back to its normal size. Because I had tightened it while it was expanded, it shrank incredibly tight against the bar. The next morning, it had bent the drive shaft of my chainsaw. Always loosen your chain slightly before putting the saw away for the day.
| Scenario | Tension Behavior | My Recommendation |
| Cutting cold wood | Normal tension | Adjust before starting |
| After 20 minutes cutting | Chain expands and sags | Retighten to snap test level |
| Storing saw after use | Chain shrinks as it cools | Loosen slightly before storing |
Step-by-Step: How I Tension My Chainsaw Correctly
Getting the tension right is a simple process once you know the exact steps. Do not rush this part. I do this every single time I start my saw.
Loosening the bar nuts
First, you need a scrench. That is the funny-looking tool that comes with your saw—half screwdriver, half wrench. Use it to loosen the nuts holding the side cover on.
Do not take the nuts completely off. Just loosen them enough so that the guide bar can slide up and down easily. If the nuts are too tight, the internal tension screw will strip out when you try to turn it.
The critical lift the nose trick
This is the single most important trick I ever learned. Before you turn the tension screw, grab the tip of the guide bar and lift it up firmly.
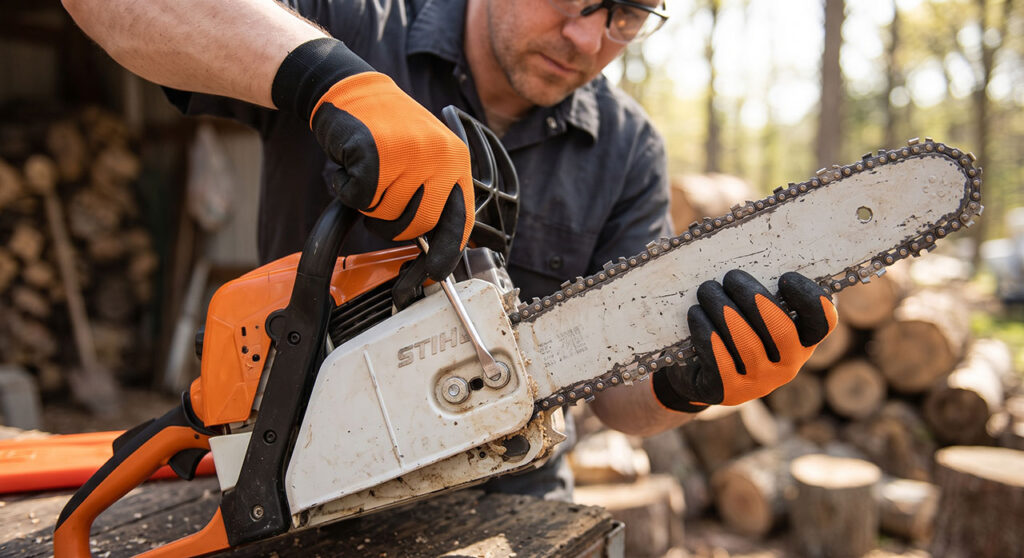
When you are cutting wood, the cutting pressure pushes the nose of the bar up naturally. If you tension the chain while the nose is resting downward, it will instantly go loose as soon as you press into a log. Hold the nose up for the rest of this process.
Adjusting the tension screw
While holding the nose of the bar up, use your flathead screwdriver to turn the tension screw. Usually, turning it to the right tightens the chain.
Turn it slowly until the bottom of the chain comes up and touches the bottom rails of the guide bar. Do the snap test. Once it snaps back perfectly, keep holding the nose up. Finally, use your wrench to tighten the side nuts firmly back into place.
Breaking in a Brand New Chain
New chains act a little differently than old ones. I ruined my first new chain because I did not understand how break-in periods work.
Expect immediate stretching
When you take a new chain out of the box, the rivets are very tight. As soon as you make your first few cuts, the stress and heat will pull those rivets into their permanent positions.
This means a brand new chain will stretch out and go loose within the first five minutes of cutting. This is completely normal and expected. Do not panic if it sags almost immediately.
My new chain routine
When I put a new chain on, I tension it normally. Then, I let the saw run idle for a minute just to get the bar oil flowing over the new metal.
I make one or two small cuts through a log. Then, I turn the saw off and check the tension. It is almost always loose. I retighten it, make a few more cuts, and check it again. After about three short adjustments, it finally settles in and holds its size for the rest of the day.
| Action Phase | What to Expect | What You Should Do |
| First 5 minutes | Rapid initial stretching | Stop and adjust frequently |
| Next 30 minutes | Minor stretching | Check every 10 minutes |
| Normal daily use | Occasional loosening | Check during fuel refills |
The Role of Bar Oil in Chain Tension
Tension is not just about turning a screw. Lubrication plays a massive part in keeping your chain at the right tightness.
Friction causes heat and stretching
If your saw runs out of bar oil, the metal chain grinds roughly against the metal bar. We already know that friction creates heat, and heat expands the chain.
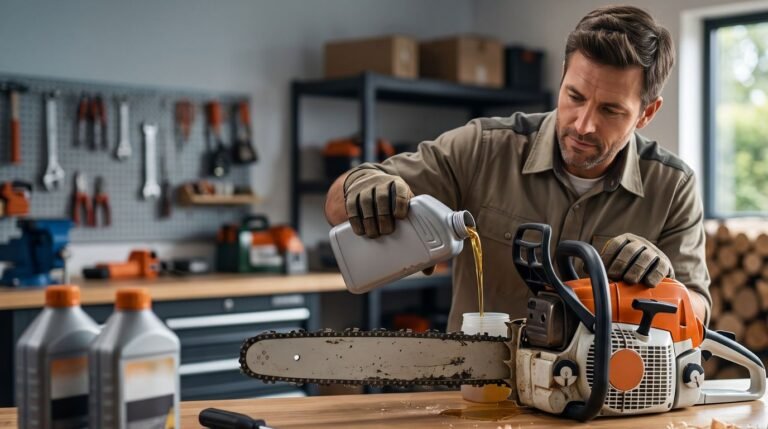
If your chain is suddenly going loose every two minutes, check your oil tank. The oil hole on the guide bar might also be clogged with sawdust. I have spent hours chasing tension problems only to realize my saw was just bone dry and overheating.
A simple oil test
Before I start cutting, I always do a quick oil test. I hold the tip of the running chainsaw a few inches away from a light-colored piece of wood or a stump.
I rev the engine for a few seconds. I should see a light splatter of dark oil streak across the wood. If I see oil, I know the chain is properly lubricated, which means my tension will stay much more stable.
Solid Bars vs. Sprocket Nose Bars
How tight your chain should be can actually change slightly depending on the type of guide bar you own.
What is a sprocket nose bar?
Most modern chainsaws have a sprocket nose bar. This means there is a little spinning gear hidden at the very tip of the bar. It helps the chain roll smoothly around the curve.
For these bars, the snap test I described earlier is perfect. The chain should be tight enough to touch the bottom rails, but loose enough to spin freely by hand.
Older solid hard-nose bars
If you are using a vintage saw, or a specialized carving saw, you might have a solid bar with no wheel at the tip.
These create much more friction. You actually need to run the chain just a tiny bit looser on a solid bar. If you look closely, you should leave a tiny gap—about the thickness of a dime—between the chain and the bottom of the bar.
| Bar Type | Identifying Feature | Tension Rule |
| Sprocket Nose | Spinning gear at the tip | Flush against bottom rails |
| Solid Hard-Nose | Solid metal tip | Leave a tiny visible gap |
Checking Tension Throughout the Day
You cannot just set your tension in the morning and forget about it. Yard work takes time, and conditions change rapidly as you cut.
Make it a habit
Whenever I put down the saw to move some brush, I give the chain a quick tug. It takes zero extra effort.
A good rule of thumb is to check the tension every time you add fuel or swap a battery. Your saw needs a break, and that is the perfect time to do a quick maintenance check. Keep your scrench in your back pocket so you never have an excuse to ignore a sagging chain.
Troubleshooting Common Tension Problems
Sometimes you do everything right, and the tension still acts weird. Here are a few odd things I have encountered.
Tight in spots, loose in others
Have you ever tightened your chain, spun it by hand, and noticed it gets super tight in one spot but loose in another? This is incredibly frustrating.
Usually, this means your drive sprocket is badly worn out. The chain catches on the worn spots. It can also mean your guide bar is bent. If you have this problem, you need to replace the damaged parts before you can get proper tension again.
The tension screw keeps slipping
If you tighten the chain, but it instantly goes loose without even cutting anything, your tensioner gear might be stripped.
This happens when people try to turn the tension screw without loosening the side bar nuts first. It strips the tiny metal threads. You will have to open the side cover and replace the small tensioner screw assembly. It is a cheap part, but annoying to fix.
Signs Your Chain Needs to be Replaced
Sometimes, no matter what you do, you cannot get the tension right. That usually means the chain is dead.
Reaching the end of the tension screw
There is a physical limit to how far the tension screw can push the guide bar forward. Eventually, an old chain stretches so much that the bar hits the absolute end of its track.
If your chain is sagging, but you cannot turn the tension screw any further to the right, the chain is done. Do not try to remove metal links to make it shorter. Just go buy a new chain.
Damaged tie straps
The little metal plates holding the drive links together are called tie straps. If you have been running the saw too tight or without oil, these straps can crack under pressure.
If you see a cracked strap while checking your tension, throw the chain in the trash immediately. A broken strap means the chain is going to snap in half soon, which is incredibly dangerous.
Final Thoughts
Learning how tight should a chain be on a chainsaw took me plenty of trial and error. I ruined a few expensive chains, warped a guide bar, and dealt with a lot of frustration before I really understood the mechanics. The biggest lesson I can pass on is to listen to your saw and pay attention to how the chain feels before, during, and after your cuts.
Always rely on the simple snap test, remember to lift the nose of the bar when adjusting, and never forget to loosen a hot chain before storing your saw for the night. Once you make these quick checks a natural, daily part of your cutting routine, you will work much safer. Your saw will run smoother, your cuts will look cleaner, and your chains will last twice as long.