How to Clean Chainsaw Air Filter Echo Models Safely
I still remember the day my chainsaw bogged down in the middle of a massive oak log. I was confused, frustrated, and sweating heavily. I blamed the spark plug. I blamed the carburetor. It turned out, learning how to clean chainsaw air filter Echo parts was the simple fix I actually needed.
A two-stroke engine needs to breathe. When you cut wood, fine dust mixes with bar oil and coats everything. If that sticky mess blocks your intake, your saw starves for air. Today, I am going to share exactly how I keep my saw running like new, the mistakes I made along the way, and the simple habits that save me from expensive repairs.
Why I Stopped Ignoring My Echo’s Air Filter
For the first year I owned my Echo CS-590, I barely touched the engine. I just added gas and bar oil, then went straight to cutting.
That was a huge mistake. Eventually, the saw started running rich. It idled poorly and smoked more than usual. The engine was sucking in fuel but could not get enough air to burn it cleanly. That meant wasted gas, less cutting power, and extra wear on the piston. Now, checking the intake is the first thing I do before pulling the starter cord.
| Warning Sign | What It Usually Means |
| Engine bogs down mid-cut | Starved for air, running too rich |
| Poor idling or stalling | Carburetor cannot breathe properly |
| Excessive exhaust smoke | Unburned fuel due to lack of air |
Identifying Your Specific Echo Air Filter Type
Not all filters are the same. Before you grab a brush or an air hose, you need to know what material you are dealing with.
Echo uses a few different styles depending on the model and the year it was built. My older saw had a simple flocked fleece cover. My newer one uses a heavy-duty pleated paper cartridge. Treating a delicate fleece cover like a rugged paper cartridge is a quick way to ruin it. You have to match your cleaning method to the material.
| Filter Material | Visual Appearance | Best Cleaning Method |
| Flocked / Fleece | Fuzzy, fabric-like surface | Warm soapy water, gentle tap |
| Pleated Paper | Looks like a tiny car filter | Compressed air (low PSI), brushing |
| Nylon Mesh | Plastic screen with fine holes | Solvents, soapy water, air |
Gathering the Right Cleaning Supplies
You do not need a fancy maintenance kit to do this job properly. You probably have everything you need sitting in your garage or kitchen right now.
I used to just wipe the dust off with a dirty shop rag. That pushed fine particles deeper into the material. Now, I use a specific set of simple tools. Having these ready makes the whole process take less than five minutes.
| Tool Needed | Why You Need It |
| Soft bristled brush | To gently sweep away loose sawdust |
| Dawn dish soap | Cuts through sticky sap and bar oil |
| Air compressor (optional) | Blows out dust from paper pleats |
| Clean microfiber cloth | To wipe down the plastic housing |
Step-by-Step: How to Clean Chainsaw Air Filter Echo Style
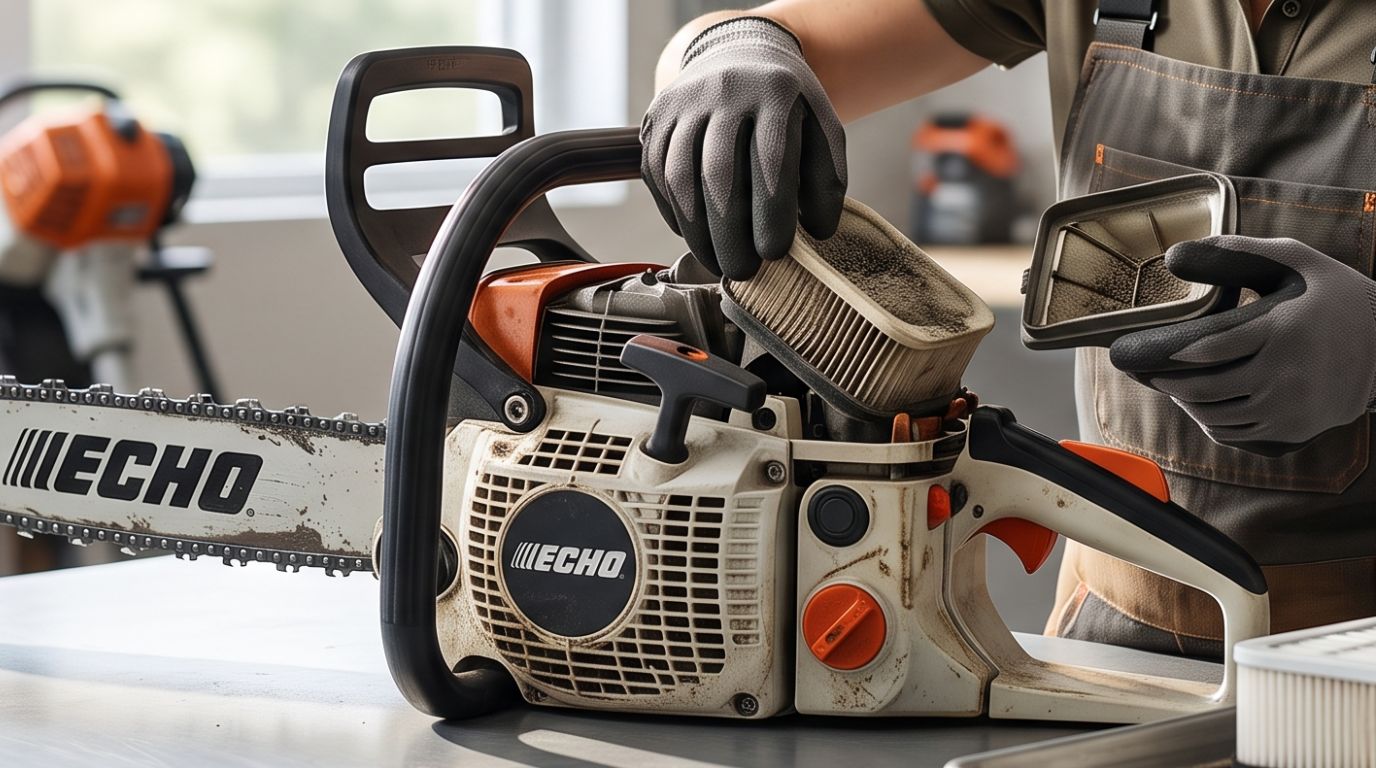
Cleaning the intake is not just about washing a piece of fabric. It is about protecting the heart of your chainsaw.
If you do this wrong, you can accidentally dump a pile of dirt directly into the carburetor. That is a quick way to score your piston and ruin your saw completely. Follow these steps exactly. This is the routine I use every single weekend during firewood season.
Step 1: Prep the Saw and Engage the Choke
Never take the cover off without pulling the choke knob out first. This is a trick an old logger taught me, and it is incredibly important.
When you pull the choke, a small metal butterfly valve closes shut over the carburetor throat. This acts like a protective door. If any loose sawdust falls while you are removing the housing, it lands on the closed valve instead of dropping straight into the engine.
Step 2: Remove the Air Filter Cover Gently
Most modern Echo models have a tool-less cover. You just twist the plastic knob and lift the hood off.
Be careful as you lift it. There is usually a heavy buildup of wood chips resting just inside the plastic shell. Lift the hood straight up and away from the saw. Take a damp rag and carefully wipe out the inside of the plastic hood so you do not put a dirty cover back over a clean intake.
Step 3: Remove the Filter and Tap Out Loose Sawdust
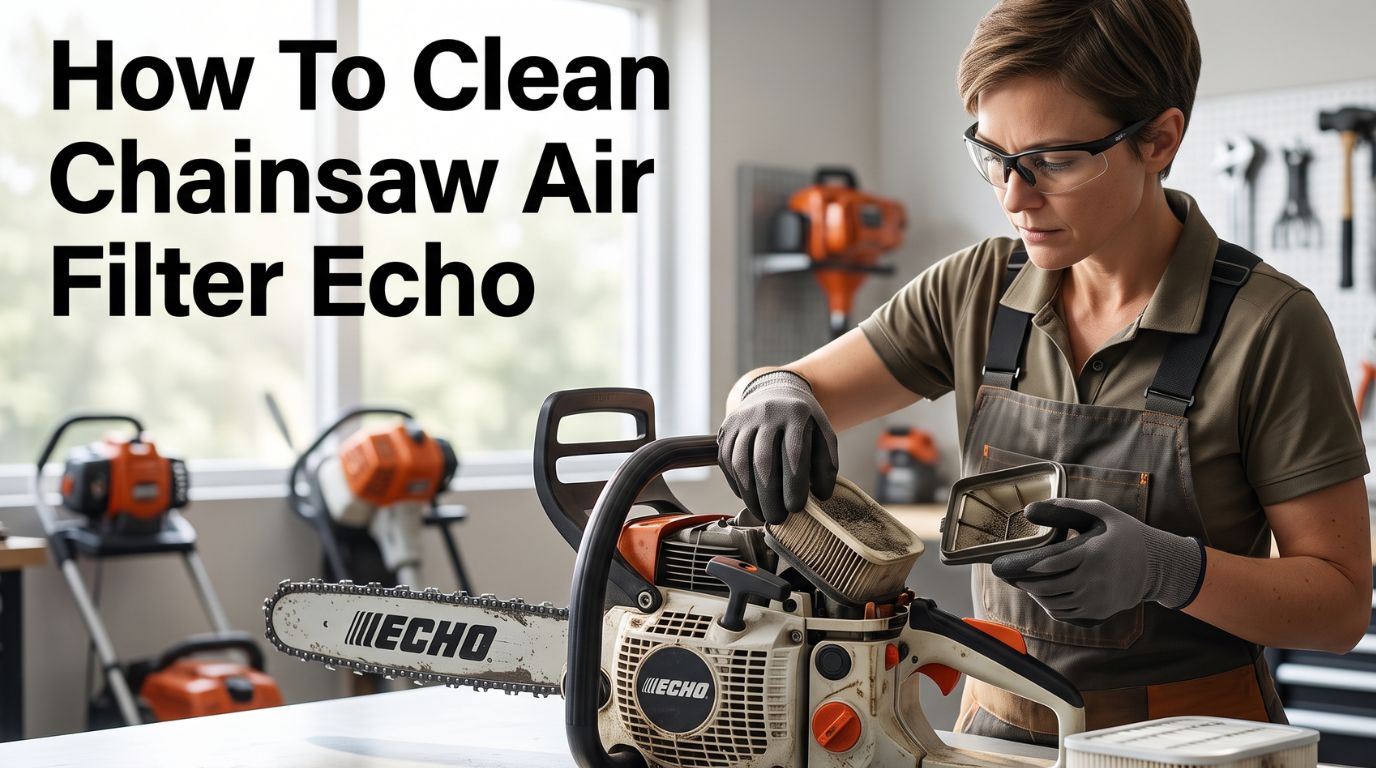
Take the actual filter off the carburetor mount. Usually, it is held on by a simple wire clip or a single thumb screw.
Once it is off, gently tap it against your workbench or the palm of your hand. You will be amazed at how much fine dust falls out. Do not bang it aggressively. You just want to dislodge the heavy, loose debris before you start doing any deep cleaning.
Step 4: Wash or Blow Out the Filter
This step depends entirely on your material type. If you have a pleated paper version, take your air compressor and blow air from the inside out.
Never blow air from the outside in. That just jams the dirt deeper into the paper fibers. Keep your air pressure low, around 30 to 40 PSI. If you have a flocked fleece or nylon version, you need to wash it. I fill a small bucket with warm water and a few drops of dish soap. I swish the part around gently and let the soap cut through the oily sawdust.
Step 5: Dry Completely Before Reinstalling
This is the most critical step if you use the washing method. The material must be bone dry before it goes back on the saw.
If you put a wet cover back over the carburetor, the engine will suck moisture directly into the combustion chamber. That causes terrible performance and can rust internal parts. I usually set my washed parts out in the hot sun for a few hours. If I am in a hurry, I will use a hair dryer on the lowest heat setting.
The Warm Soapy Water Method I Swear By
For heavy duty cleaning, nothing beats plain dish soap and warm water. Compressed air only does so much.
When you cut pine or other sappy woods, the dust sticks to the filter like glue. Air will not blow it off. Dish soap breaks down those oily bonds safely without degrading the fabric or rubber seals. I usually let my heavily soiled parts soak for about ten minutes before rinsing them under cold water.
| Do This | Never Do This |
| Rinse from the inside out | Scrub aggressively with a hard brush |
| Let air dry completely | Wring or twist fleece material |
| Use mild dish soap | Use harsh chemical brake cleaners |
Mistakes I Made When Cleaning My Chainsaw Filter
I have ruined a few good parts by being impatient. Learning what not to do is just as important as knowing what to do.
Early on, I treated my chainsaw like a heavy piece of farm equipment. I figured it was tough, so I could be rough with it. But the intake system is surprisingly delicate. One tiny tear in the fabric means dirt goes straight into the piston cylinder. Here are the biggest errors I made.
| The Mistake I Made | The Better Approach |
| Using 90 PSI from my air hose | Dialing the regulator down to 30 PSI |
| Soaking in raw gasoline | Using warm water and mild dish soap |
| Wiping dirt off with my thumb | Tapping the dirt out gently on a bench |
| Reinstalling while slightly damp | Waiting until it is 100% bone dry |
Blowing Holes in Fleece Covers
I once hit a dirty fleece cover with an air nozzle set to 120 PSI. I thought I was getting it perfectly clean.
Instead, I blew a microscopic hole right through the fabric. I did not even notice it until I took the saw apart weeks later and found fine grit sitting inside my carburetor. High pressure air will destroy flocked materials instantly. Save the air hose for paper pleats, and even then, use caution.
Using Harsh Chemical Solvents
When my intake was covered in thick pine sap, I got frustrated. I grabbed a can of carburetor cleaner and sprayed it directly onto the mesh.
The harsh chemicals instantly melted the glue holding the mesh to the plastic frame. The whole thing fell apart in my hands. Solvents, brake cleaner, and straight gasoline will degrade rubber seals and dissolve adhesives. Stick to soap and water. It takes a little longer, but it is safe.
When to Stop Cleaning and Just Replace It
You cannot clean these parts forever. Eventually, they degrade, clog permanently, or lose their structural integrity.
I keep two spare filters in my chainsaw case at all times. They only cost a few dollars, but a new piston costs over a hundred. If I am ever in doubt about the condition of my intake, I throw it away. It is the cheapest insurance policy you can buy for your equipment.
| Sign to Keep Cleaning | Sign to Replace Immediately |
| Dust taps out easily | Dirt is permanently embedded and dark |
| Mesh and fabric look solid | You see tiny pinholes when held to light |
| Rubber seal is firm and intact | Rubber gasket feels gummy or cracked |
How Often Should You Really Check the Filter?
There is no single rule for how often to do this. It depends entirely on what kind of wood you are cutting and how long you run the saw.
If you read the manual, it usually says to check it daily. But real-world usage dictates a more practical schedule. I base my routine on the type of work I am doing that day.
Daily Cutting vs. Weekend Yard Work
When I am bucking dry, dead ash trees for firewood, the dust is incredibly fine. It gets everywhere.
On those days, I pop the hood off and tap out the dust every time I stop to refill the gas tank. It takes ten seconds. On the other hand, if I am just trimming green branches in the backyard, the chips are heavy and wet. They do not float into the intake as easily. For light yard work, I just check it at the end of the weekend before I put the saw back in the shed.
The Power of Visual Inspections
You do not always need to take the saw apart to know it needs attention. You just have to pay attention to how the machine feels.
If the saw feels sluggish in the wood, or if it takes an extra pull to start, the intake is the first thing I check. A visual inspection takes seconds. If the fabric looks completely brown or gray instead of its original color, it is time for a wash.
Final Thoughts
Learning exactly how to clean chainsaw air filter Echo components changed how I maintain my tools. It is a tiny task that makes a massive difference in how the machine performs. When your saw can finally breathe, it cuts faster, runs cooler, and lasts years longer.
Do not wait for your engine to bog down in a heavy log before you check under the hood. Build a habit of tapping out the dust every time you cut, and wash the mesh thoroughly at the end of the season. A little bit of soapy water and a few minutes of your time is all it takes to keep your Echo running like a beast.